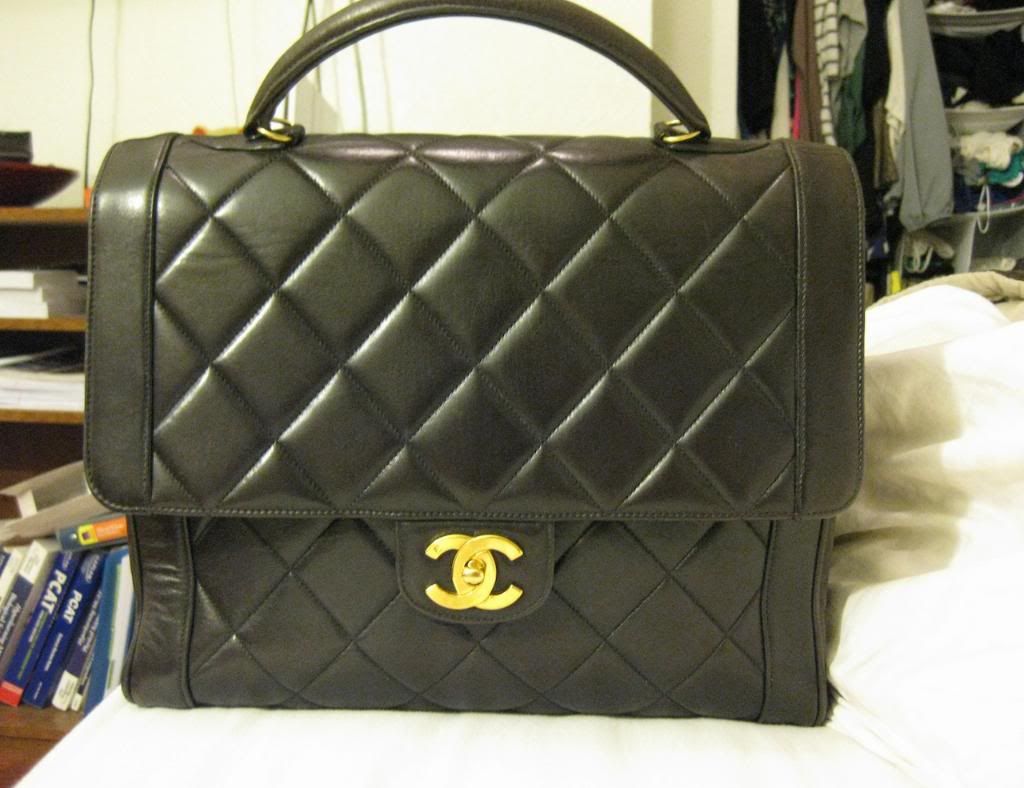
Picture #1
In regards to its age, it still looks good with no visible wear to the edges.
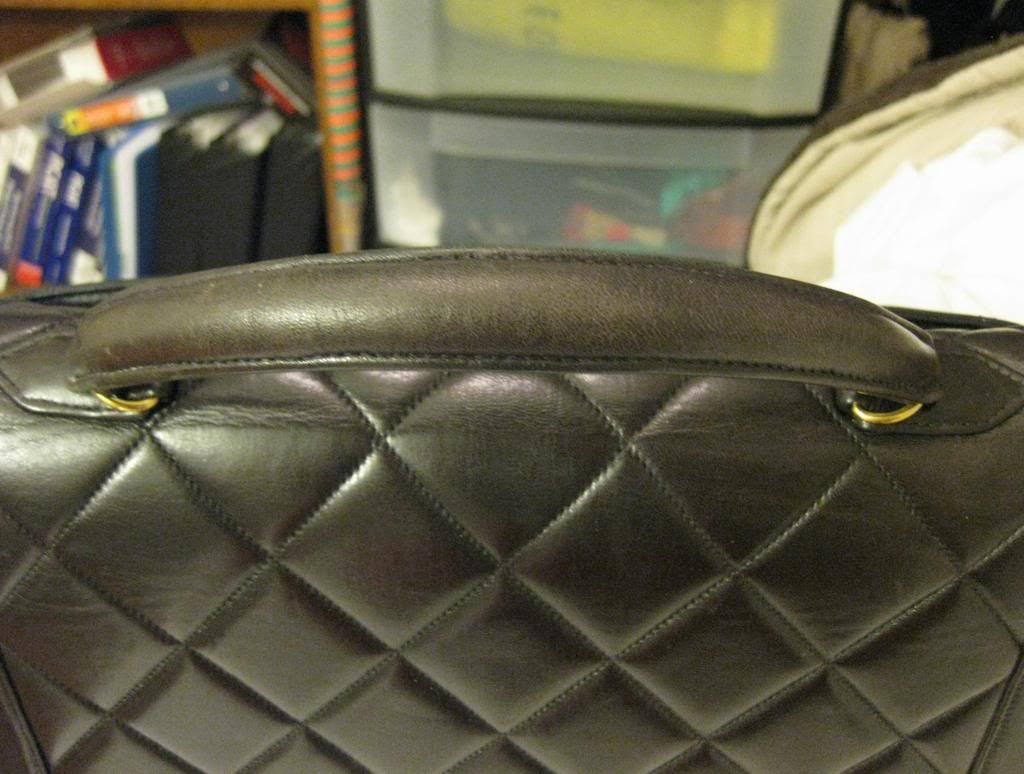
Picture #2
There is difference in appearance of the handle from that of the body typical worn with color loss looks like there is no grease issue.
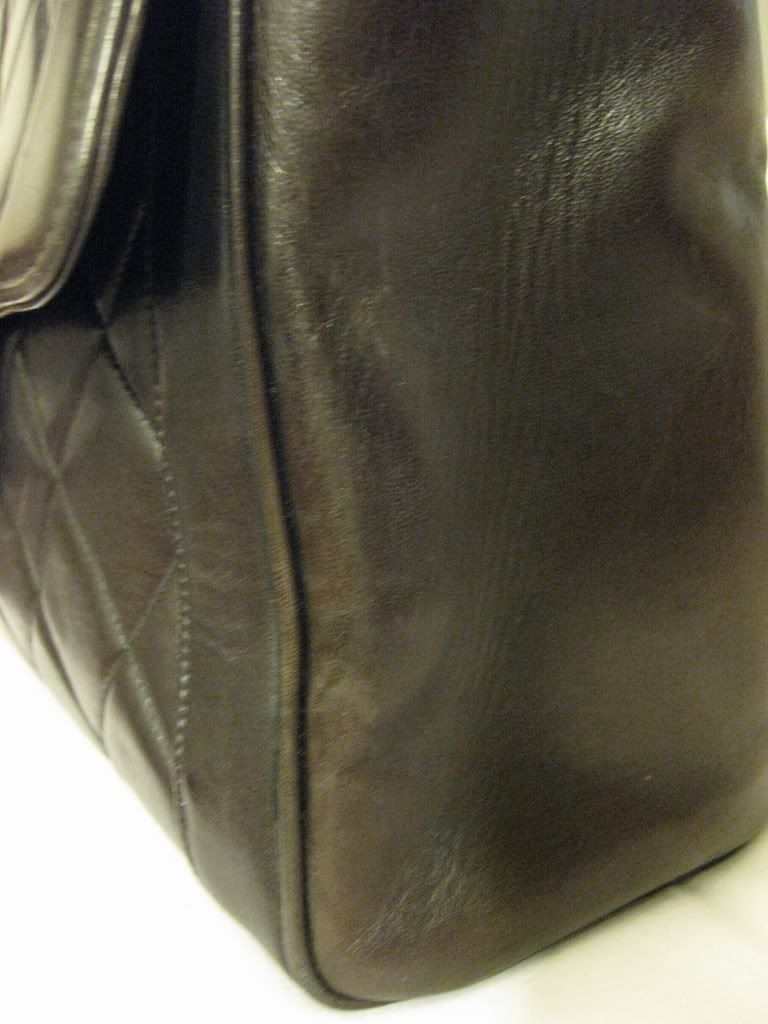
Picture #3
The side shows uneven stress or tension to the panel where topcoat abrasion is shows loss of color
Re-coloring:
Re-coloring or re-dyeing will be done with Aniline Dye-21. This is a water based dyestuff and can be applied by airbrushing, varnish or foam brush, or simply lint-free rag. It may have a typical bronzing effect until application of Topcoat-79G to return to the original black color.
Which Kit?
What you need is a restorative cleaning to remove foreign contamination both surface and penetrated as the first phase. The structure or the thickness of the leather would require the original fatliquor to be replenished. This is done with hydrating prior to fatliquoring. The leather protection would be used after the Topcoat-79G thus Kit A3 is the recommended kit.
Add-on to the Kit A3
If there are penetrated grease stains you may want to add Degreaser-2.2.
Leather Eraser-4 is recommended to scrub during the restorative cleaning and to erase wick-up soiling particulates when crispy dry, especially prior to dye application.
Adhesor-73 as an auxiliary to the Aniline Dye-21 to coat over existing topcoat (Aniline Dye-21 only stains the leather crust not the existing topcoat if it is still presence, unless with added Adhesor-73).
Aniline Dye-21 in black
Aniline Topcoat-79G in gloss
Sandpaper in 1000/1500grit to remove deteriorated topcoat prior to re-dyeing.
Heres the Kit A3
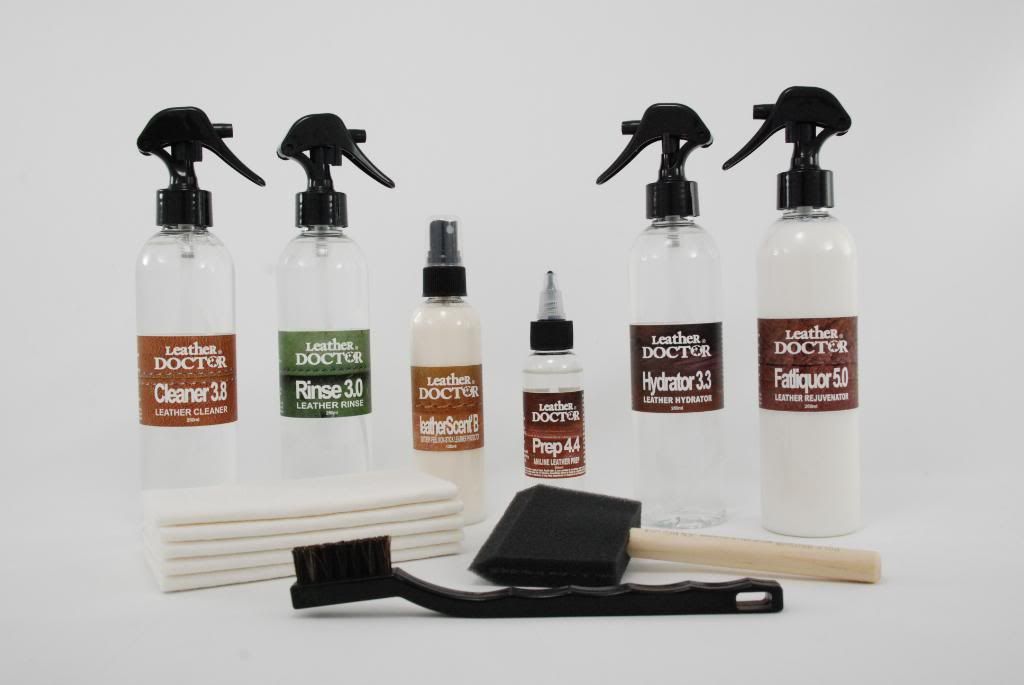
Leather Doctor®
Kit A3 : Aniline Leather Standard Care Kit
Instructions for the entire system will follow
Roger Koh
[email protected]