>>> Perhaos I should start lightly sanding down the other areas of the front passenger seat first (post #6), cleanup to start the entire driver's set bottom and bolsters with hydrate first?
Yes, do a test-out area, so you know how the product responds.
Remember, once Hydrator 3.3 hydrates the leather, Fatliquor 5.0 has to follow immediately. It is the Fatliquor 5.0 that softens the leather.
You may have to remove the finishes to the leather crust easier for both Hydrator 3.3 and Fatliquor 5.0 to do their work.
A bamboo toothpick is an idea to clear up the perforated holes to standardize the size and products to get into the fiber structure.
Impregnator 26, found in this Leather Repair Kit A8.r
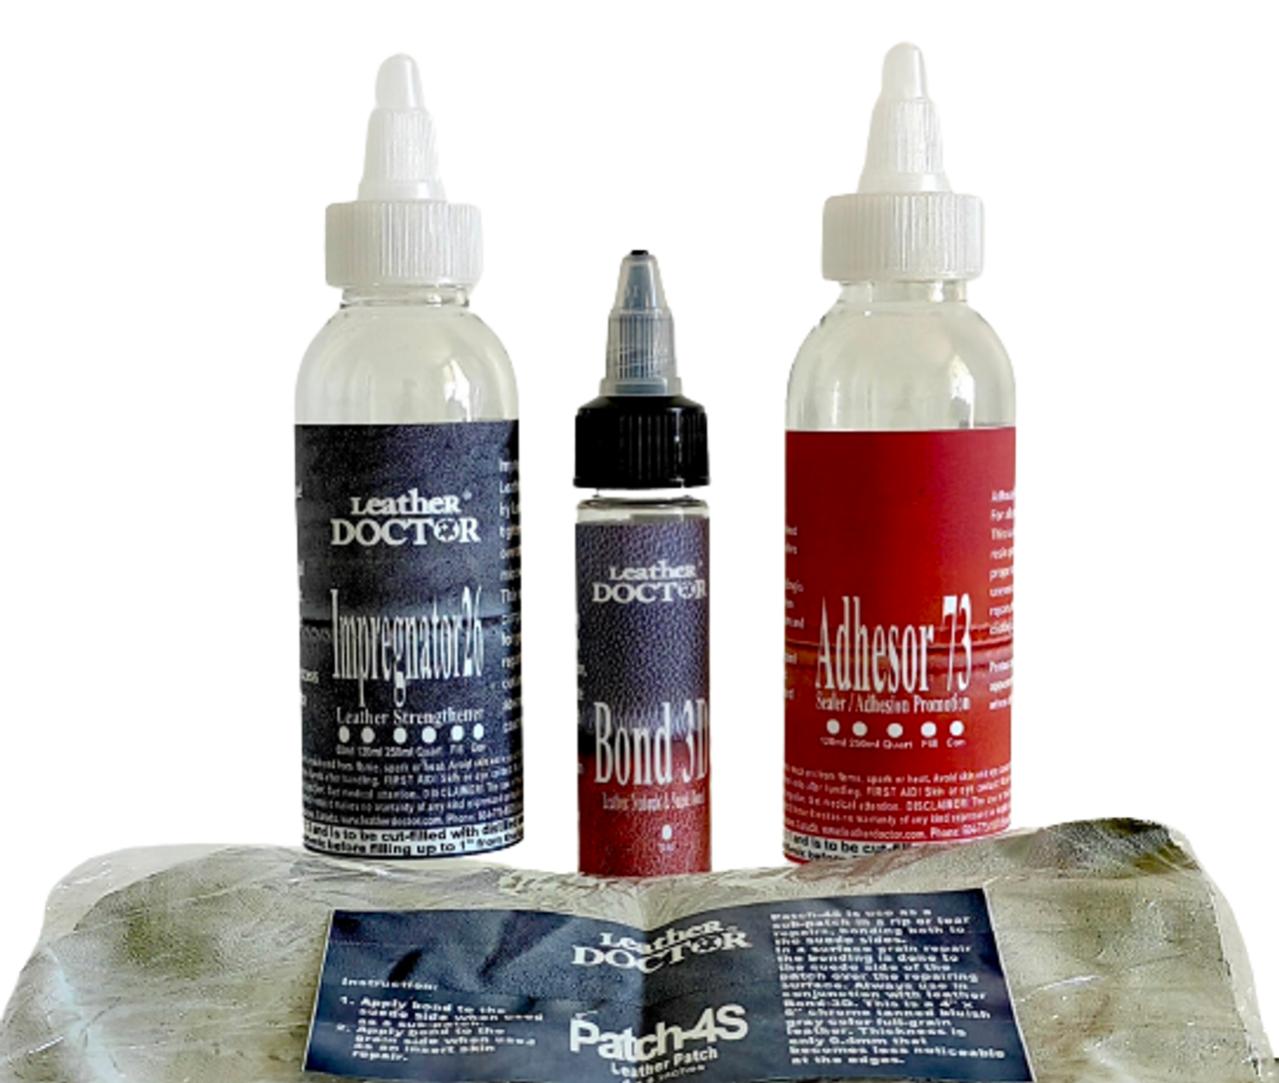 https://leatherdoctor.com/leather-repair-kit-a8-r/
applied along the clean-up cracks after fatliquoring (Hydrator 3.3 and Fatliquor 5.0) helps strengthen the leather.
Bond 3D with suede fibers will reduce cracking as fillers instead of 'fillers' that crack easily.


