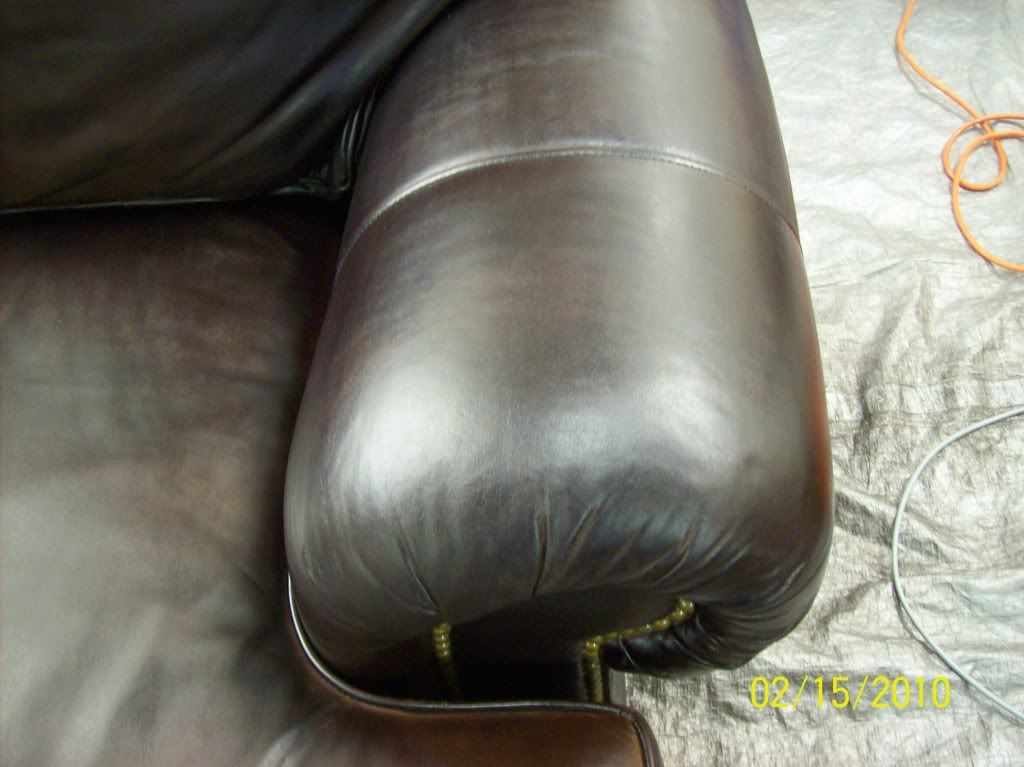
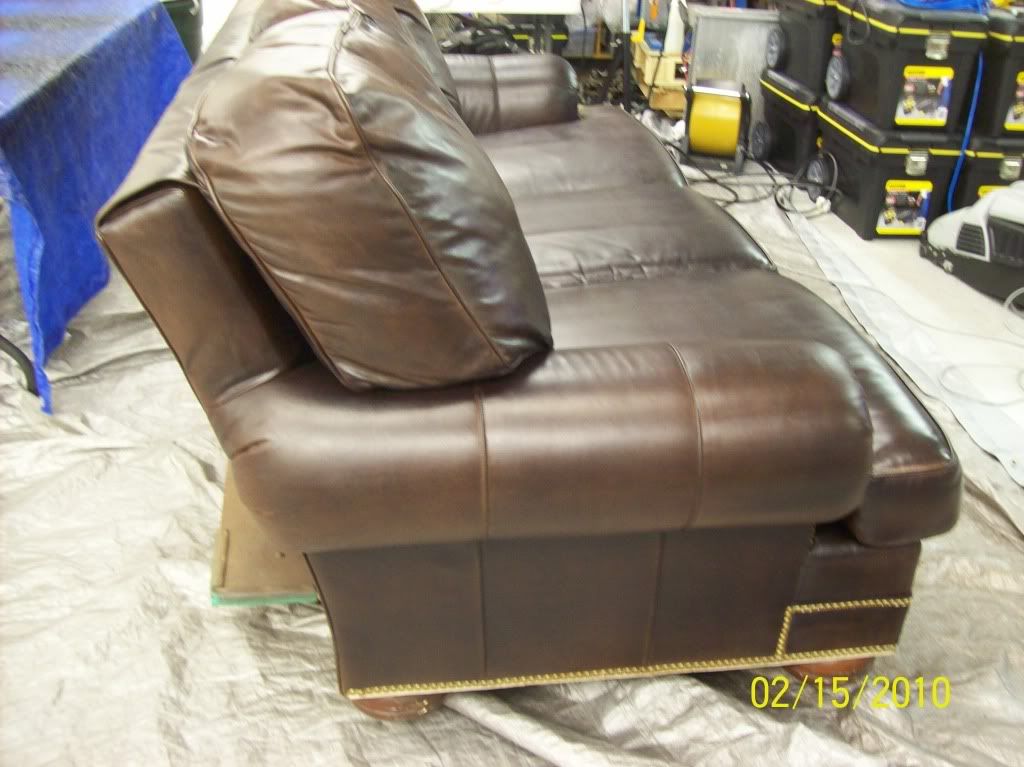
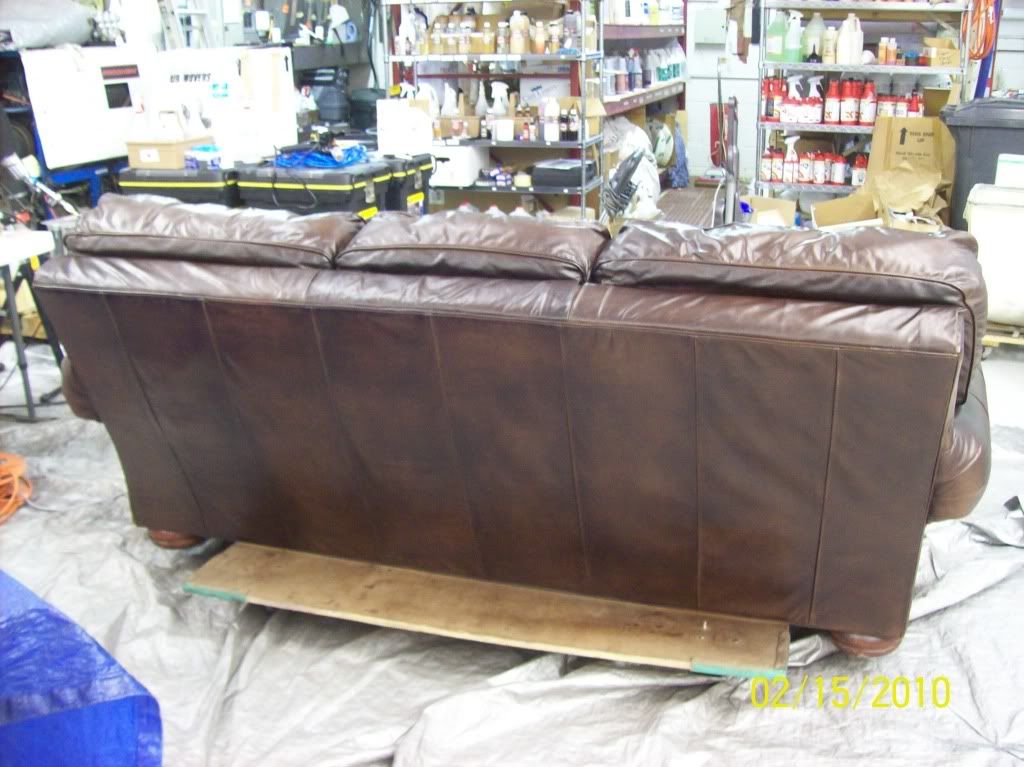
And here are the pictures merged from the previous thread taken on-location!
#1
#2
#3
#4

 Senior Member
And here are the pictures merged from the previous thread taken on-location!
#1
#2
#3
#4
Senior Member
#2
#3
#4
#5
#6
#7
#8
#9
#10
#11
#12
Senior Member
Received the sample and here are the recommended procedure:
Tarnish Brass:
Use d'Tarnish-1.3 to wipe the tarnish brass - test it out with cotton swab if the stain response.
Attention to Stains:
Surface contact areas that has rings may be alkaline stains.
Using Degreaser-2.2 or Acidifier-2.0 to neutralize alkaline ring marks will reduce blotchiness.
In other words the entire panel having the same pH value 3-5 will reduce blotchiness.
The entire panel has to be acidified to condition the protein fiber cationic (+) to hydrogen-bond with other anionic (-) leather constituent to be applied at the next relevant stage - especially the Aniline Pure-21 and the Fatliquor-5.0.
Hydrating the leather structure with Hydrator-3.3 further assist to even out the pH value of the leather structure.
Prep Cleaning:
Prep cleaning process prepares the leather free from foreign soil contamination.
Prep4.4 is leather-safe design for absorbent leathers as this is Aniline Wax Pull-up leather.
Use Prep4.4 > Cleaner3.8 > Rinse3.0 in combination with horsehair brush agitation and leather Eraser4 scrubbing follows by paper rag extraction.
Let it dry, erase with leather Eraser4 and inspect if there are grease stains.
Degreasing:
Degreasing with Degreaser2.2 > rinse3.0 to remove grease stains if any.
Let it dry, erase suspended residue and inspect ready for dyeing.
Aniline Redyeing:
There are three versions of aniline dyes:
Aniline T’parent27, AnilineT’lucent25 and Aniline Pure21.
Aniline Pure21 is the penetrating dyes and is the one to be used to stain the leather crust.
This is applied by spray and pad off excess with lint-free paper rag to achieve an even appearance when dry.
When the dyeing is satisfactorily done and inspected we may proceed to restore the leather structure.
Leather Rejuvenating:
Rejuvenating the leather is to return the leather to its original suppleness and strength that may include reducing the creases and wrinkles.
It’s a threefold process that involves hydrator3.3 > fatliquor5.0 > rinse3.0.
The hydrator3.3 when soaked, wrapped and dwelled overnight will cause the crushed, stick together fibrils to relax.
The dwelling facilitates colloidal water movement within the leather structure capillary motion during the wicking process.
That will cause suspended soil particulates to be moved to the leather surface to be extracted with rag while damp and erase with leatherEraser4 when dry.
Other penetrated stain removal technique is to lay layers of tissue paper follows with towel to weight them down causing the wick-up stains to be trapped by the tissue.
While the leather is still moist fatliquor it till saturation, another application is recommended when the leather is moist again.
When almost dry rinse the remaining traces of fatliquor with rinse3.0 until the leather feels squeaky.
Leave till dry and inspect, to reduce darkening effect and soften the leather stretch or flex it.
Wax Pull-Up Rejuvenating:
WaxEffect8.6 is used to rejuvenate wax pull-up effect diminished through usage, ageing or cleaning.
The application method is similar to fatliquoring.
On natural slow drying minimum four hours or until residual wax appears on the surface.
This cloudy residual wax is activated with a heat gun or hair dryer to coats the leather grain.
In restoration refinishing to the leather originality urethane topcoats further protects this wax coating.
Adhesion Coat:
Adhesor73 is fine sprayed and excess is pad off like varnishing to ensure that the topcoats have a better foundation to bite into.
Aniline Dye Coat:
Here is the chance to rectify the colors if necessary by dye coating to even out appearance prior to the topcoat with Aniline T’parent27.
Topcoat:
Topcoat Aniline79G, an aqueous urethane topcoat gloss is recommended to protect the leather with excellent toughness and flexibility.
Feelcoat:
Leather Scent-D is recommended for this Aniline Wax Pull-up leather with the following benefits:
It’s a non-film forming, non-stick protector that enhances a draggy-feel with a classic leather scent that charms
It imparts a non-stick breathable barrier essentially to shield the detrimental effects of sticky soiling including the nasty ballpoint ink.
And it does help to release those tenacious dye-transfer stains especially on light colored leathers easily without resorting to unnecessary color refinishing.
Its natural draggy-feel protection increases the leather resistance to wet and dry rubs, thus reduce stretch, scuff and abrasion.
It is also used as a scuff repairer, filling and concealing surface scuffs to improve appearance.
The drag produces an unforgettable familiar sound sweet to the ears when leather rubs.
Let us know your progress with pictures!
Roger Koh
Leather Doctor®
[email protected]
Senior Member
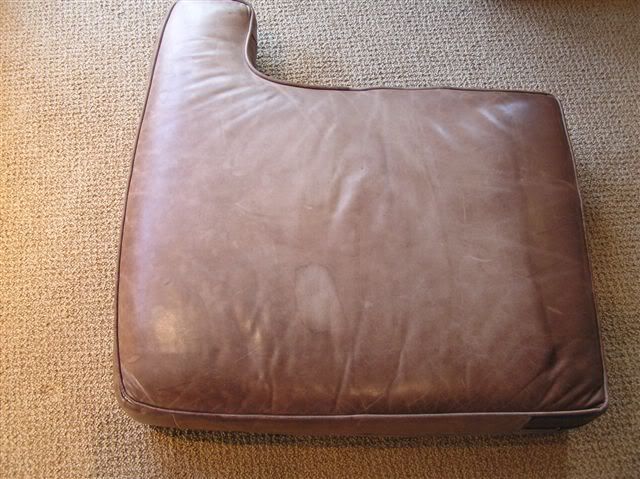
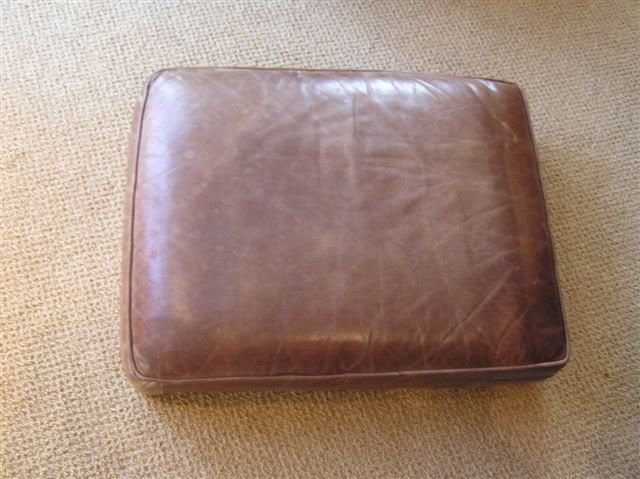
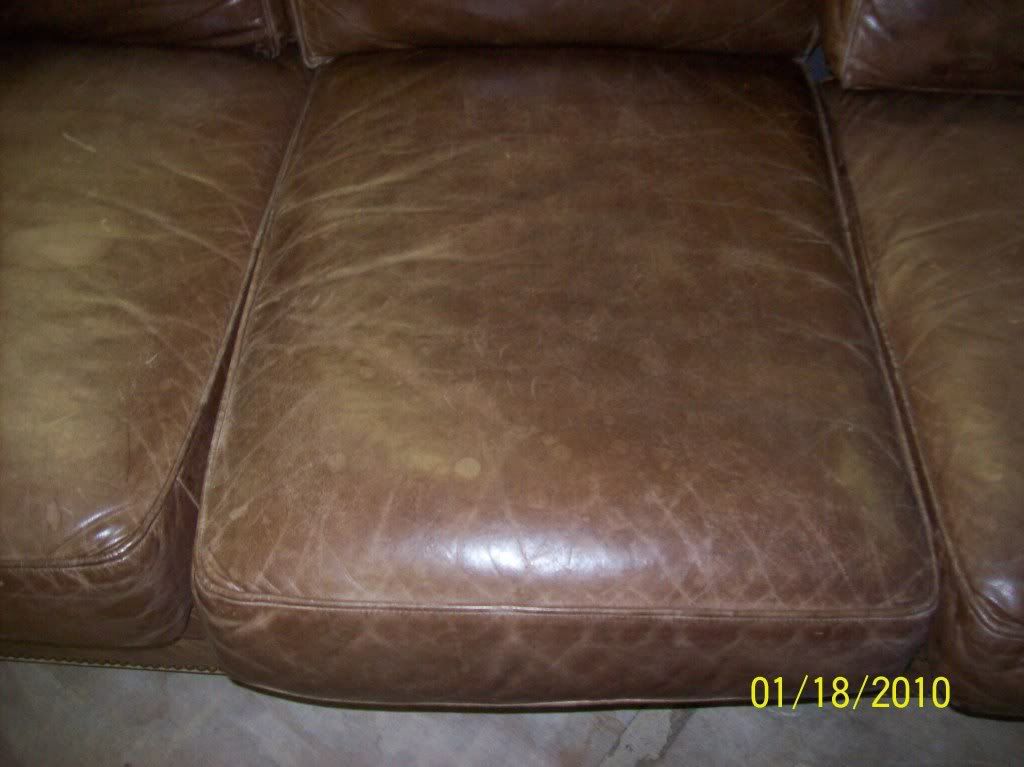
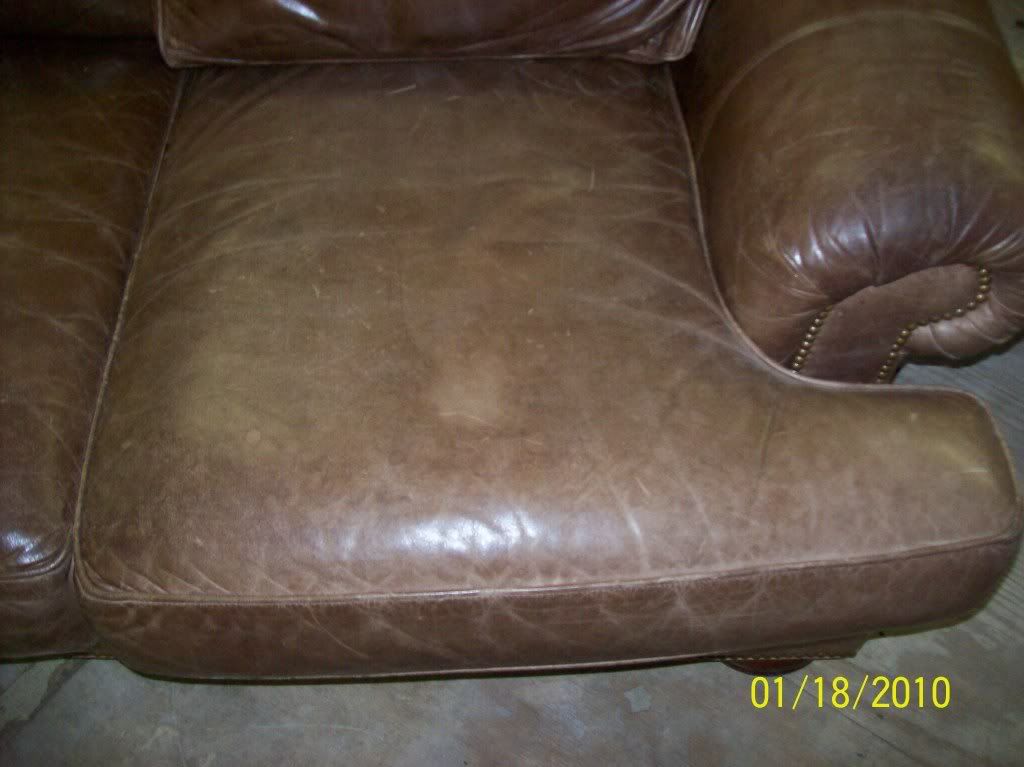
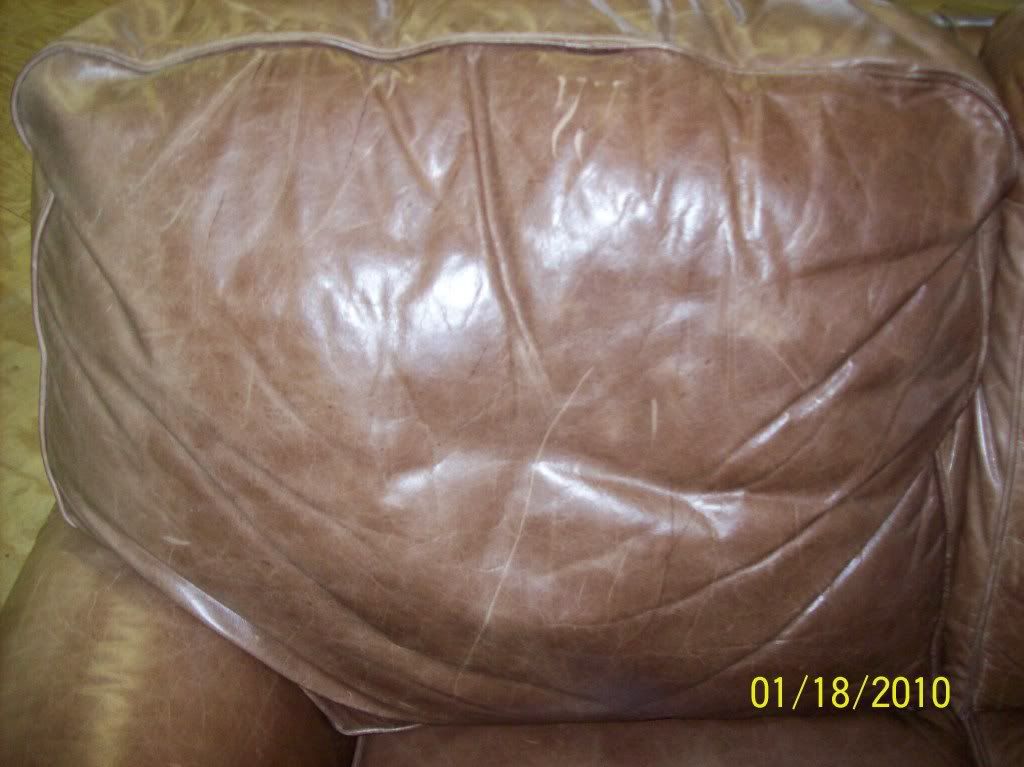
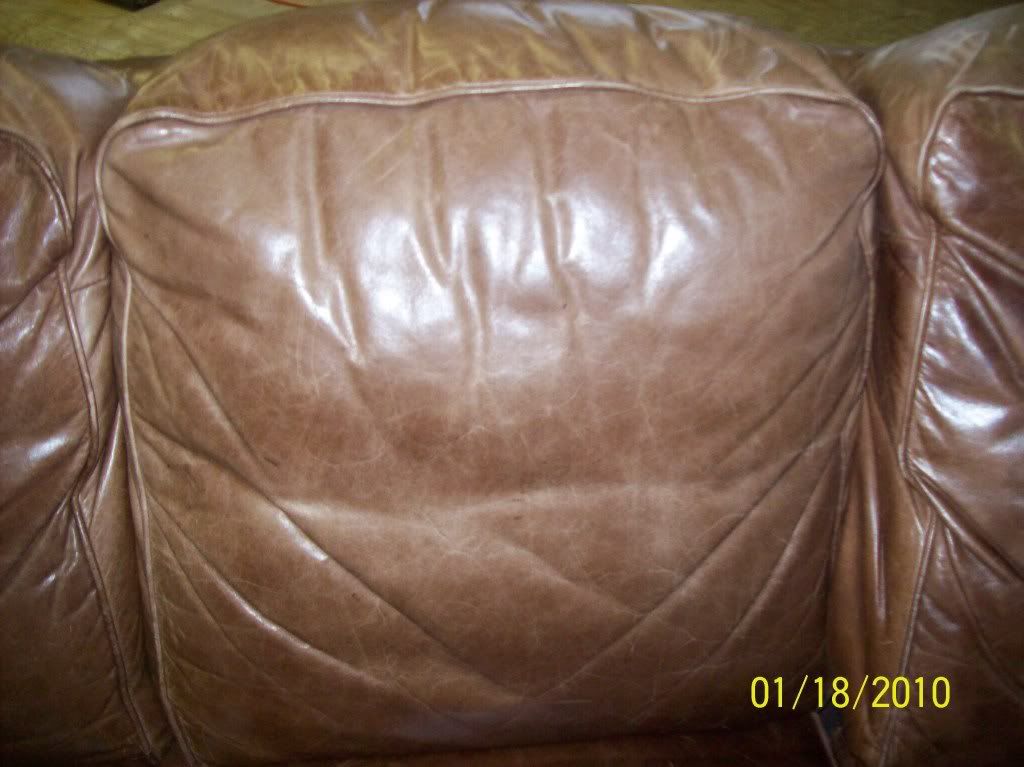
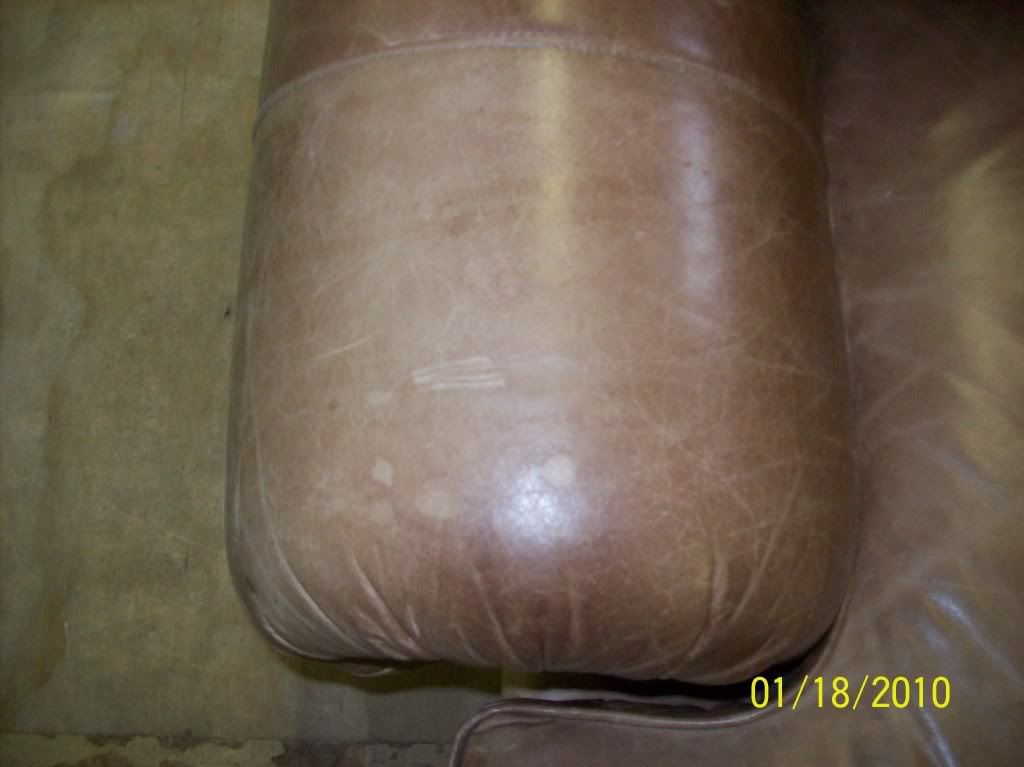
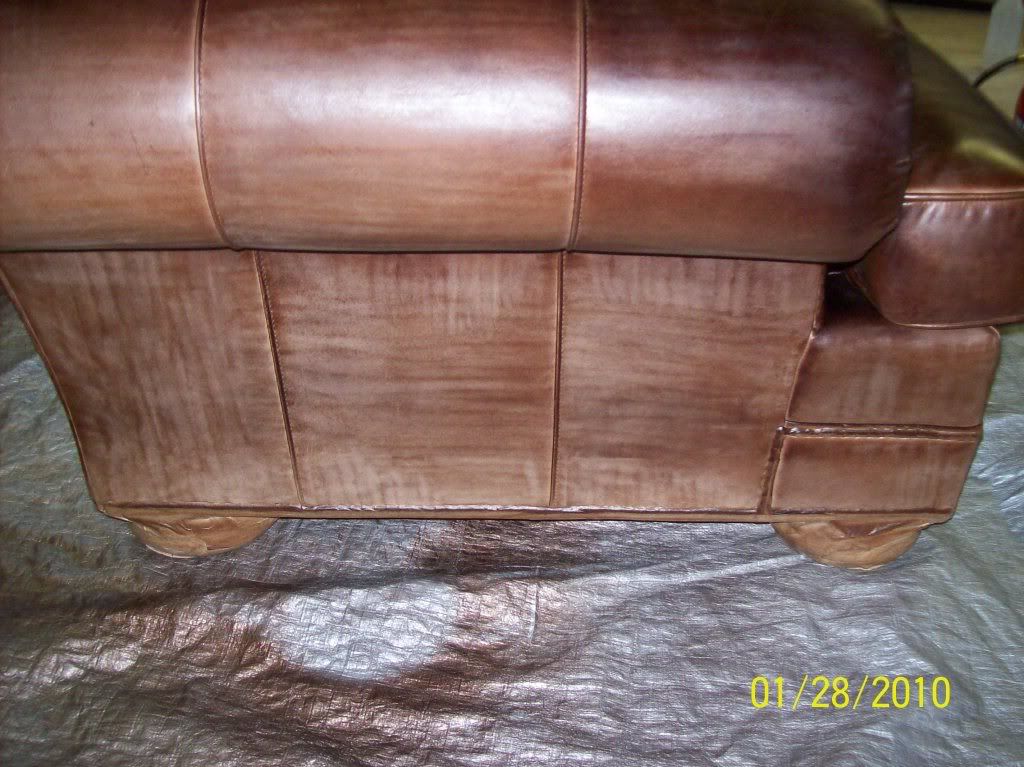
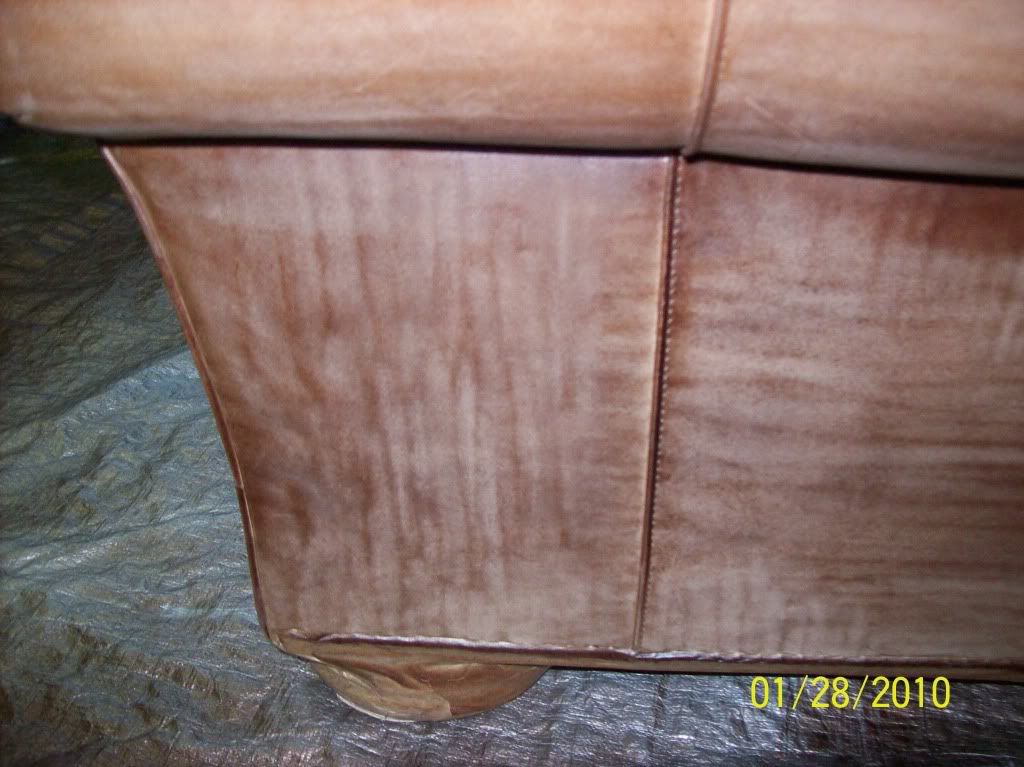
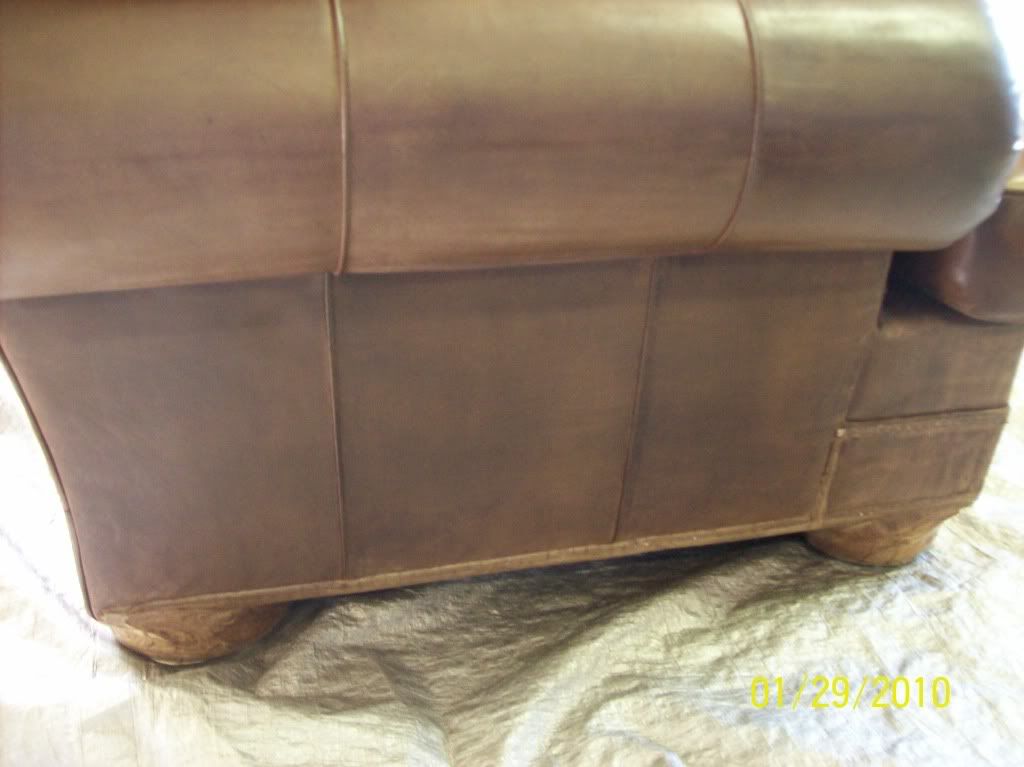
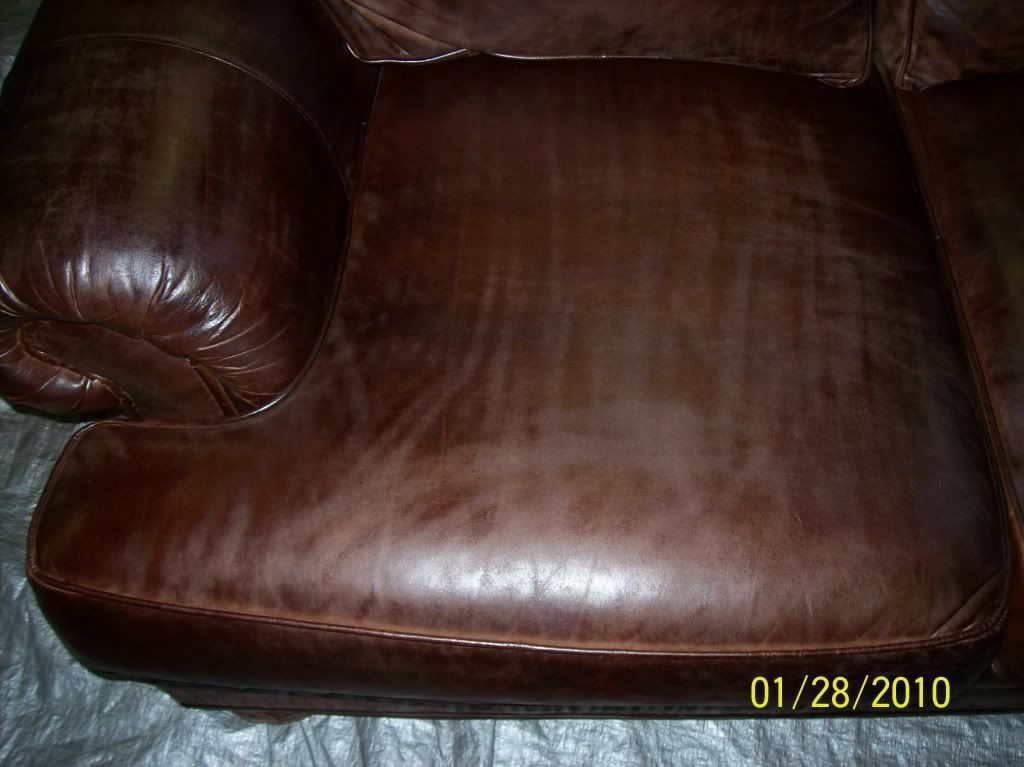
Sofa looks streaky all over. This is after being dyed. Not sure what went wrong. It does not look uniformed. And is there anything that we can do to correct this issue?
Senior Member
In every stage of the wet and dry prep process – the aim is to prepare the existing leather condition with evenness avoiding streaks or blotchiness.
The prep surface beauty or ugliness of the leather surface will be magnified many times over once the topcoat is applied.
This is what we see in these pictures are the incorrect end result of wet or dry prep.
Streaks are evident of using razor-60 that produces this unevenness.
My recommended procedure post #3 does not suggest the need of using razor-60.
And the need of using razor-60 is for shaving off deteriorated topcoat to produce an even surface absorption, which also can become counterproductive as in this case.
To correct the problem – the entire panels has to look uniform.
And my recommendation is as follows:
Step 1 - Leather Surface Wetting Tension Inspection and Correction:
On the back panel choose a section and spray Hydrator-3.3 to check for uneven absorption of the leather surface.
Even it out with Razor-60 and or wet 1200-1500 sanding.
It is always safer to work the Razor-60 while the surface is wet or damp (just like shaving our own skin).
Step 2 – When dry and Dry Prep - test out the dyeing (stain or coat) system on the back panel to see which produce the best result.
Roger Koh
Leather Doctor®
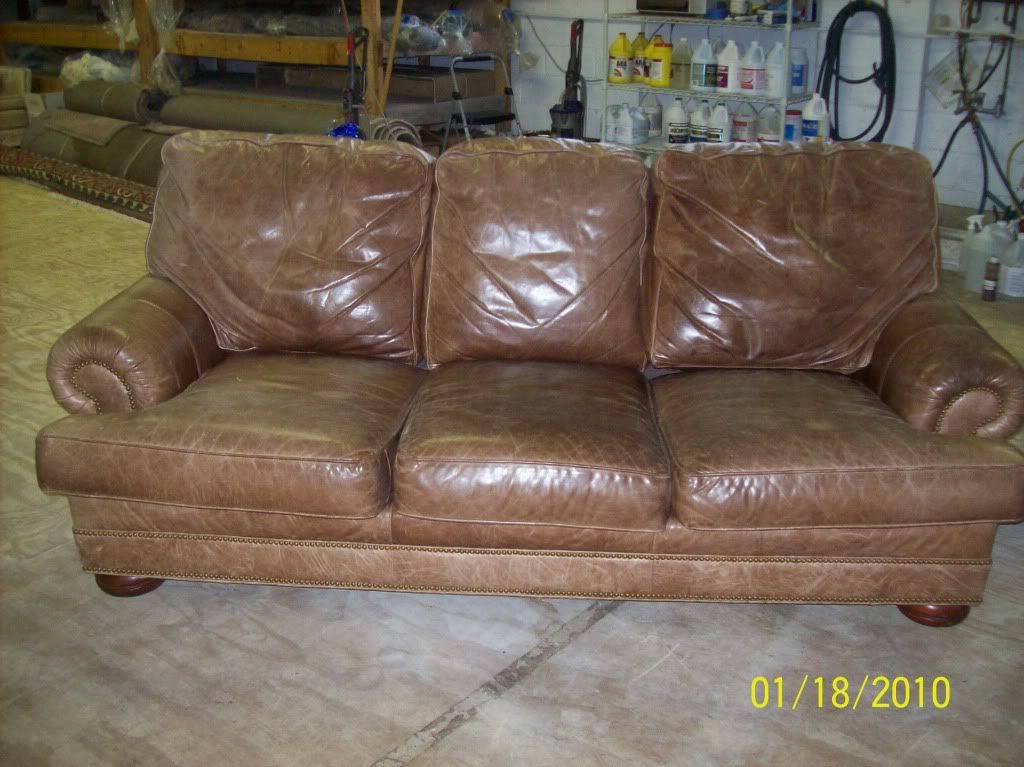
Senior Member
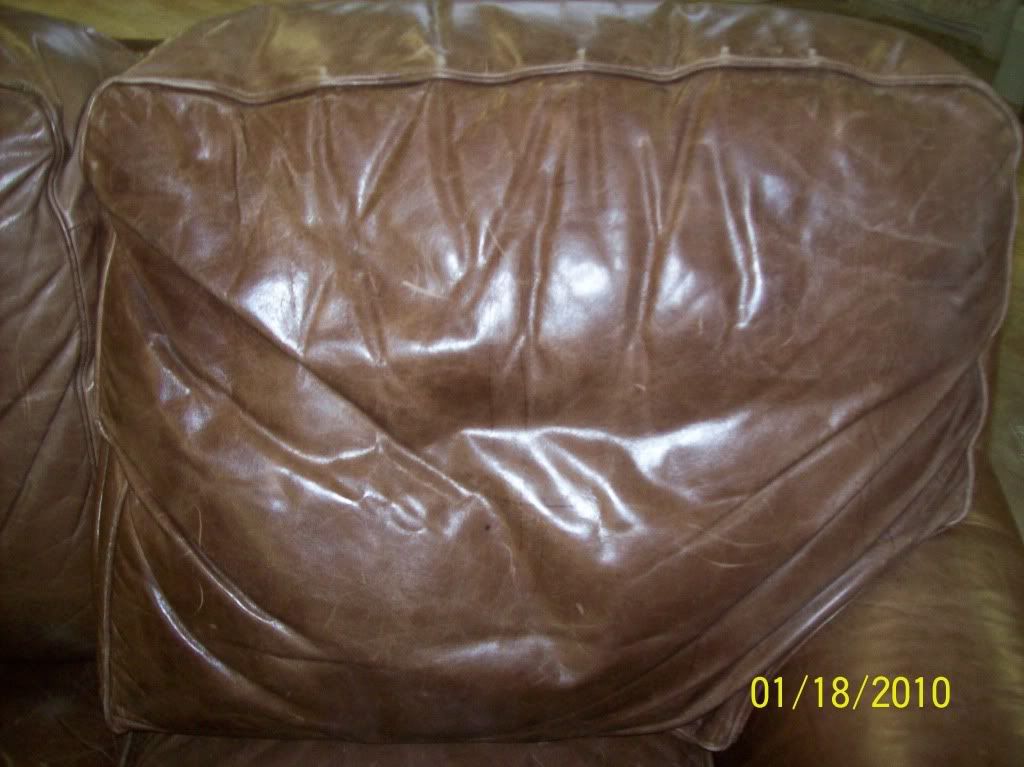
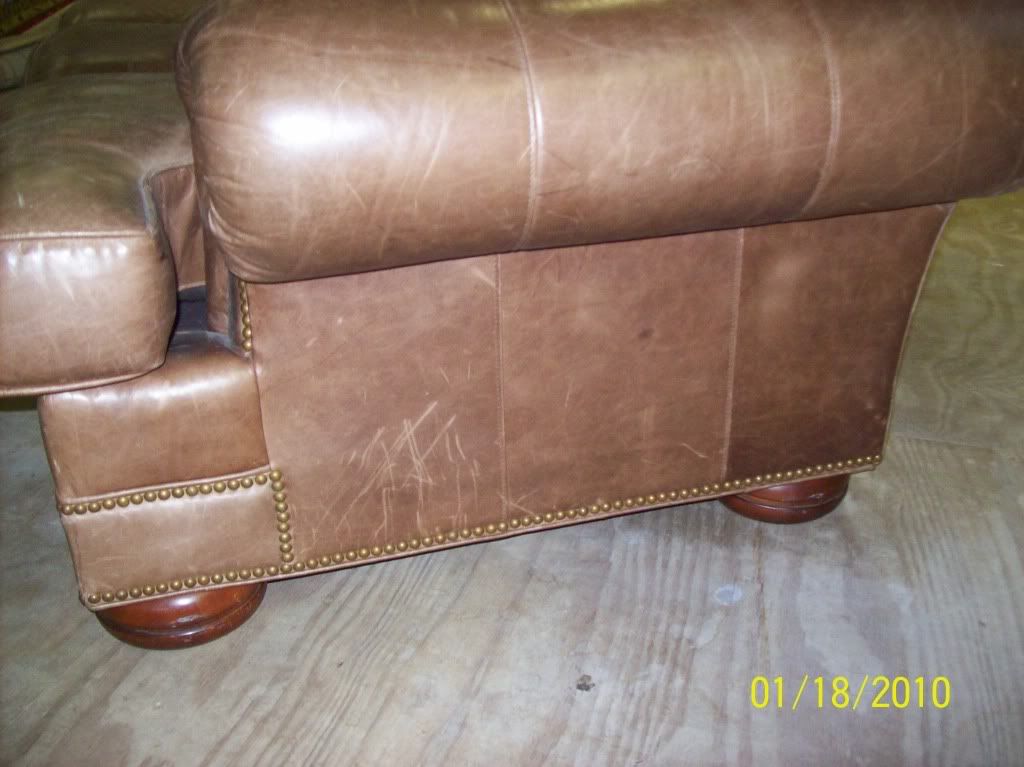
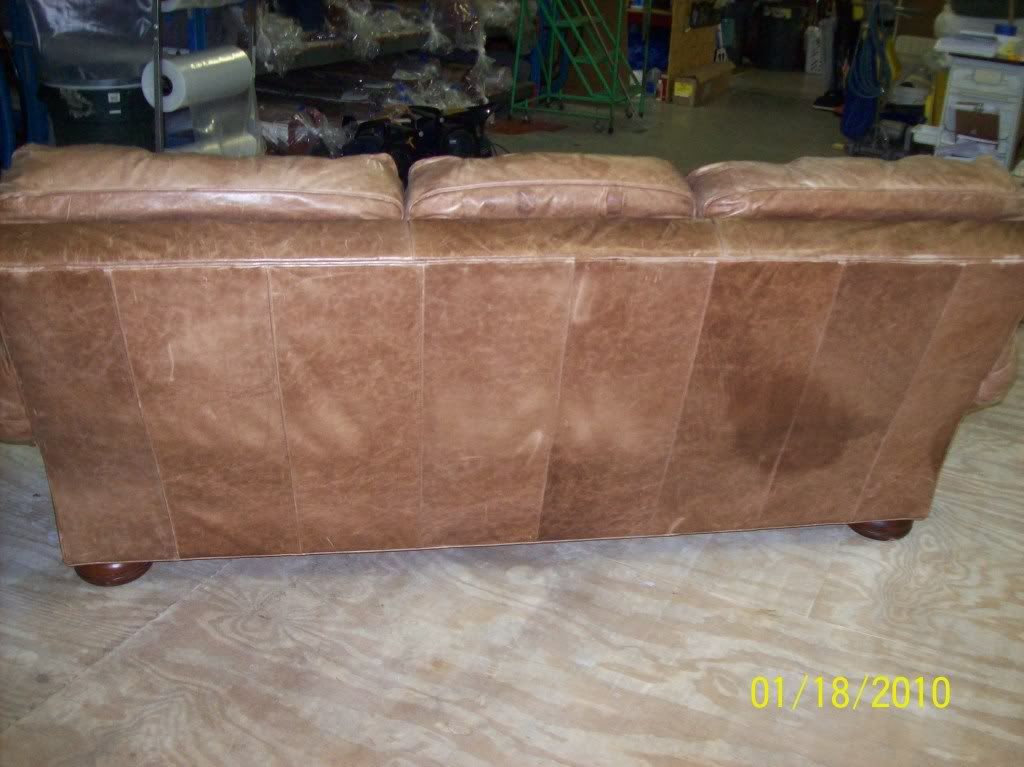
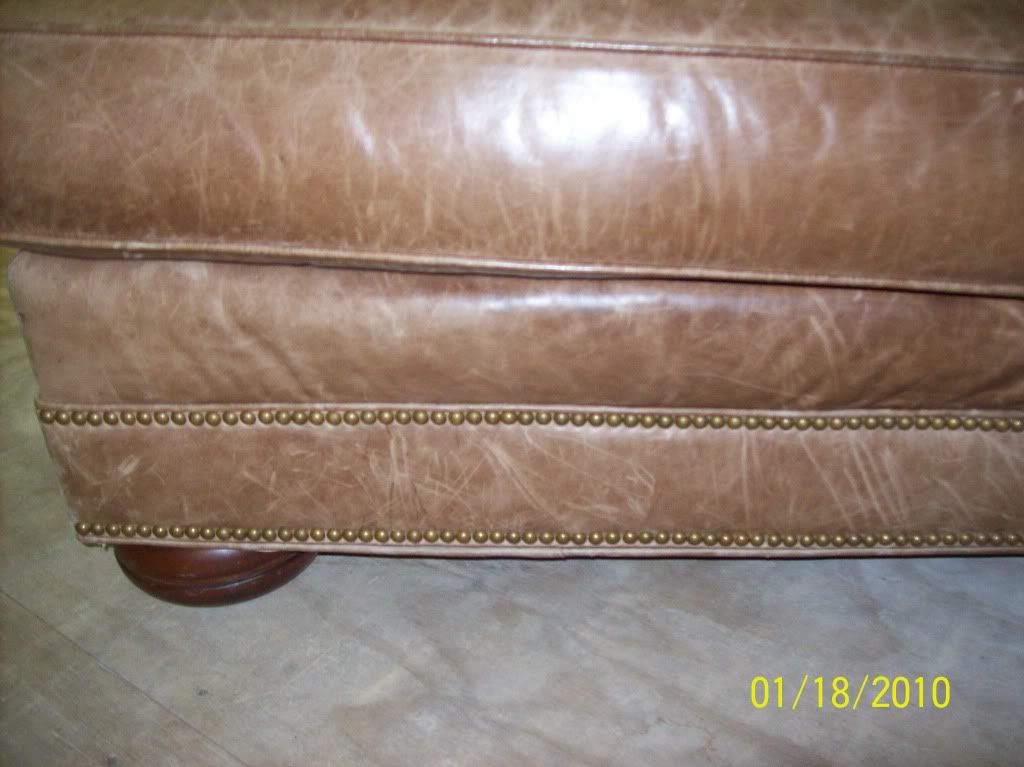
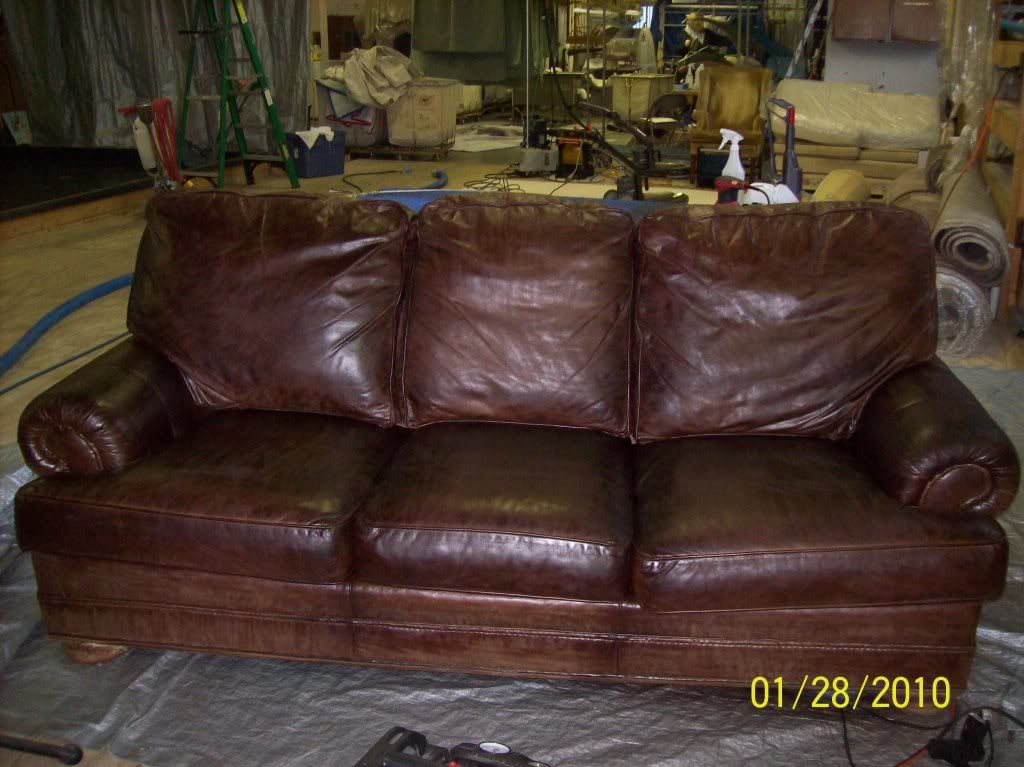
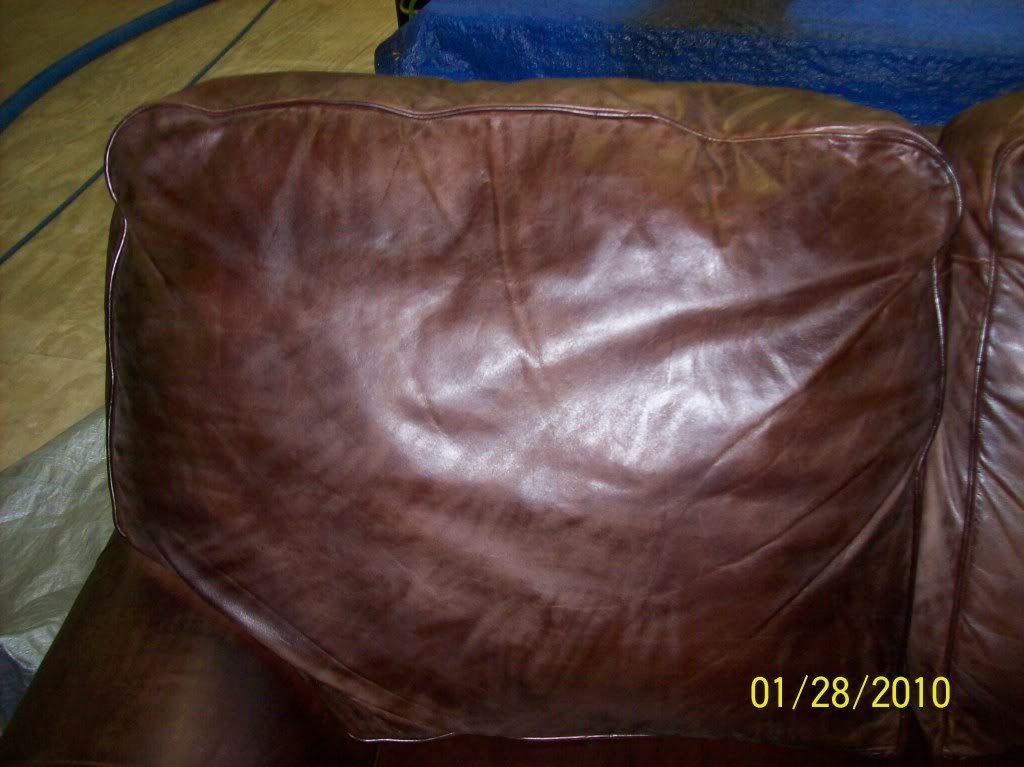
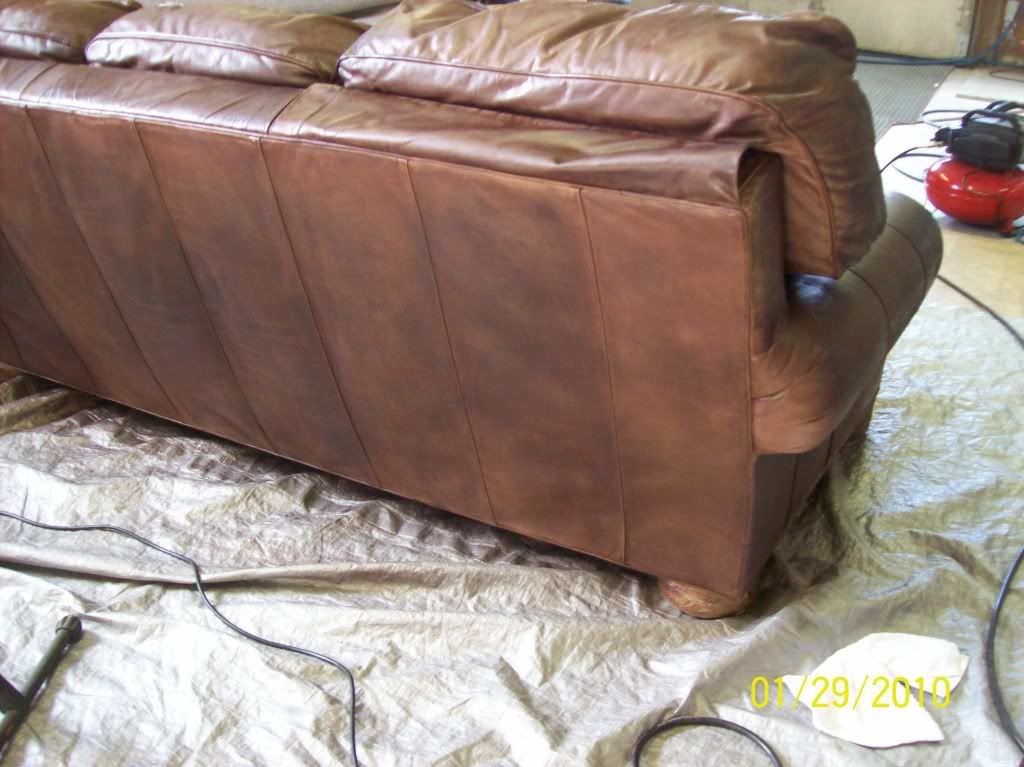
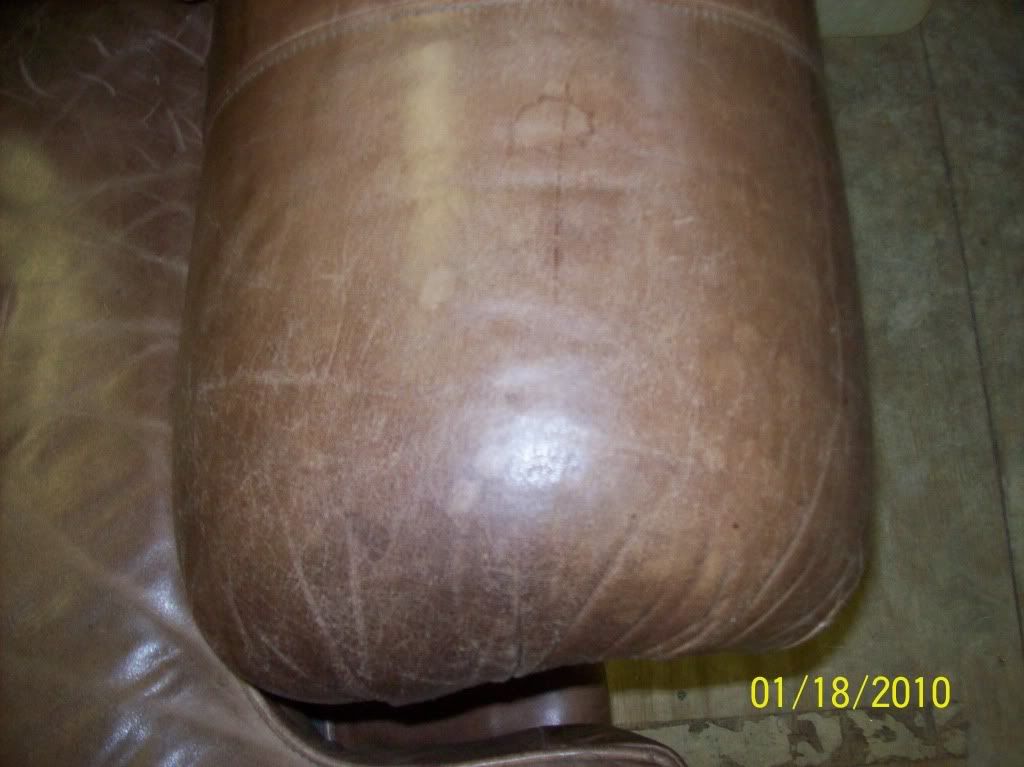
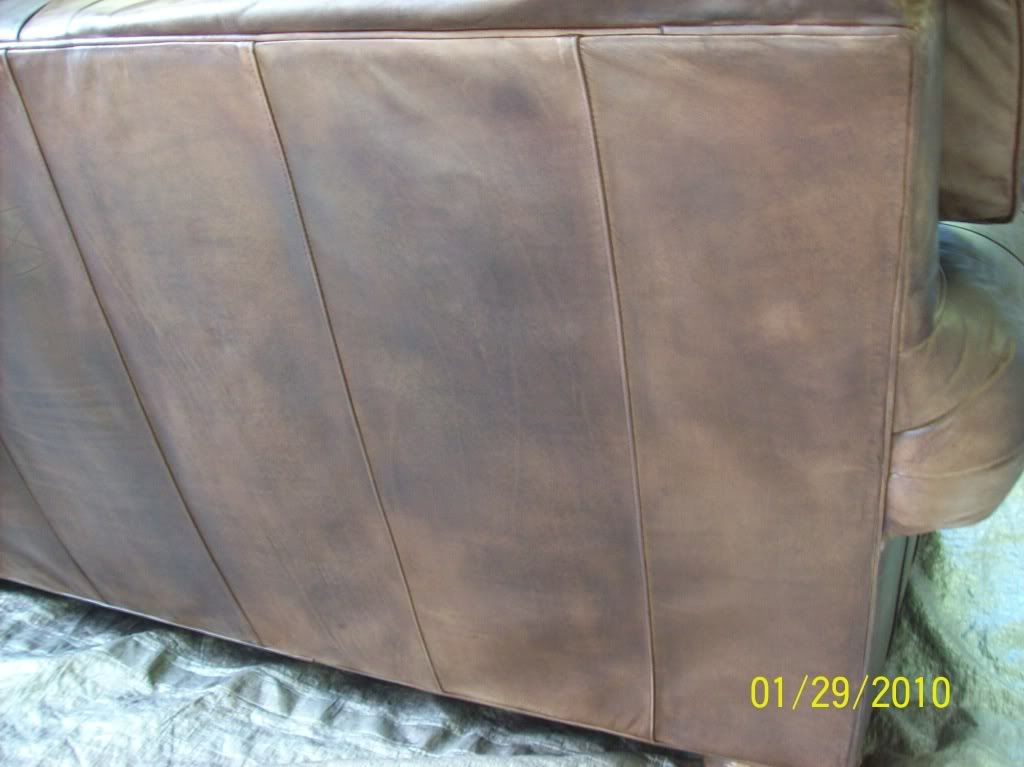
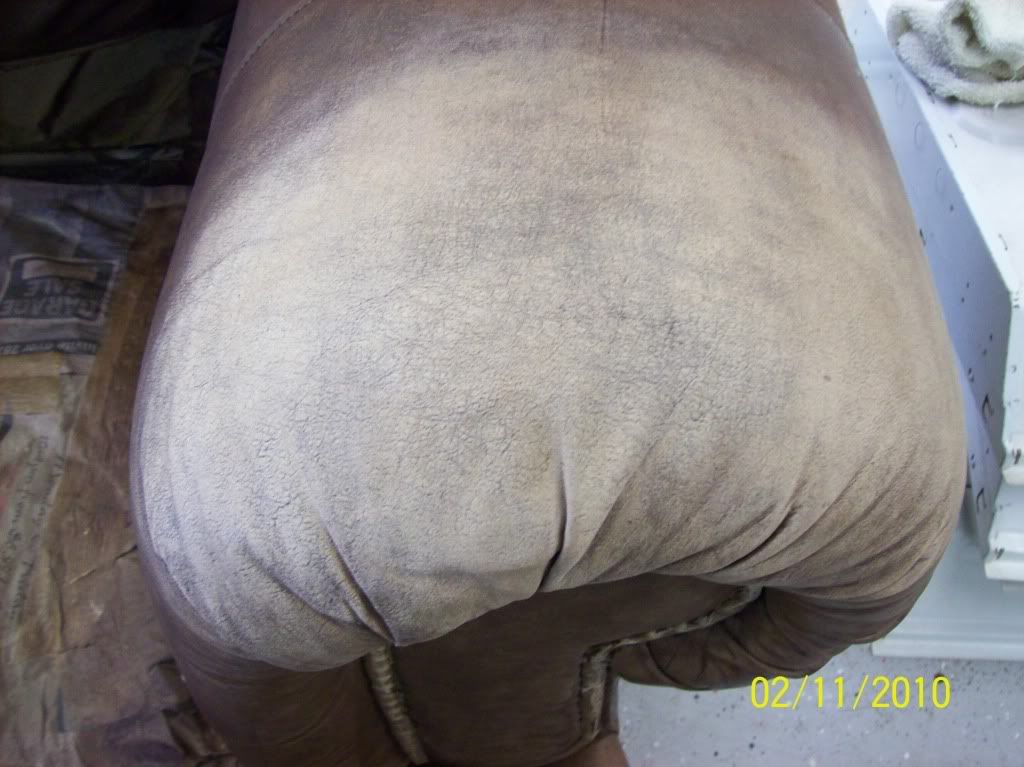
1. Side of sofa.
2. Back of sofa.
3. Close up of back of sofa.
Senior Member
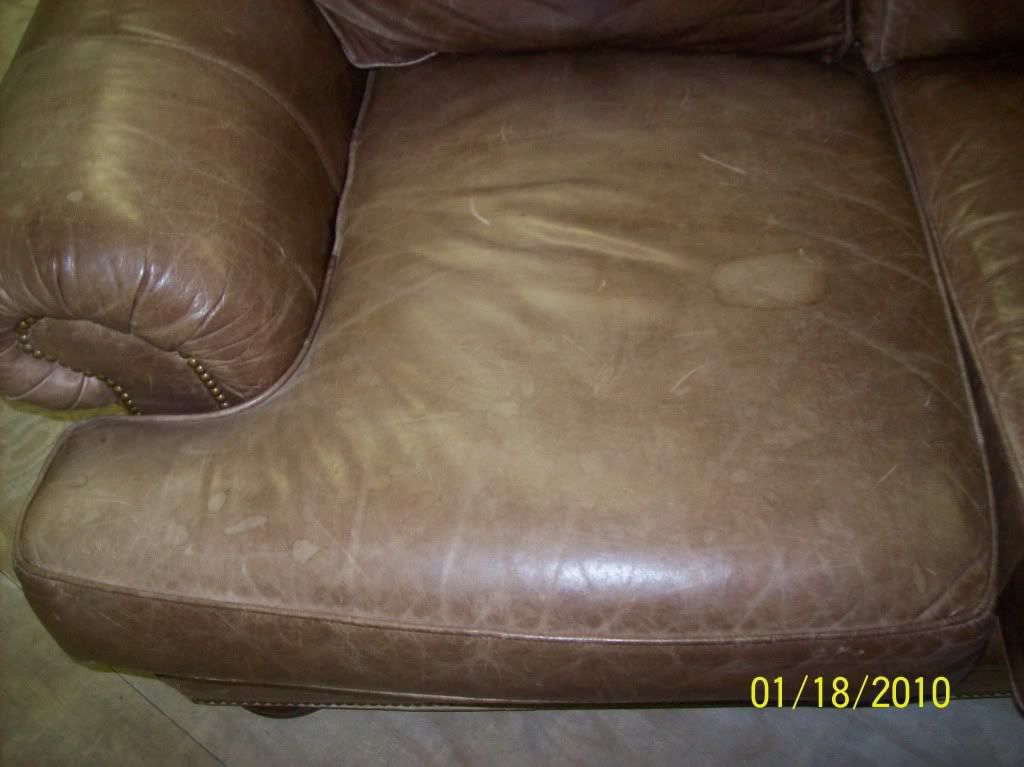
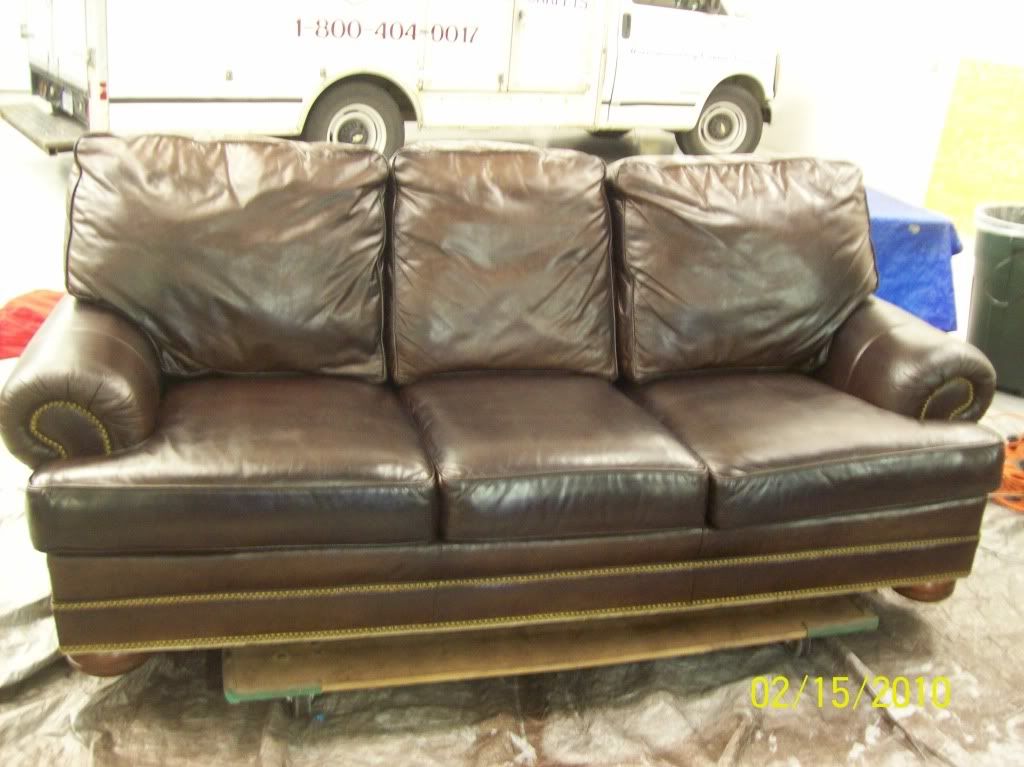
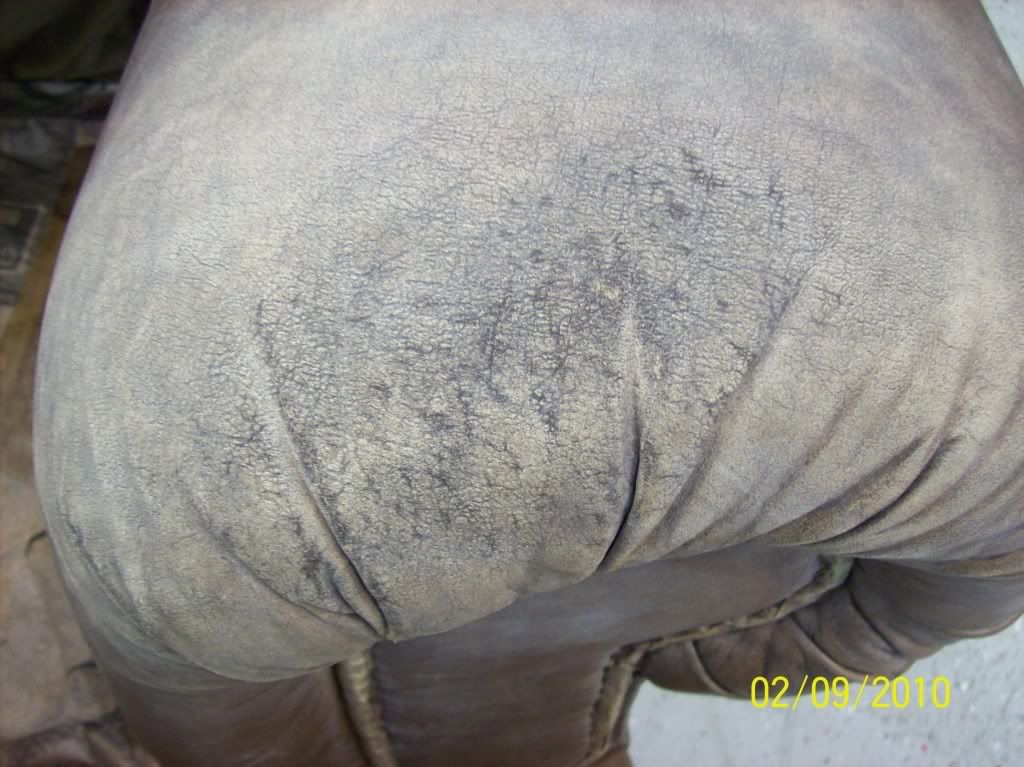
Should we continue working on this area to make sure the oil & grease is gone? And what is the proper procedure to repair? Spraying on impregnator with the dye or applying with a foam brush?
Senior Member
Rework the grease out!
The grease is all on the low valleys.
The highlands is clean.
Apply the Degreaser-2.2 and squeeze it with a plastic card to drive it into the valleys.
Gentle agitation with Leather Brush-1 for 5 10 minutes, then soak with rinse-3.0, agitate with the same brush and extract with paper rags (no scrubbing).
When rag shows clean spray Fatliquor-5.0 to strengthen the leather, and then repeat with thorough wetting the entire area with Hydrator-3.3 (helps to move suspended grease particulates from the leather structure through the wicking process.
You can extend the leather surface tight with tissue then a towel on top during the slow wicking process.
When dry, use Nubuck Brush-2 to gently dislodge the suspended dry soil particulates from the valleys.
You will surely see a great improvement.
I will further instruct you from there, after I see pictures.
You may have a few more process to go, am I right?
Aniline Pure-21 > Hydrator-3.3 > Fatliquor-5.0 > Wax Effect-8.6 > Impregnator-26 + sanding > Adhesor-73 + sanding > Aniline Tparent-27 + sanding > Topcoat Aniline-79G + sanding > Leather Scent-D.
Do you need the details at each steps the hows or the whys?
Roger Koh
Leather Doctor®
Senior Member
Where to go from here?
Senior Member
Proceed and reinspect after Fatliquor-5.0, further wick-up residue from the "low-valleys" to be remove with nubuck Brush-2.
Inspect whether the damaged area is smooth by hand.
We may have do some repair by bringing the Impregnator-26 forward pruior to Wax Effect-8.6.
Let me know your findings.
Aniline Pure-21 > Hydrator-3.3 > Fatliquor-5.0 > (Inspect and remove wick-up residue) Impregnator-26 (repairs?) > Wax Effect-8.6
Senior Member
There are currently 1 users browsing this thread. (0 members and 1 guests)
 Posting Permissions