Originally Posted by
chet

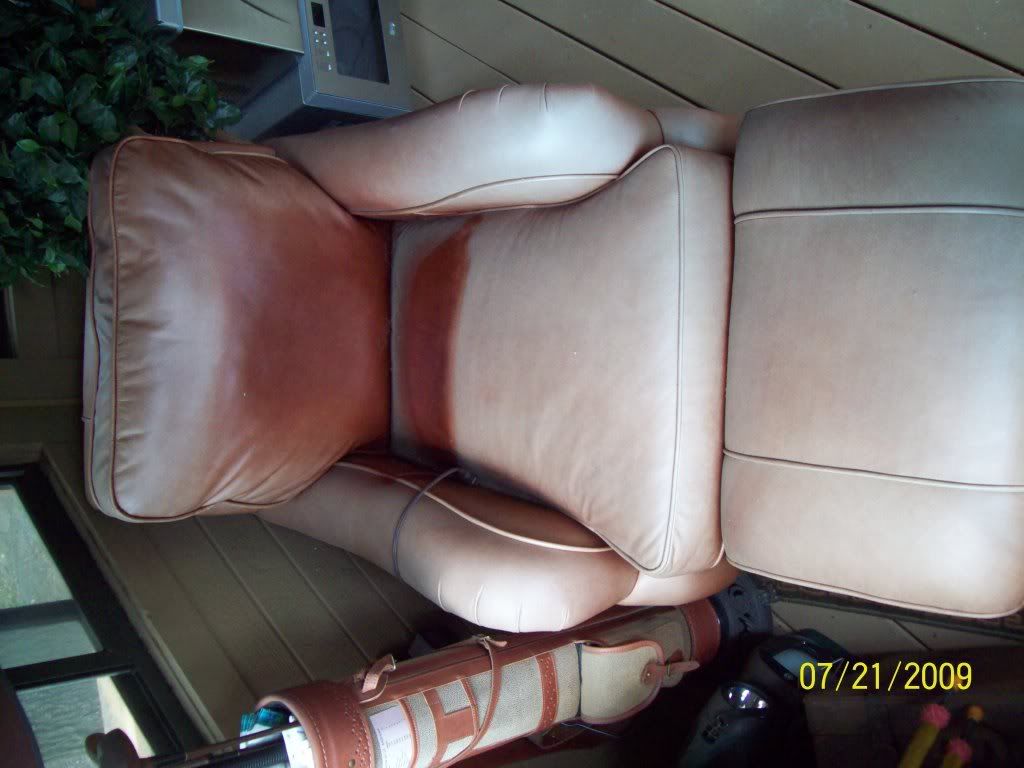
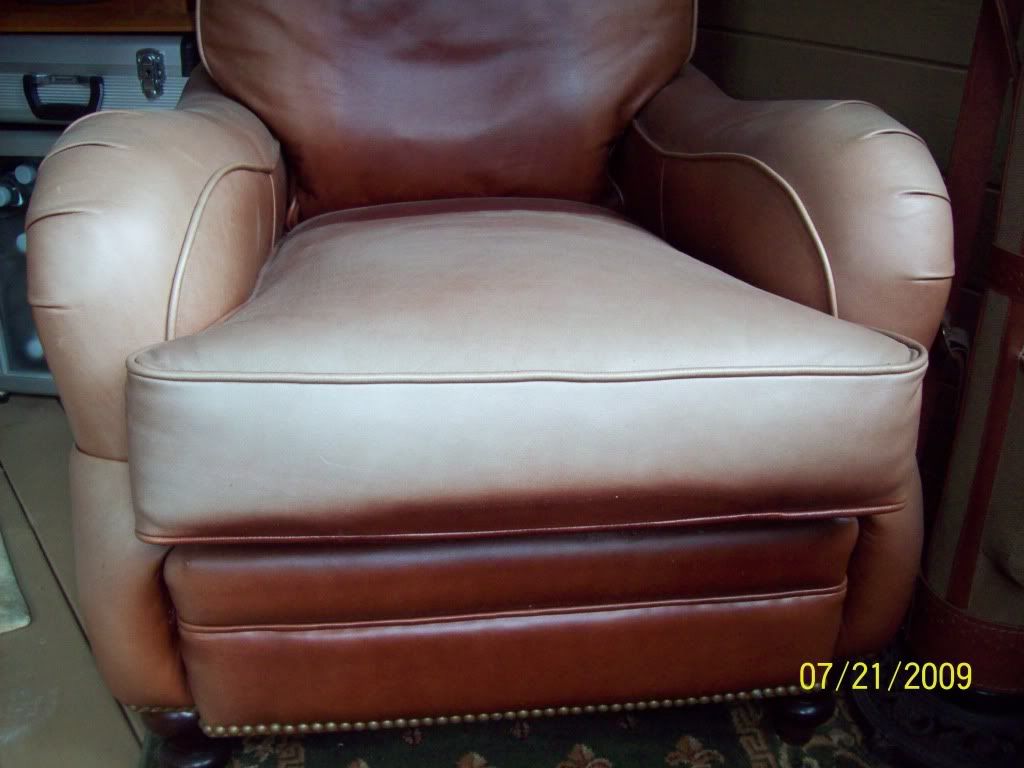
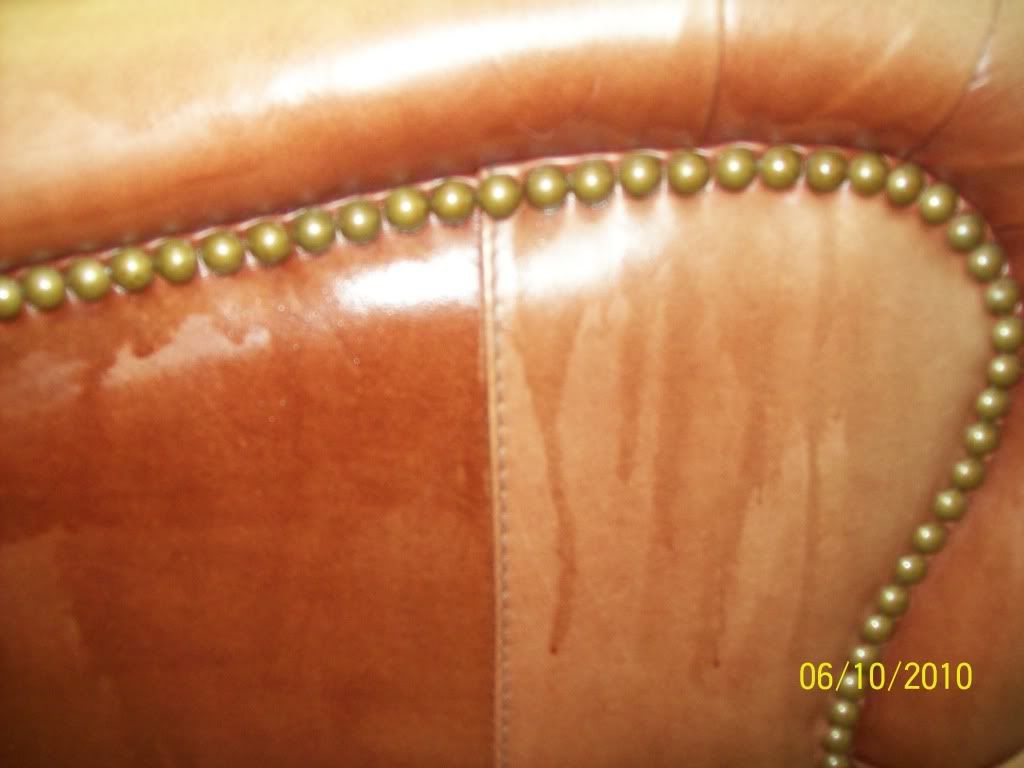
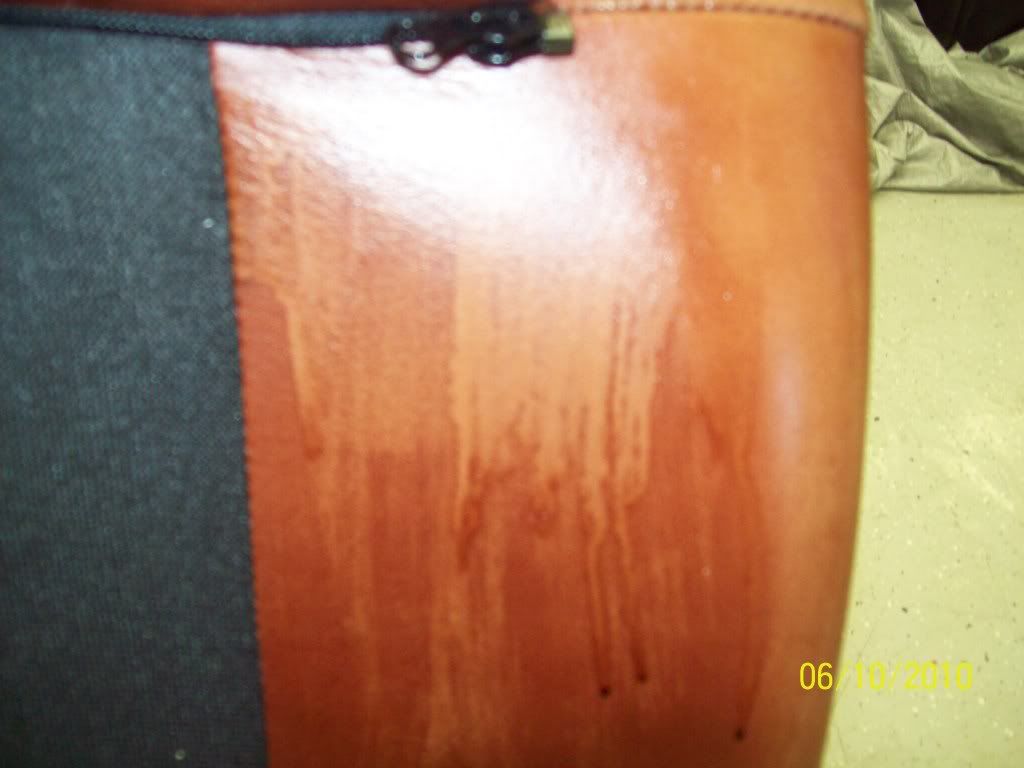
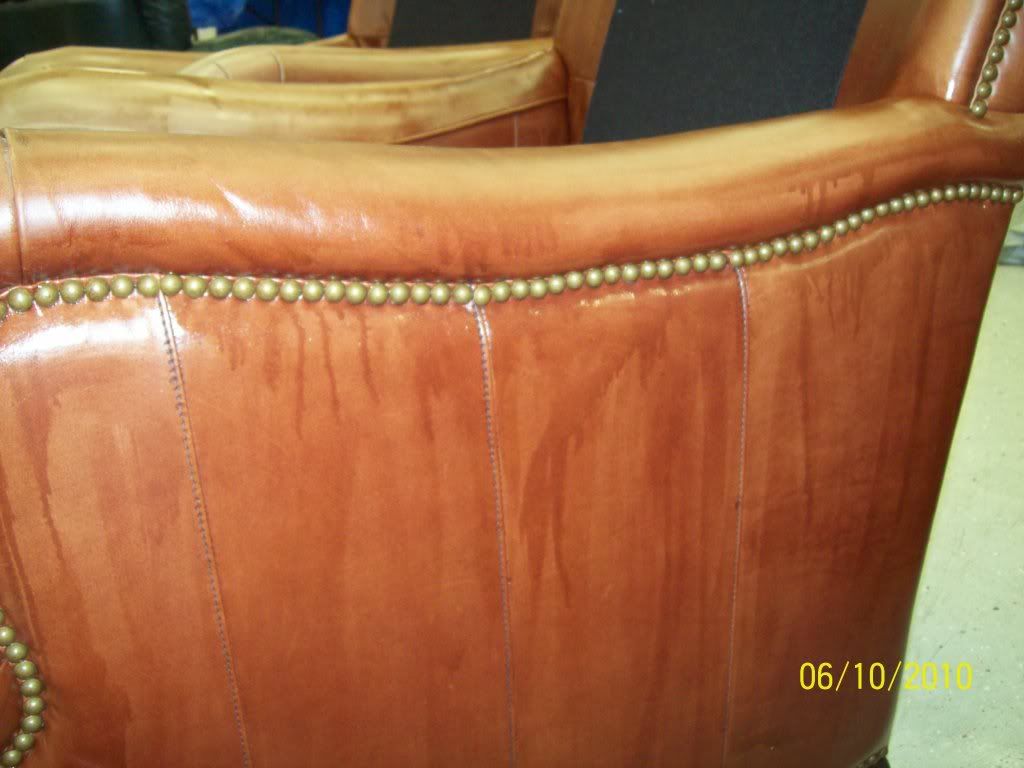
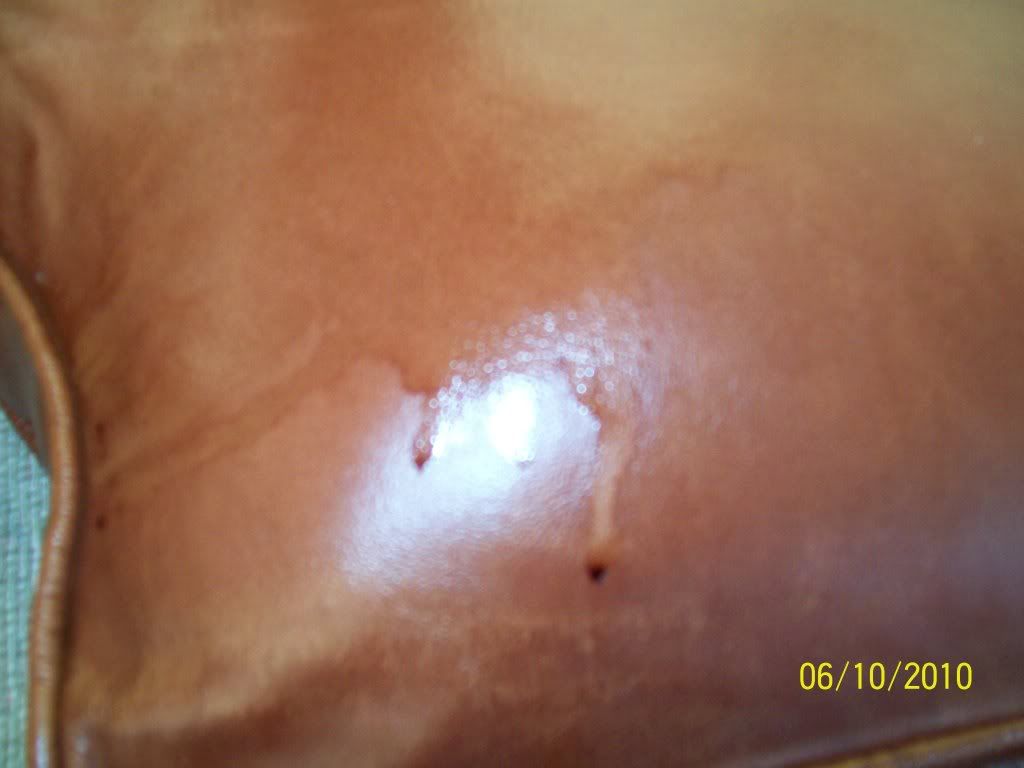
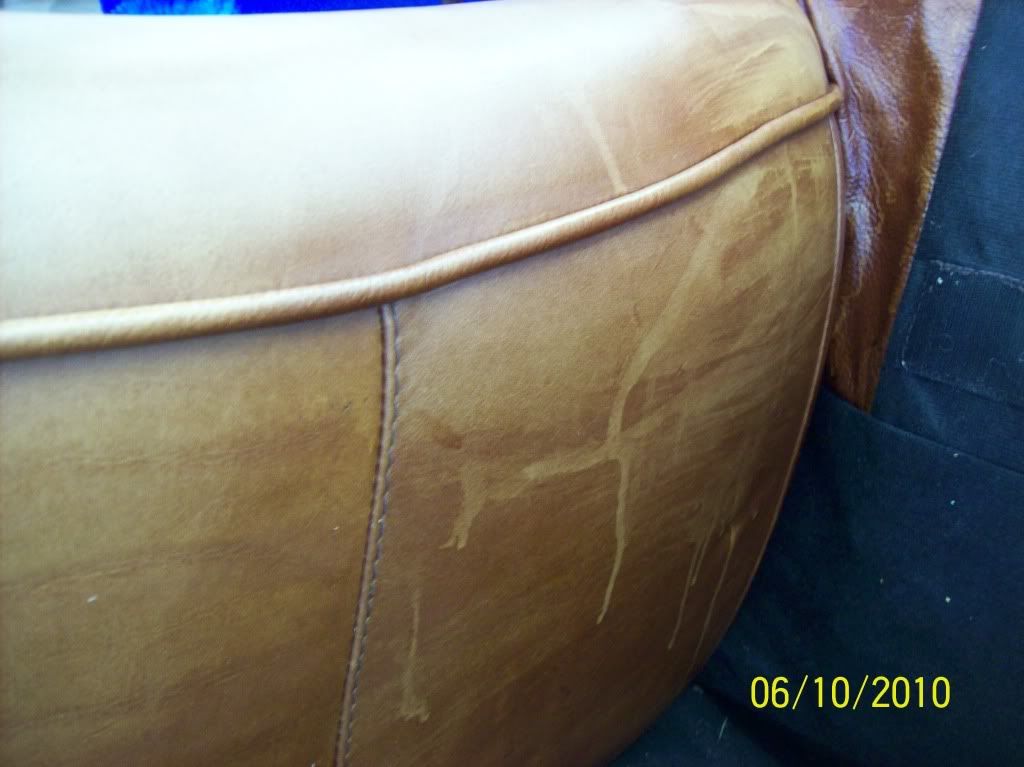
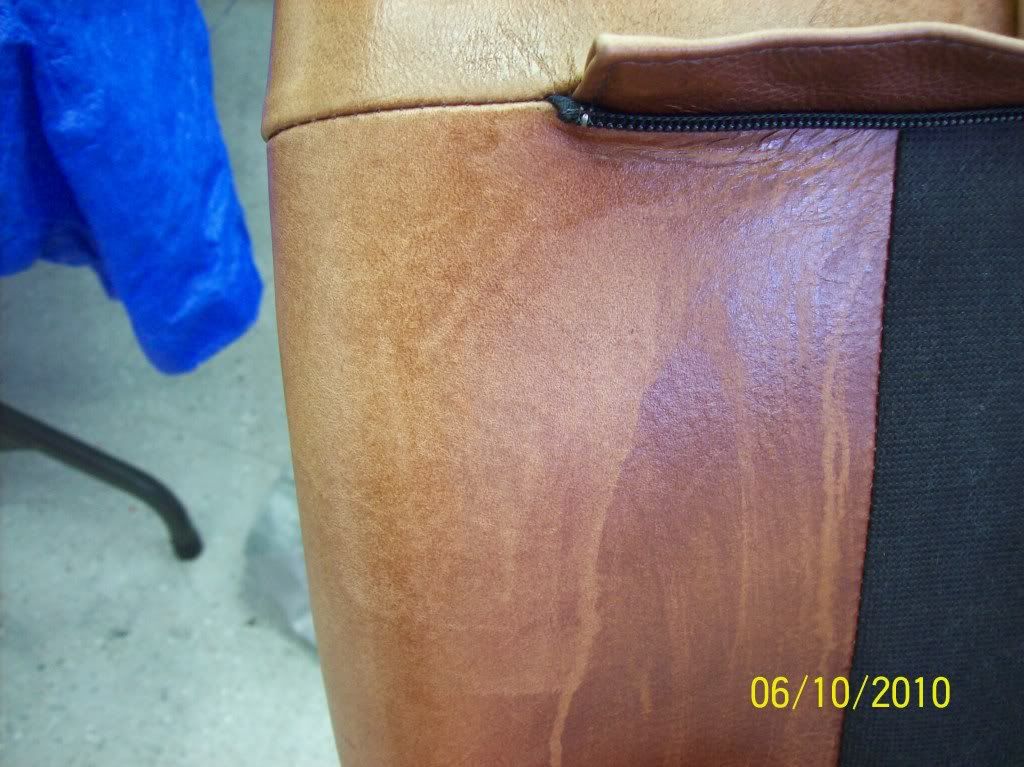
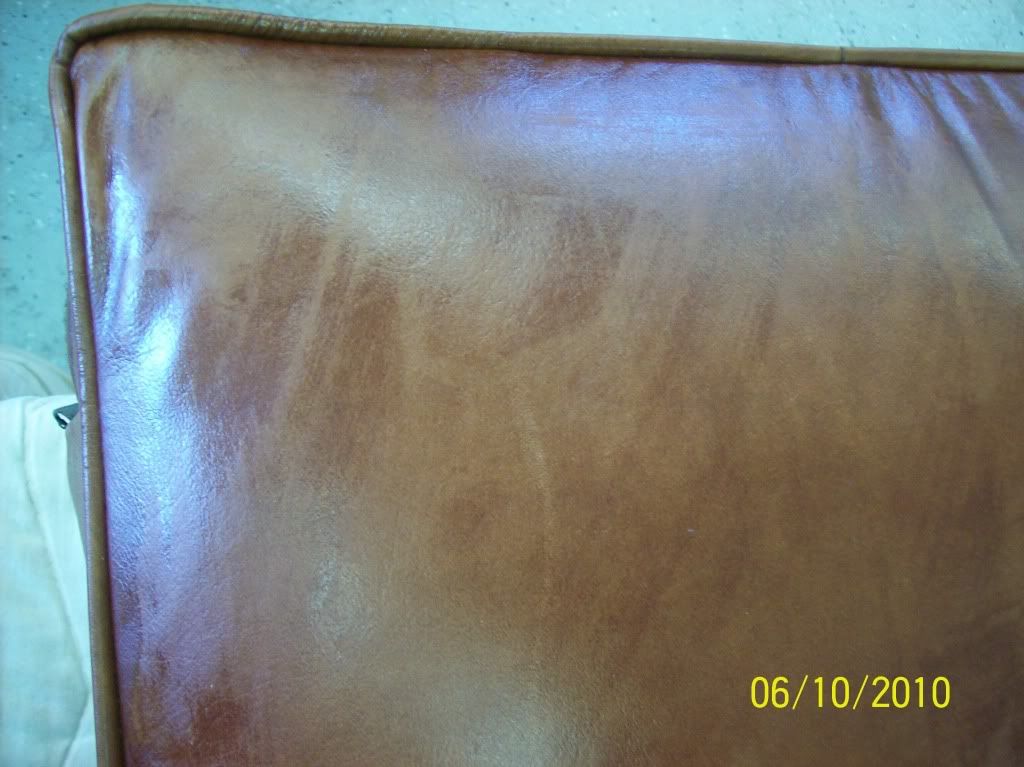
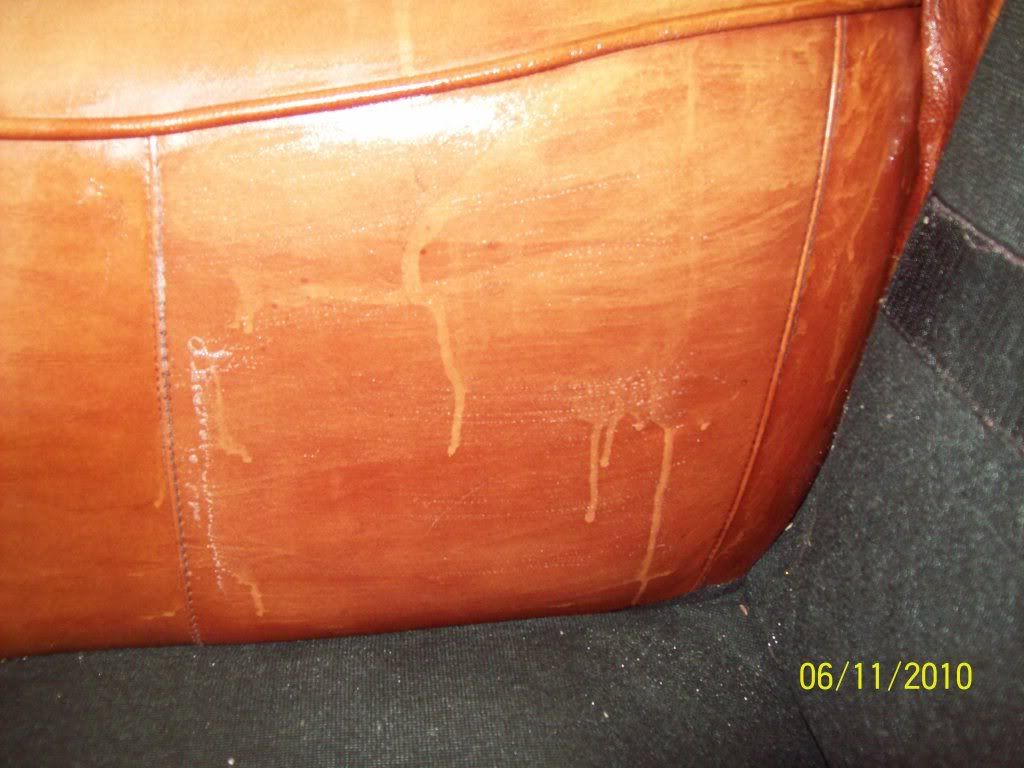
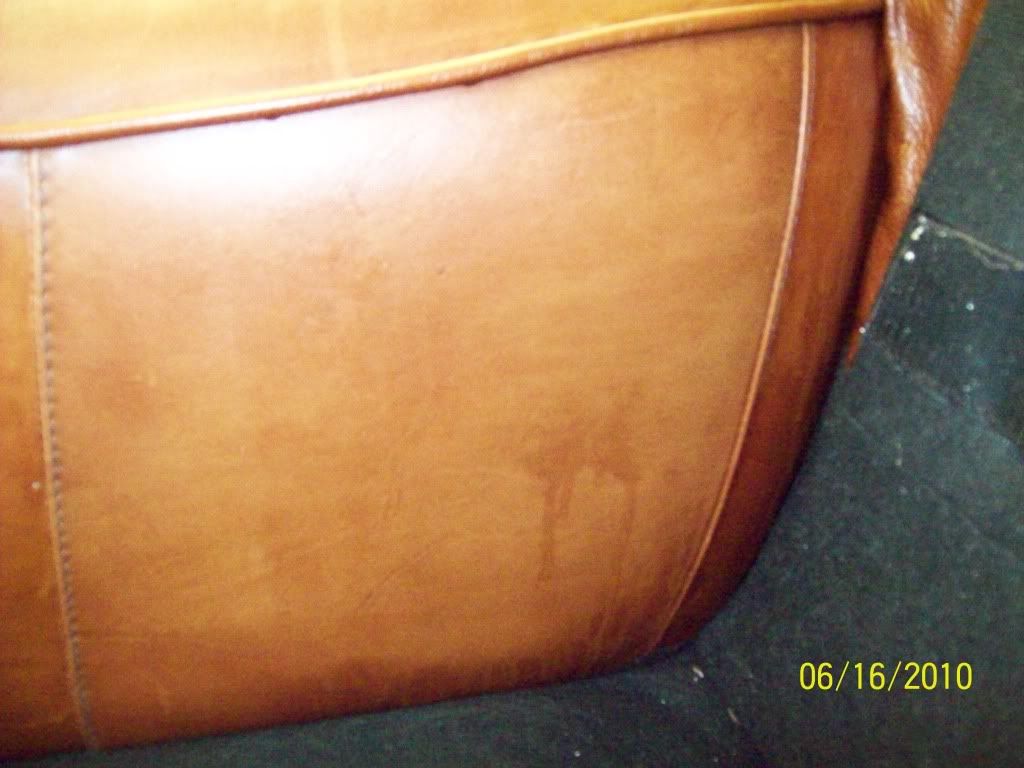
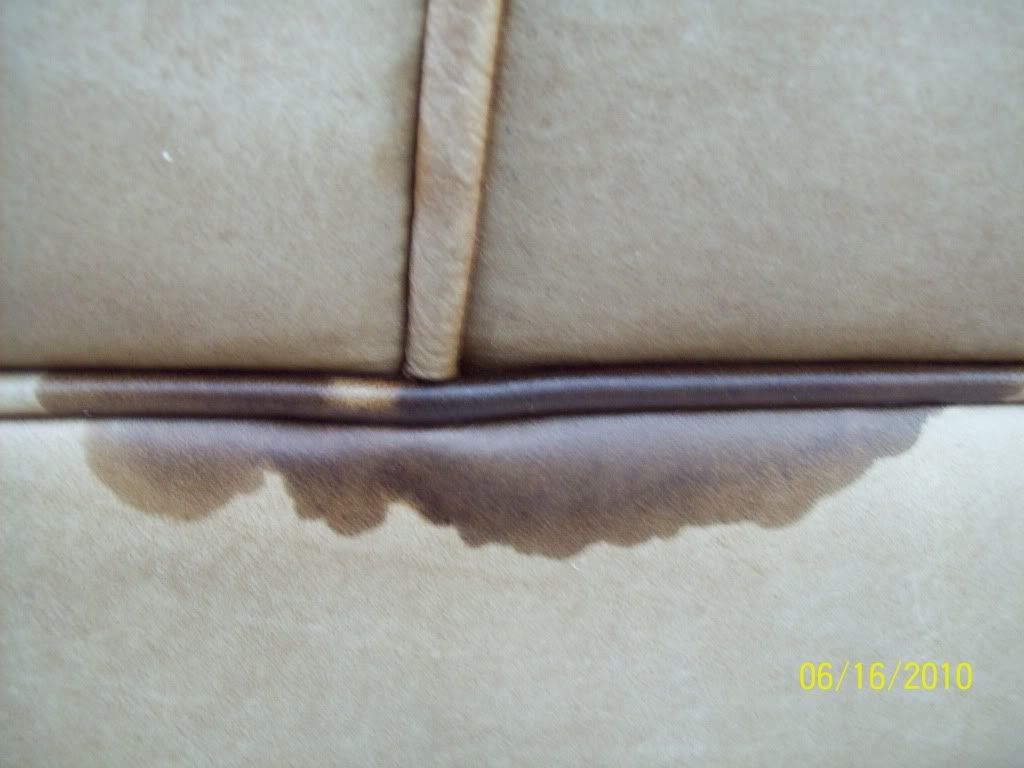
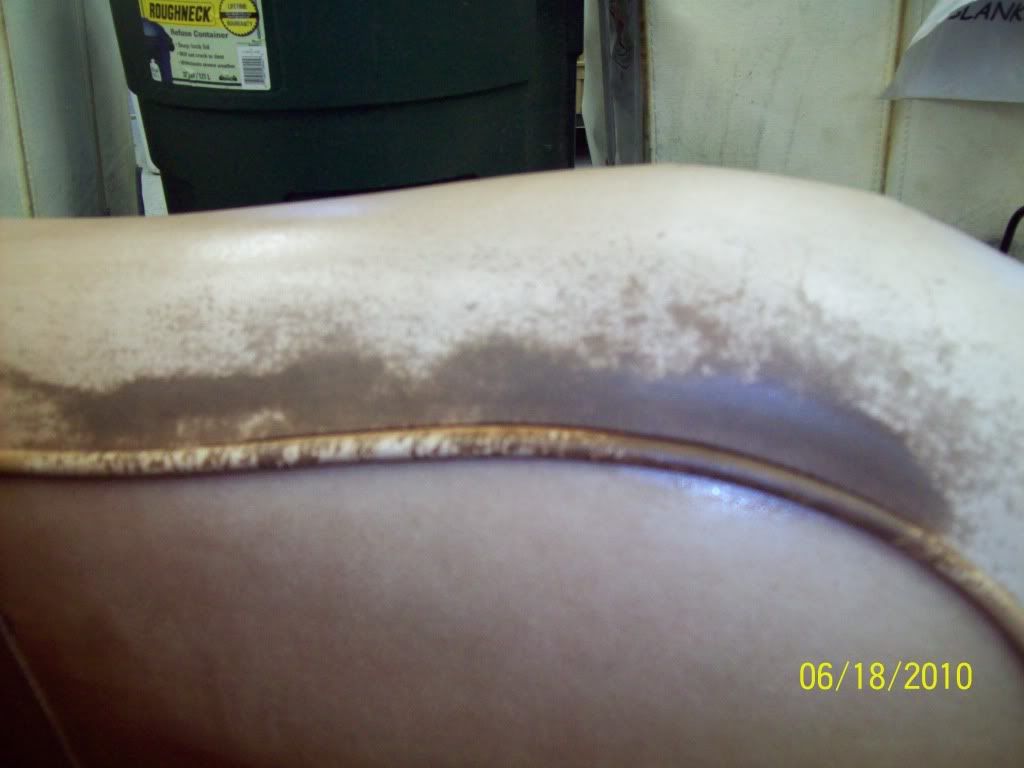
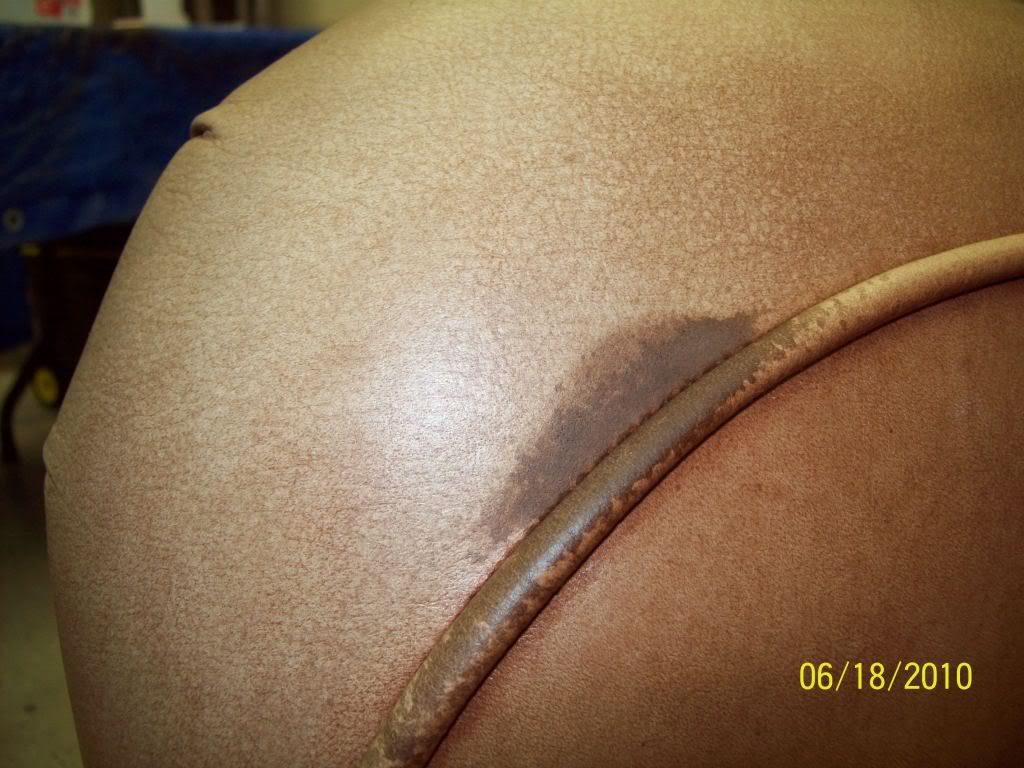
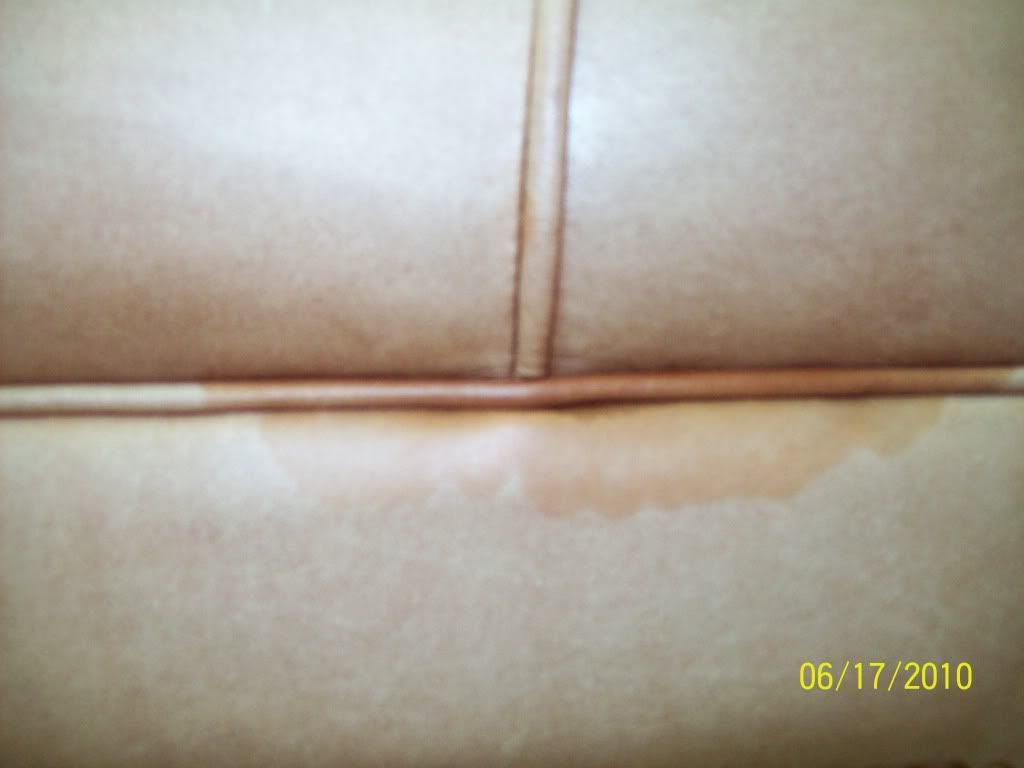
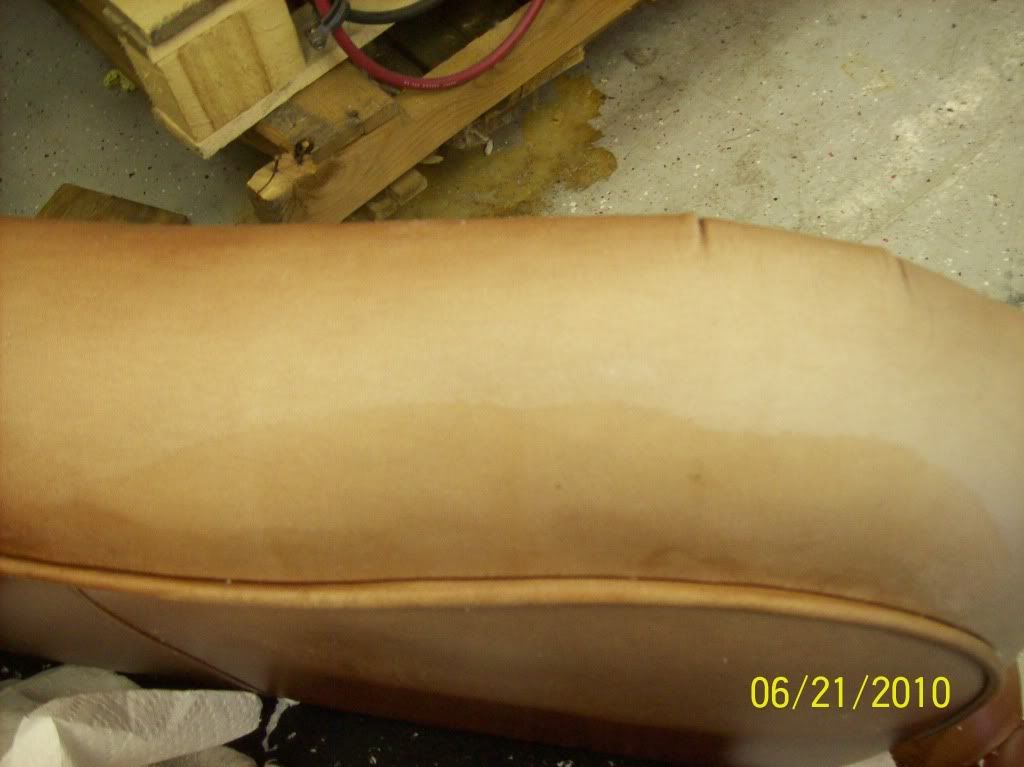
Rings are still there, theyare where moisture got into stitching and wicked into leather.
Leather is very resistant to abosorbing any moisture at all. It seems repellant.
Where i worked on the very noticable rings on the arms, I broke the surface tansion and now the areas with the rings is absorbant. In these areas I sprayed hydrator and fatliquor. I dried darker. So I sprayed it with hydrator and covered it with tissue over the weekend. Any other thoughts?
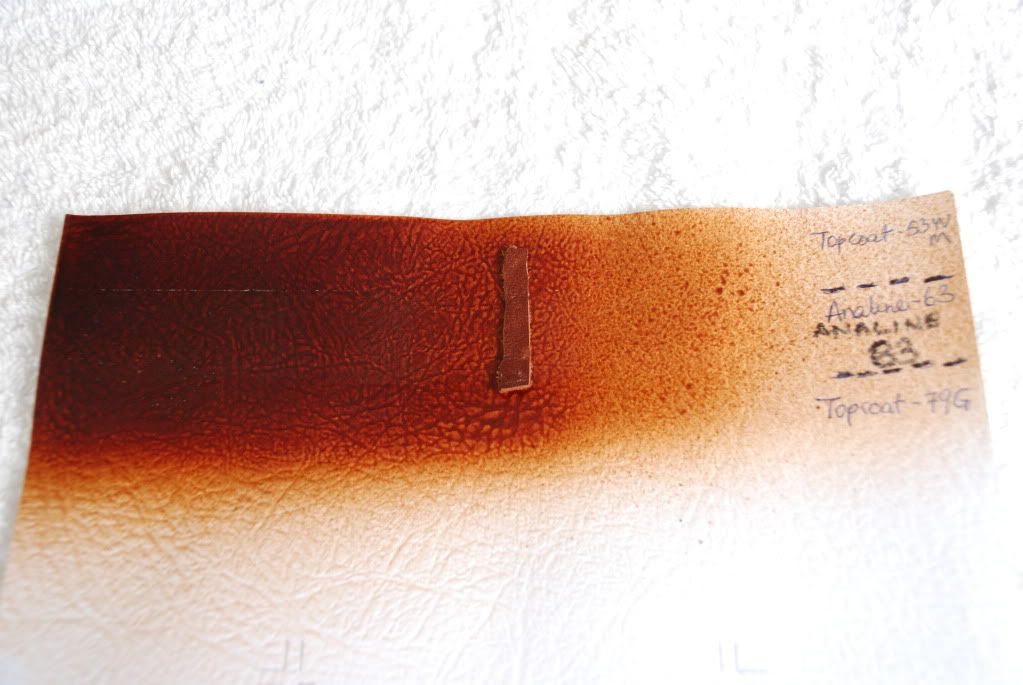
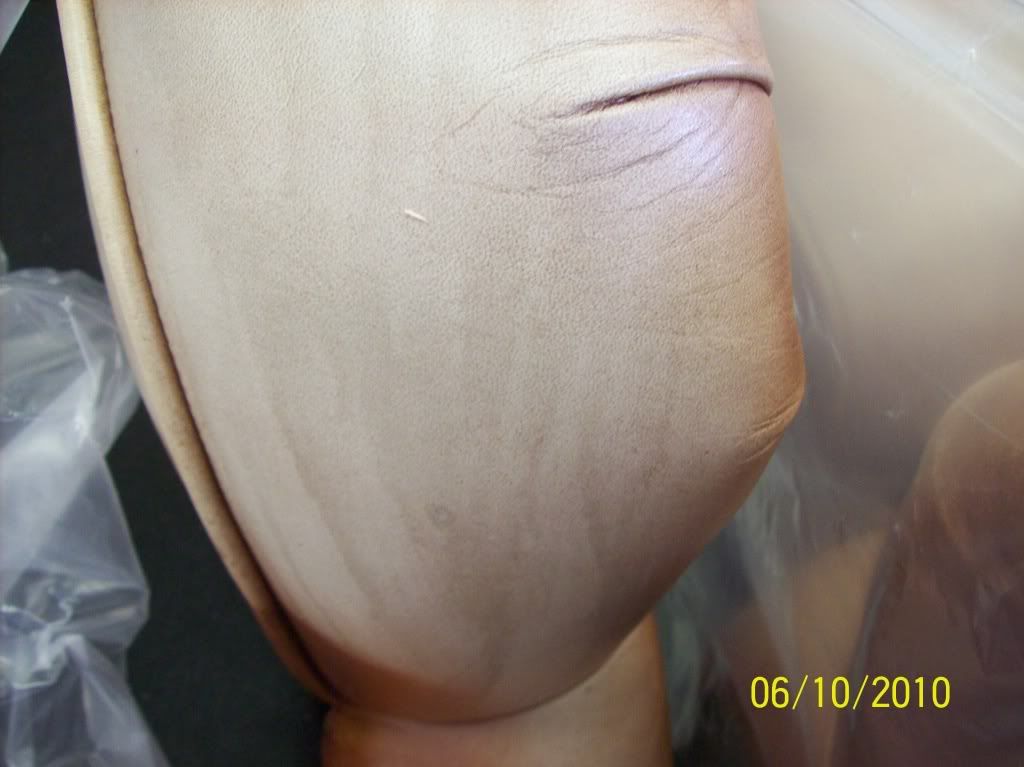
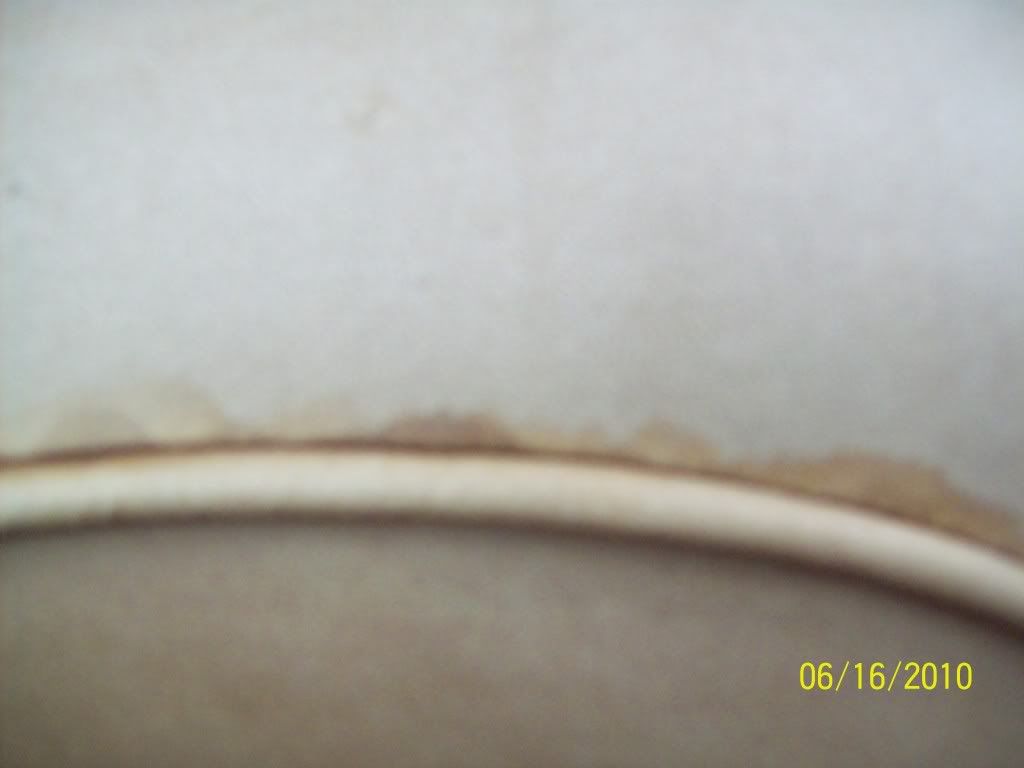
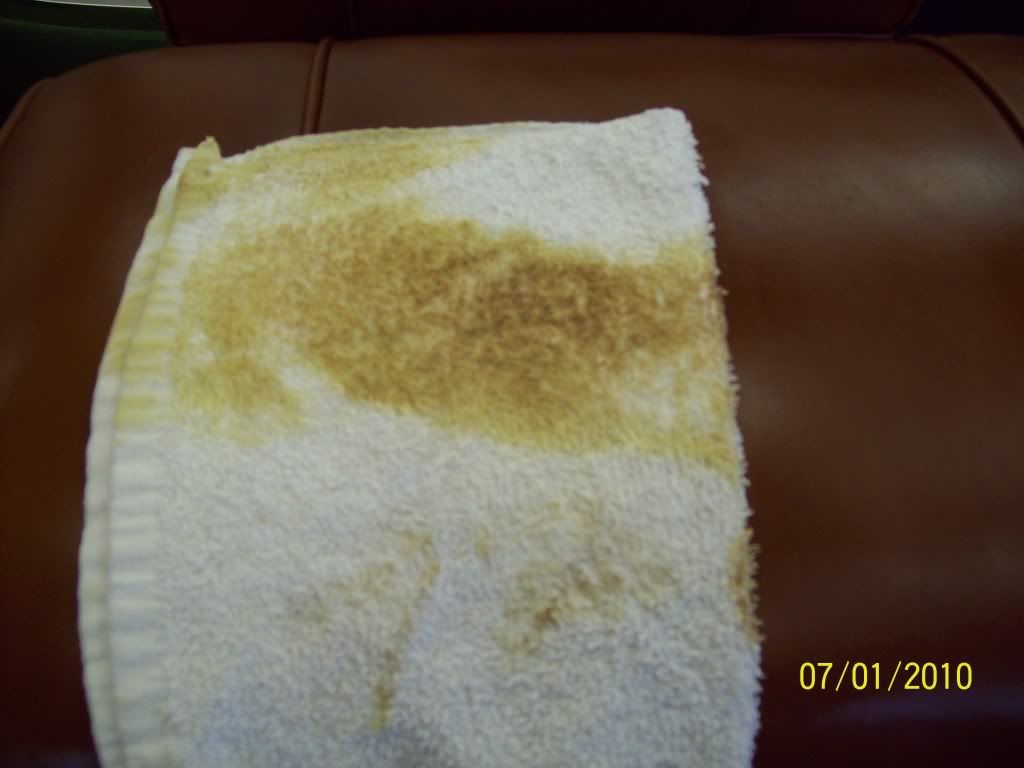
First two photos are how the hydrator immediately is absorbed into these areas. The third phot is a picture of the rings we can't get rid of.