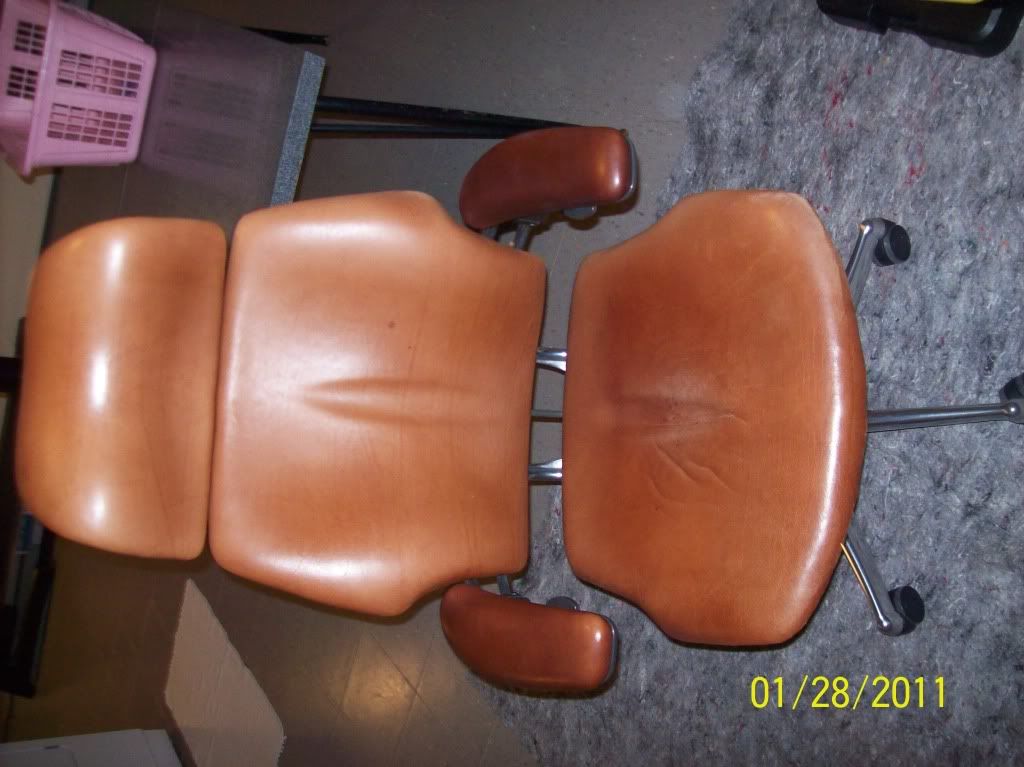
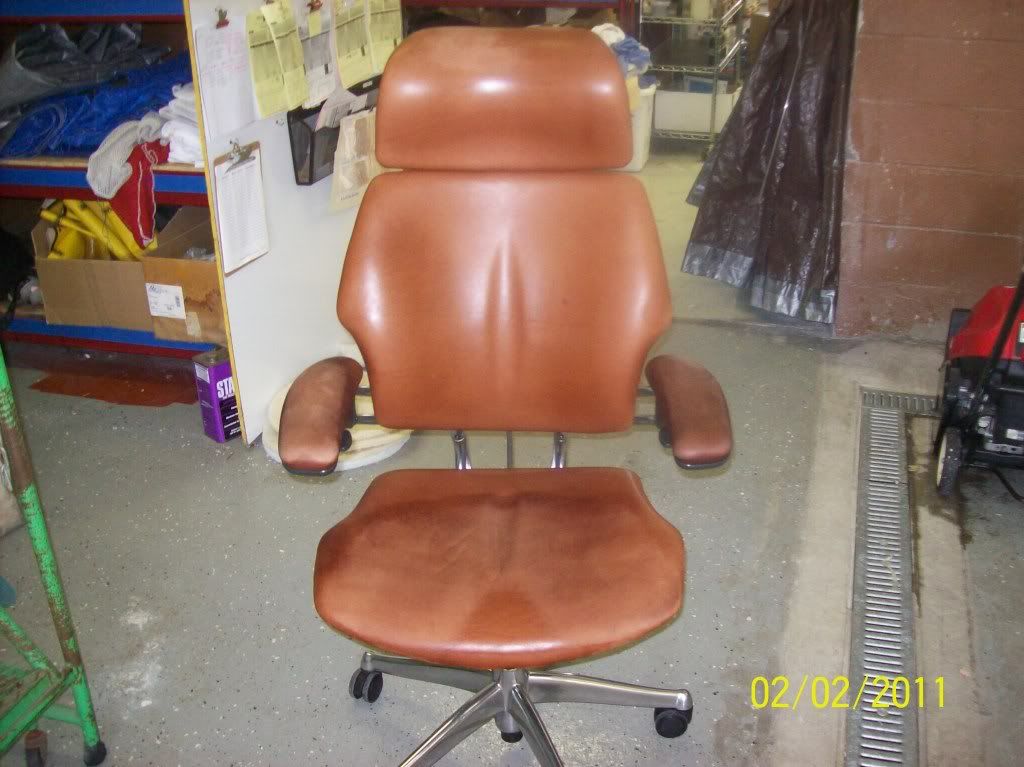
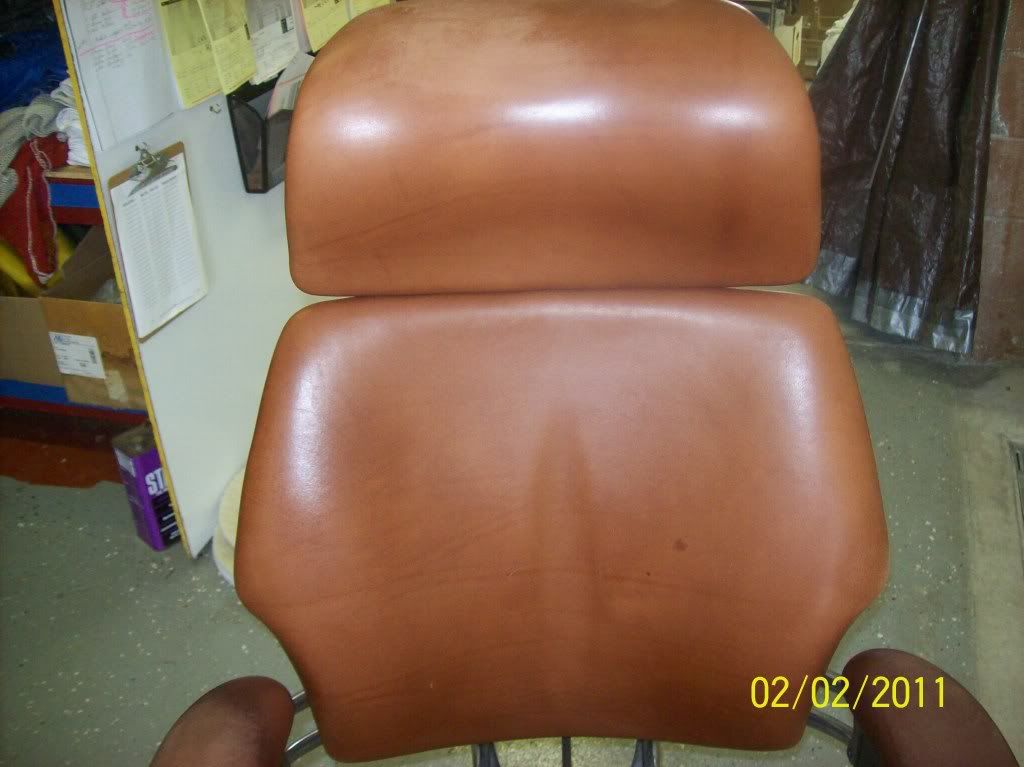
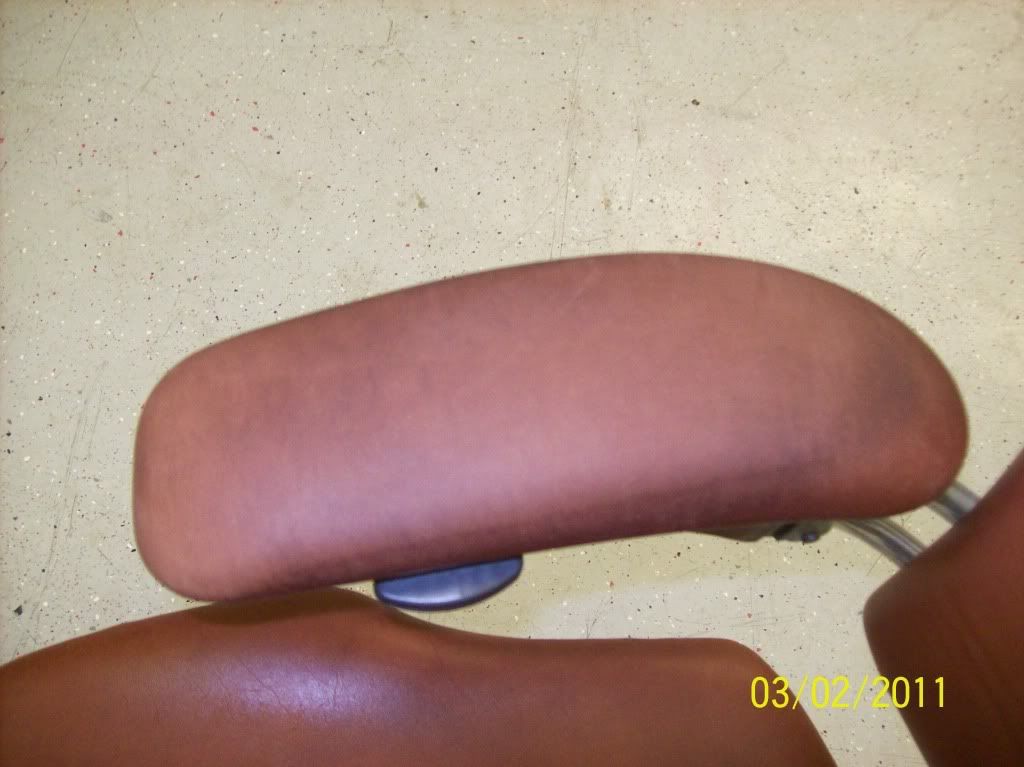
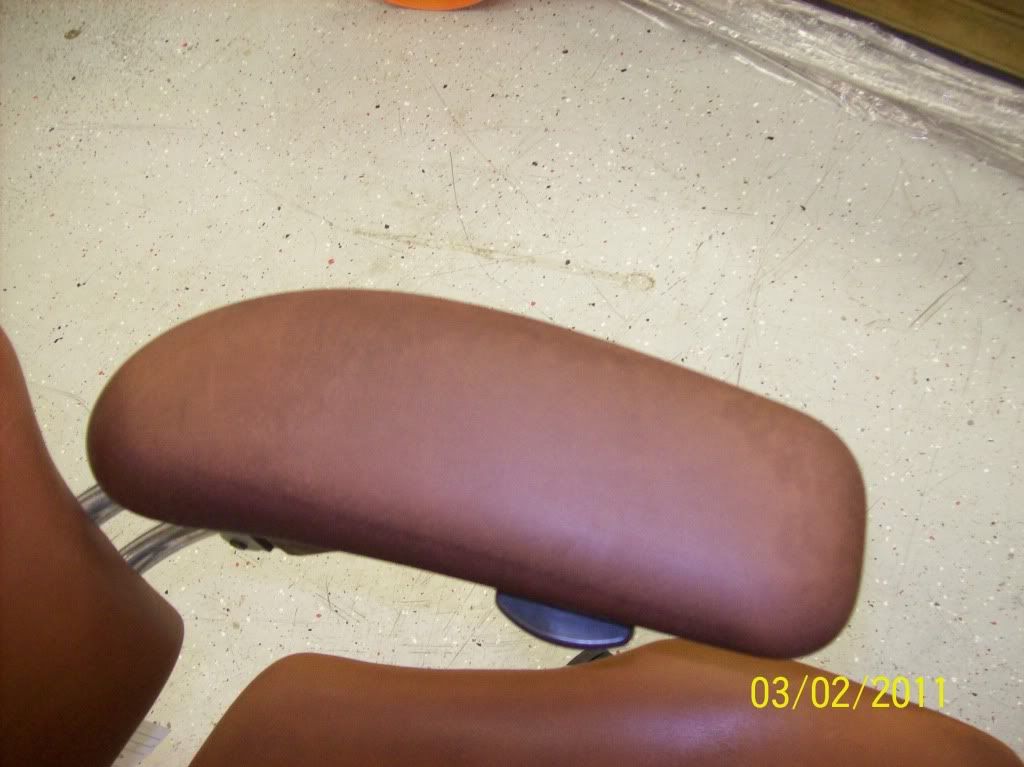
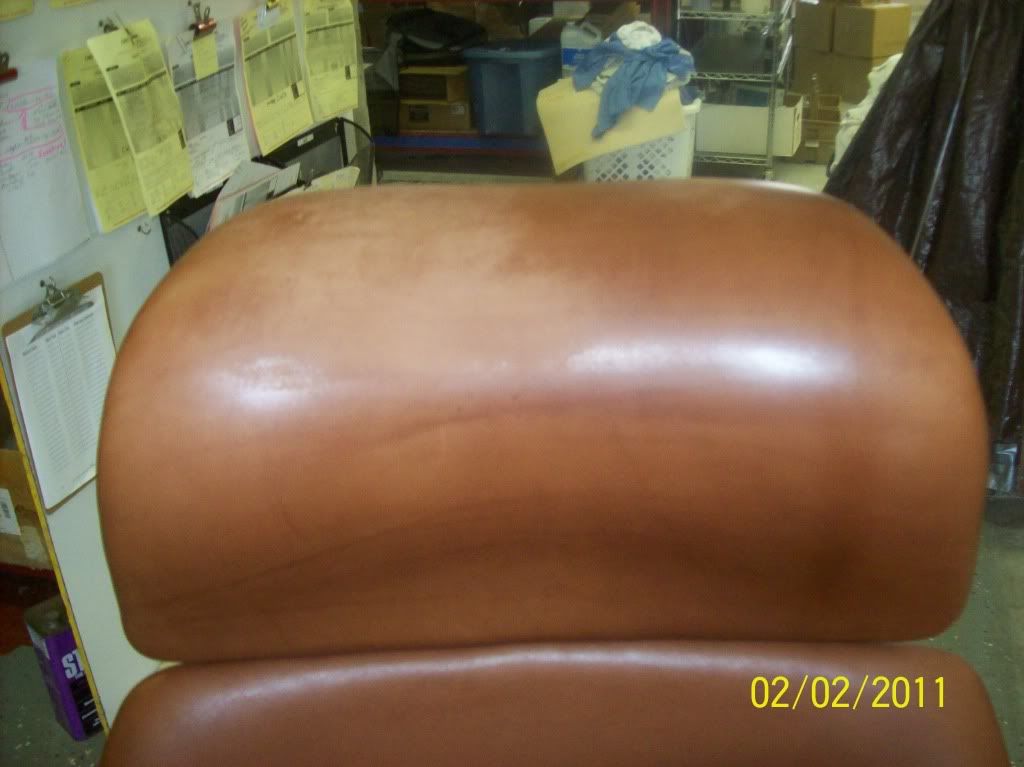
These are the before pictures.
1.
2.
3.
4.
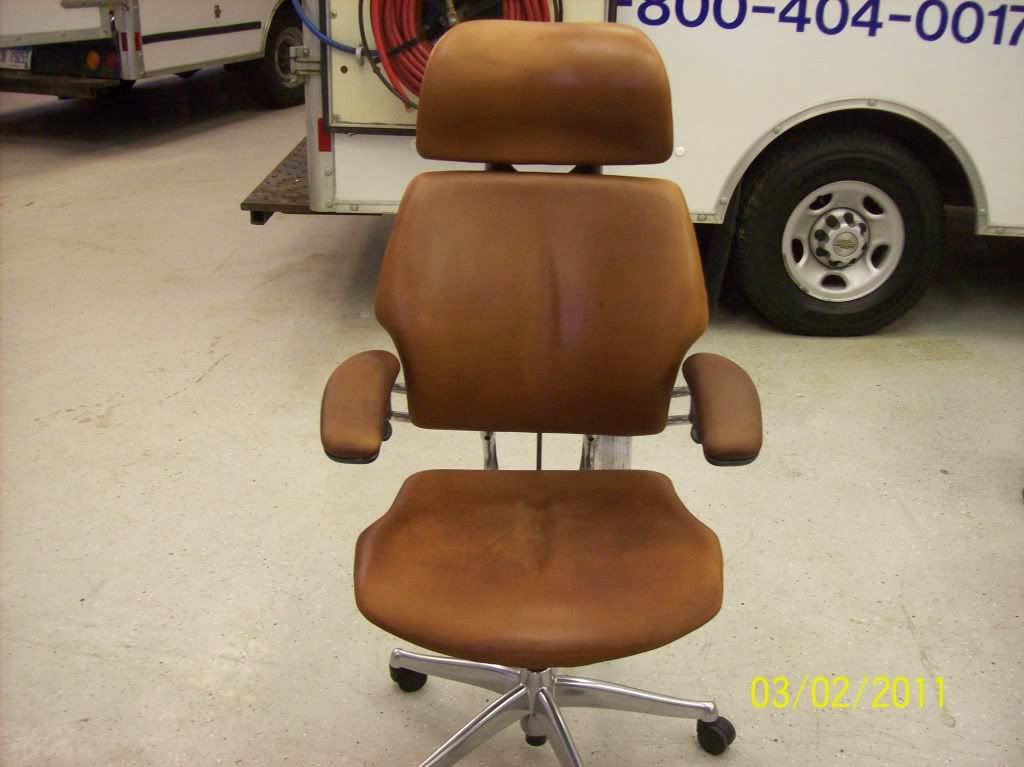
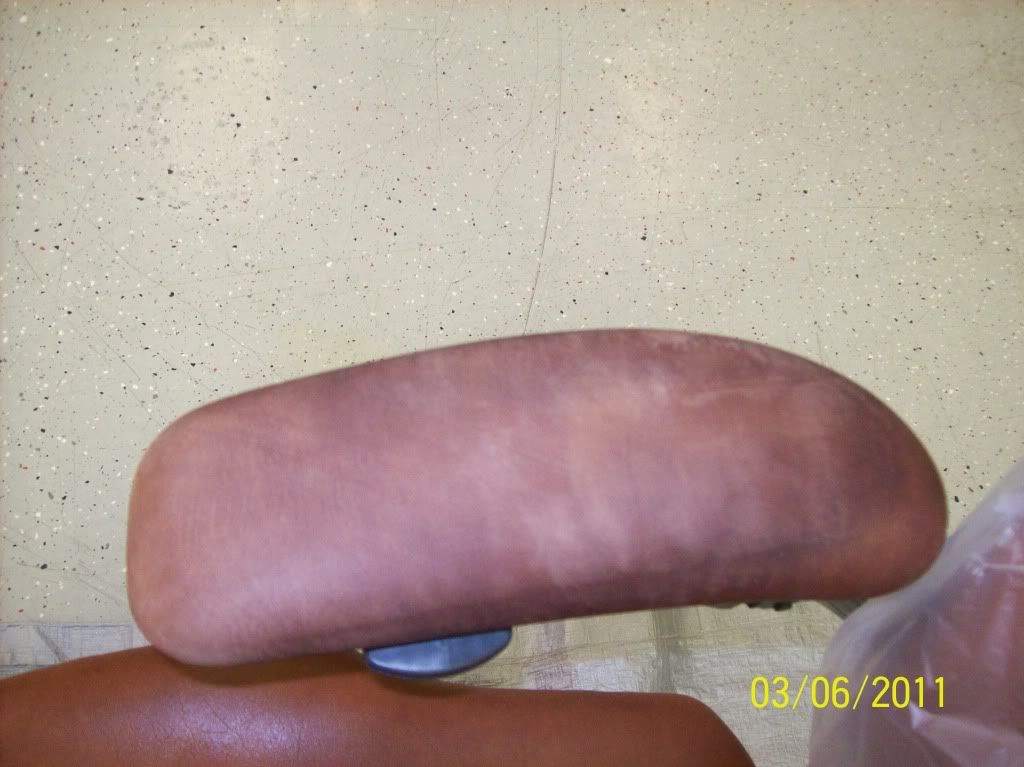
Results after chair was cleaned in home. Technician used Degreaser 2.2 on arms only. Used Clean 3.8, Rinse 3.0, Hydrator 3.3, Fatliquor 5.0 & L Scent B.
5.
6.
7.
8.
9.
10.

 Senior Member
These are the before pictures.
1.
2.
3.
4.
Results after chair was cleaned in home. Technician used Degreaser 2.2 on arms only. Used Clean 3.8, Rinse 3.0, Hydrator 3.3, Fatliquor 5.0 & L Scent B.
5.
6.
7.
8.
9.
10.
Senior Member
How to make leather chair look uniformed?
Step 1]
To remove the finish entirely by using Stripper-2.3.
Simply spray, erase with Leather Eraser-4 and extract with terry towel.
Step 2]
Rinse with Rinse-3.0 until towel shows clean.
Step 3]
Hydrate with Hydrator-3.3 into the thickness of the leather evenly soaking damp; extend the surface of the leather skin-tight without bubbles with tissue paper or toilet roll to trap any wick-up foreign contamination during the drying process; cling wrapped it to prevent premature evaporation; it’s recommended to leave the dwelling overnight. Next day, remove the plastic covering first and allow the natural drying through the air-tight tissue paper; when completely dry inspect the appearance; repeat where necessary.
Step 4]
Rejuvenate it with Fatliquor-5.0; saturate it sufficiently and evenly to bring back its natural color when natural dry.
Step 5]
An option of Topcoat, since they have such.
a natural naked look Topcoat Aniline-89N + Leather Scent-S (silky-feel);
or a choice of a waxy-matte look with Topcoat Aniline-59M + Leather Scent-W (waxy-feel);
or a choice of glossy look with Topcoat Aniline-79G + Leather Scent-B (buttery-feel).
Some products for this leather types:
Leather Doctor® Vachetta Leather Care Kit-V3
Contents:
Degreaser-2.2 – 60ml
Prep-4.4 – 60ml
Cleaner-3.8 – 250ml
Rinse-3.0 – 250ml
Hydrator-3.3 – 250ml
Fatliquor-5.0 – 250ml
Leather Scent-D – 120ml
Leather (horsehair) Brush-1 – 1pc
3” Poly-Brush® - 1pc
Washable Rags – 5pcs
Email [email protected] for prices.
Leather Doctor® Stripper-2.3 for Pigmented and Aniline leather types, including vachetta, nubuck and suede.
This is a pH 2.3 hydrocarbon formulation leather finish stripper developed to strip leather and suede of existing finish prior to refinishing.
Product packing sizes are available in 250ml and in Quart.
Instruction:
1] Spray, erase with Leather Eraser-4 and extract with terry towel.
2] Rinse with Rinse-3.0 until towel shows clean.
Roger Koh
[email protected]
Last edited by Roger Koh; 02-09-2011 at 04:01 PM.
Senior Member
Senior Member
Jermaine,
Repeat Step 1] below and show picture - the shine have to go to achieve an even matte finish - then decide if you wish to have an topcoat applied.
These Vegetable-Tanned leather does not come with a topcoat - they are naked - however to keep it naked with a non-stick rub-resistant protection, only used Leather Scent-D.
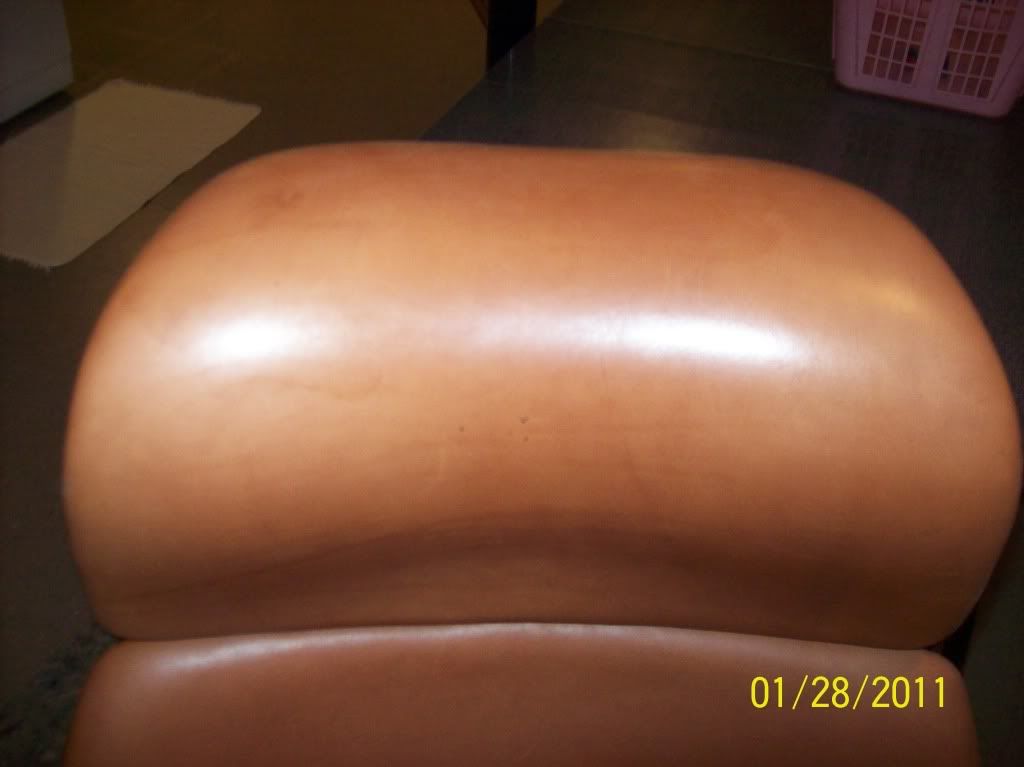
A gloss topcoat may have been applied somehow, knowingly or unknowningly as shown in picture - the wear-off gloss.
Otherwise Topcoat Aniline-79G may match the existing luster if there are other chairs to match.
If this is a single only chair, it should only have a natural topcoat with Topcoat Aniline-89N that will retain the original characteristic of a veg-tanned leather.
Roger Koh
[email protected]
Step 1]
To remove the finish entirely by using Stripper-2.3.
Simply spray, erase with Leather Eraser-4 and extract with terry towel.
Last edited by Roger Koh; 03-03-2011 at 10:57 AM.
Senior Member
Senior Member
Let's discuss about Stripping:
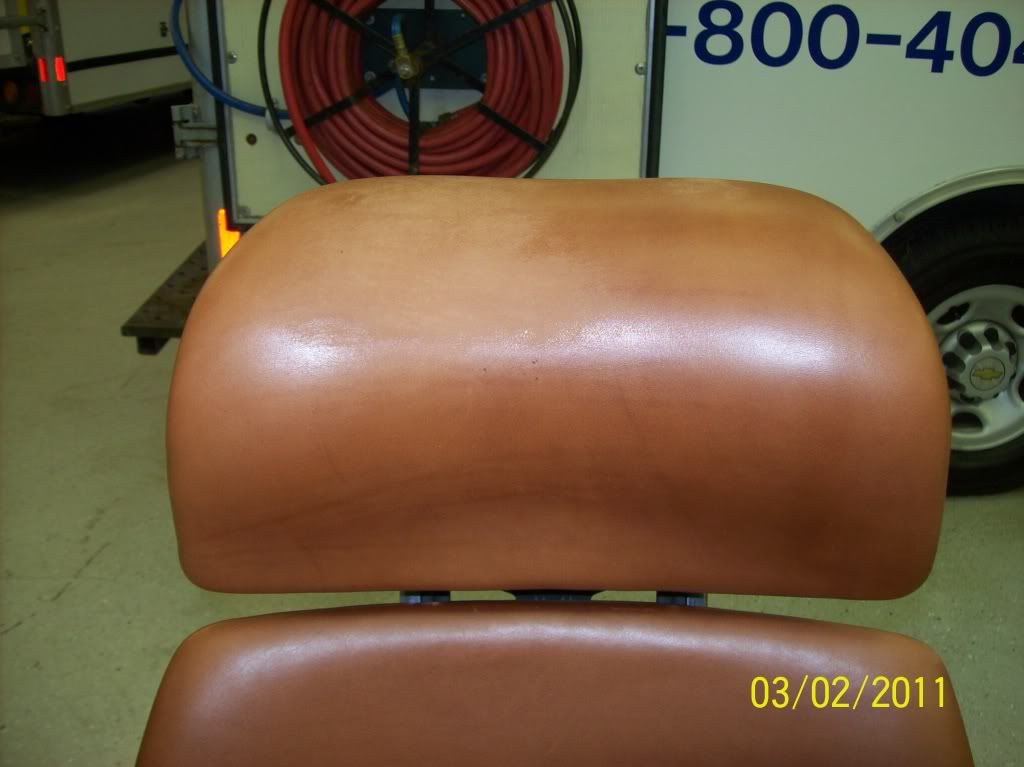
The purpose is to remove the "Shine" finish that is not suppose to be there in these naked leather (Vegetable-Tanned / Vachetta).
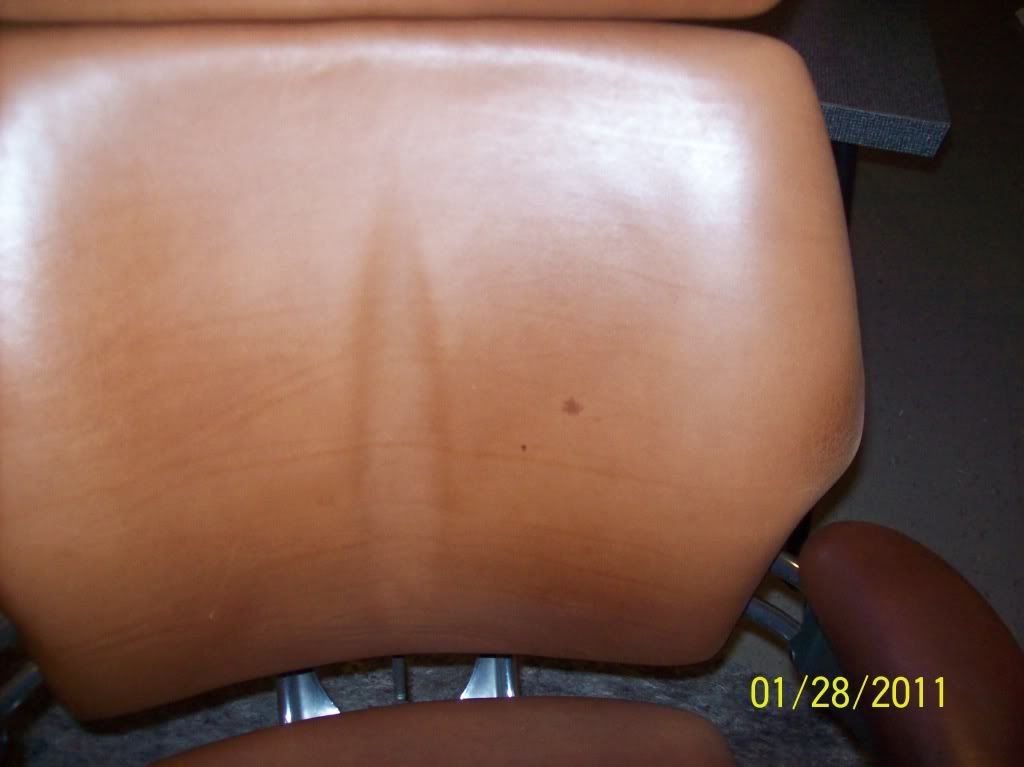
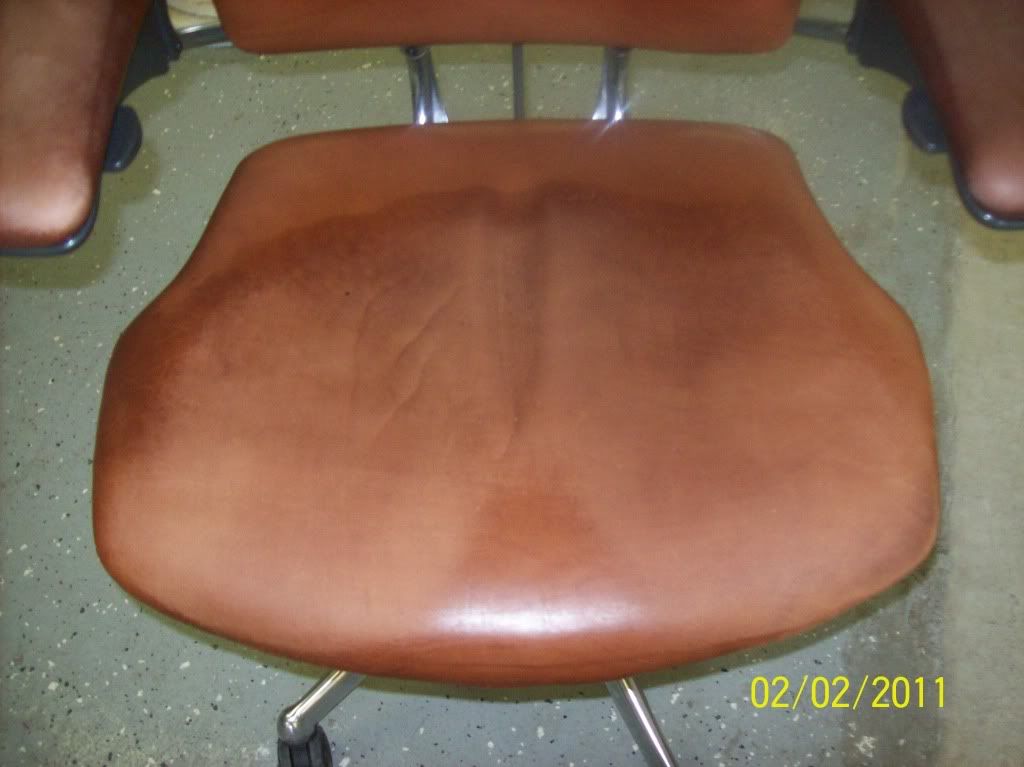
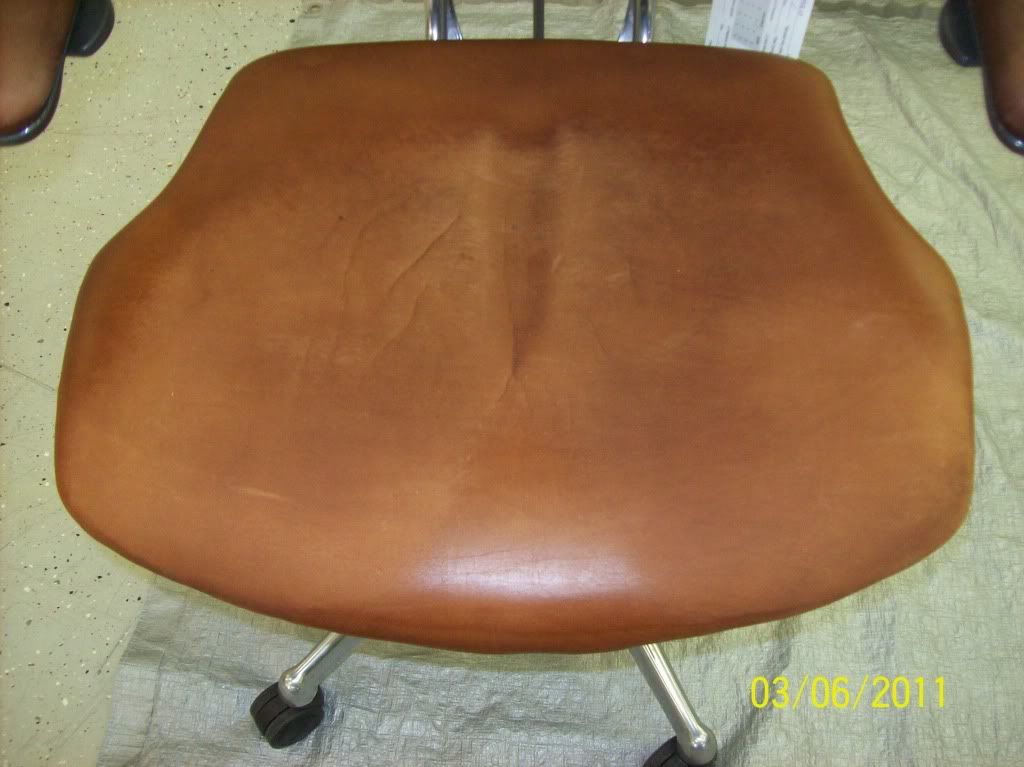
The seat still show a triangle sheen; that's need to be get rid off; and any other sheen you can find in this chair.
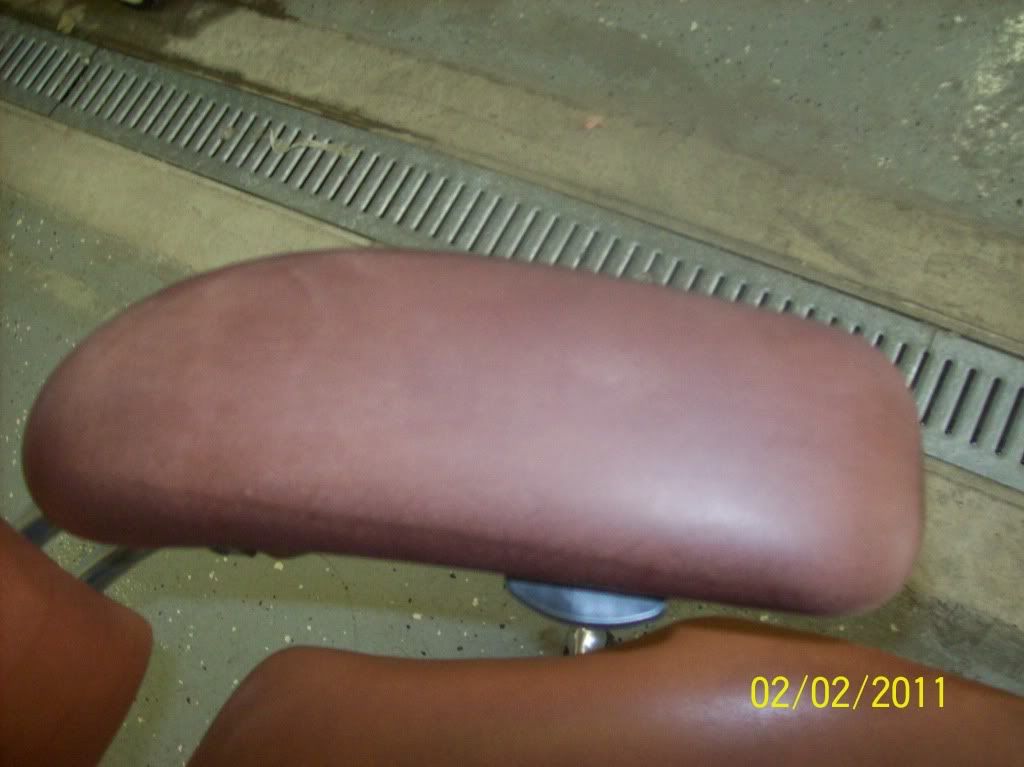
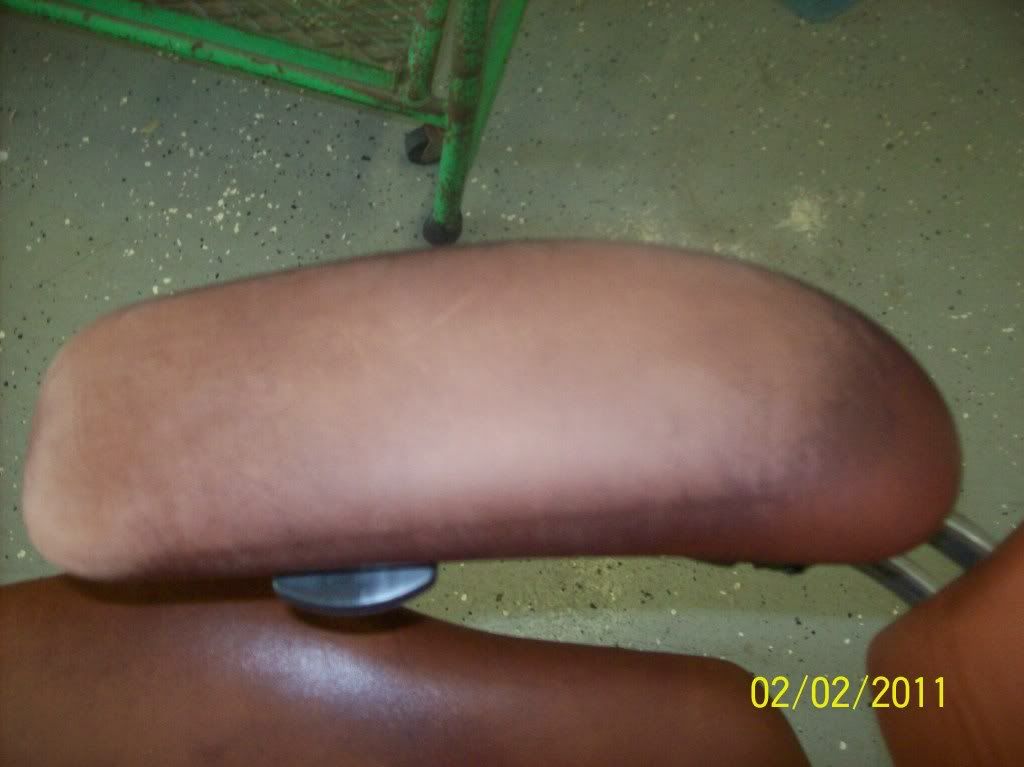
The arm rest to be diuscuss later; that has nothing to do with the Stripper-2.3 if there is no such unwanted "sheen".
Let's see all the sheen is to be removed before we go into the next step.
Roger Koh
[email protected]
Senior Member
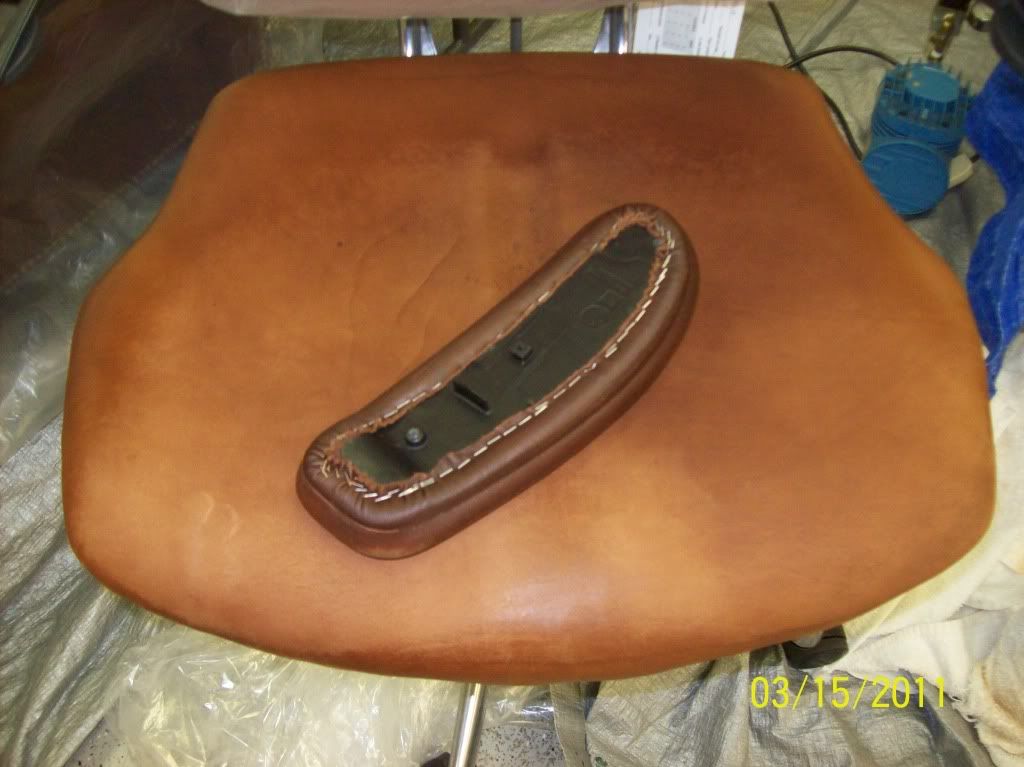
We removed the arm of the chair & found the original color. What should be done to remove a water ring?
Senior Member
Originally Posted by Jermaine

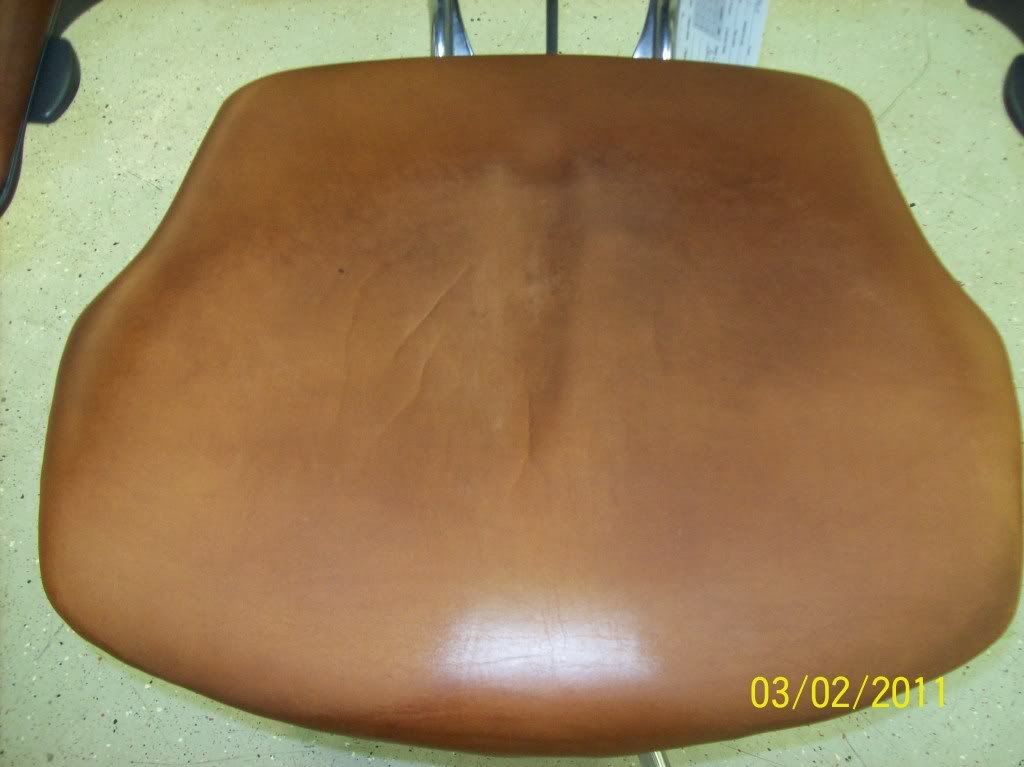
I still can see the triangle shine on the seat - should be removed for even absorbency.
What do you want to do with your new findings?
Please show the ring to be more specific, otherwise unknown rings may have too many possibilities...
Roger
Last edited by Roger Koh; 03-16-2011 at 09:47 PM.
Senior Member
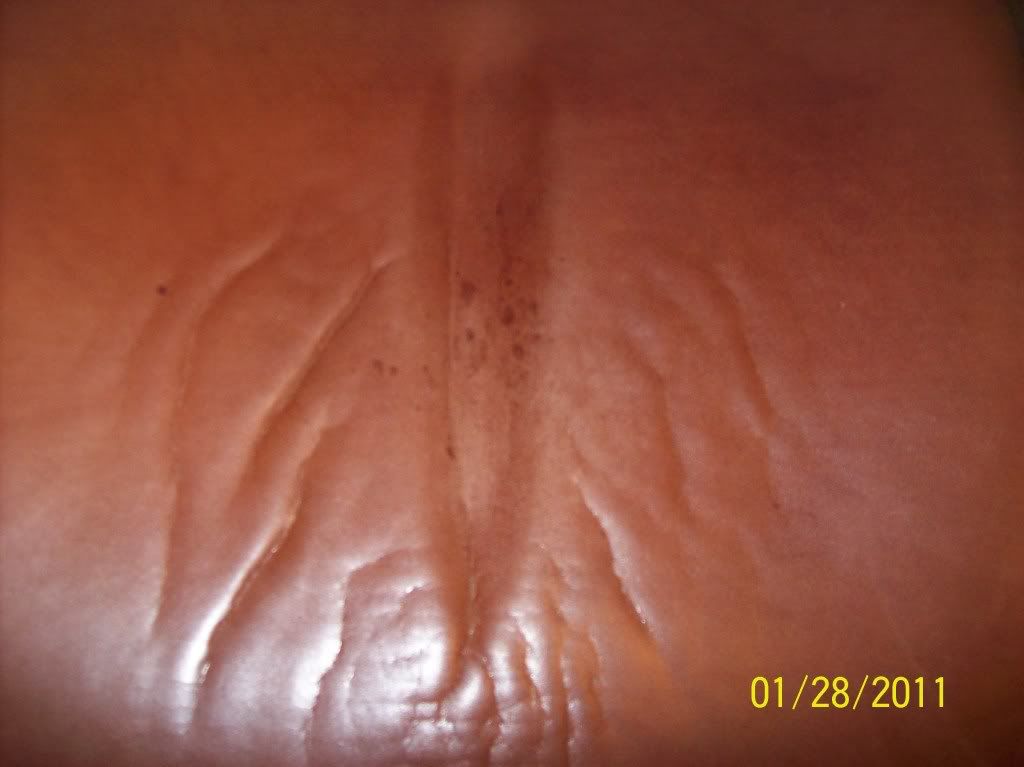
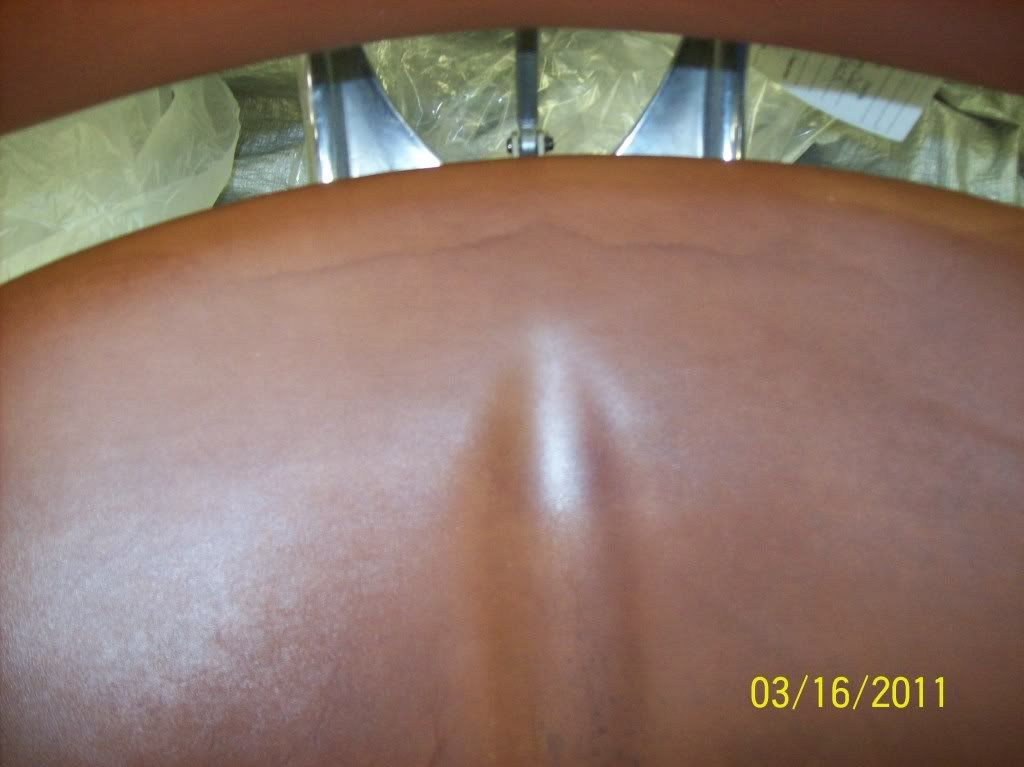
This is the water ring on the seat.
Senior Member
In Post #3, Picture #3 there was no such lines.
These soiling lines show the migrating foreign soiling particulates moving into a dryer area and may have been trapped below existing finishes.
Tips:
1] Surface finishing has to be evenly removed to allow uniform surface tension throughout.
2] Avoid uneven wetting out of the leather structure.
3] Sufficient Hydrator-3.3 throughout with test of oozing moisture between finger and thumb when the wet leather structure is squeeze.
4] Sufficient agitation with Brush-1 and/or a blunt object to lightly scud the penetrated contamination to be extracted until towel shows clean and dry.
5] Layering absorbent tissue acting as an extension of the leather surface helps to trap the soiling off the leather surface.
There are currently 1 users browsing this thread. (0 members and 1 guests)
 Posting Permissions