Results 1 to 8 of 8

Thread: 1989 Merkur Scorpio - Leather Seat with Cracks and Rip - How to Restore?!

Hybrid View

Previous Post Previous Post   Next Post Next Post
  1. #1
    Join Date
    Feb 2007
    Location
    Greater Vancouver, Canada.
    Posts
    5,131

    Default 1989 Merkur Scorpio - Leather Seat with Cracks and Rip - How to Restore?!

    A: Prep Cleaning


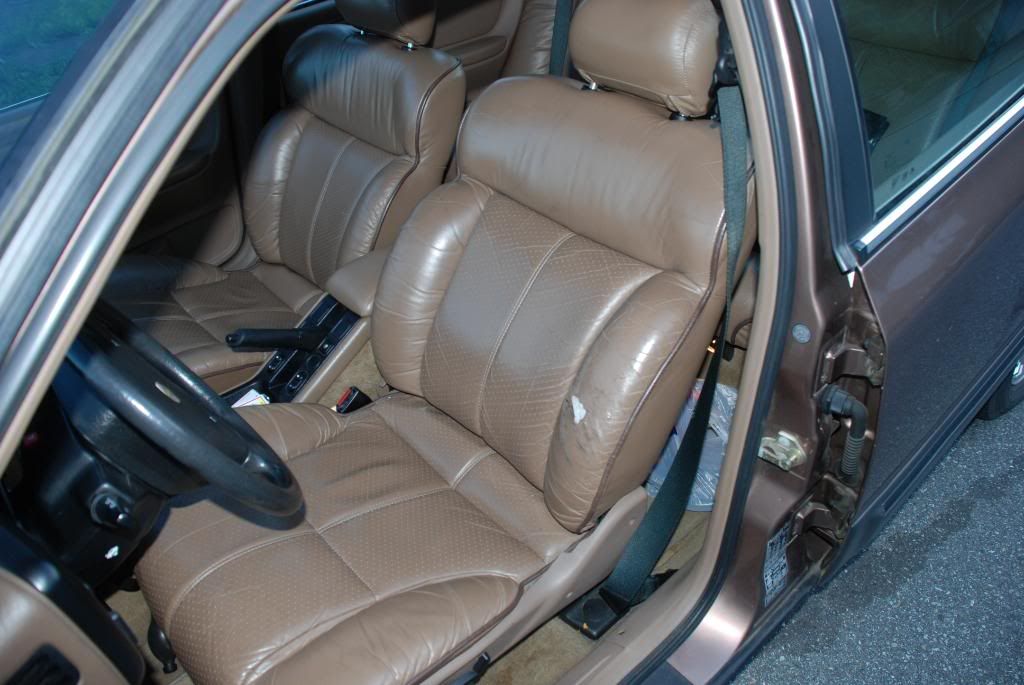
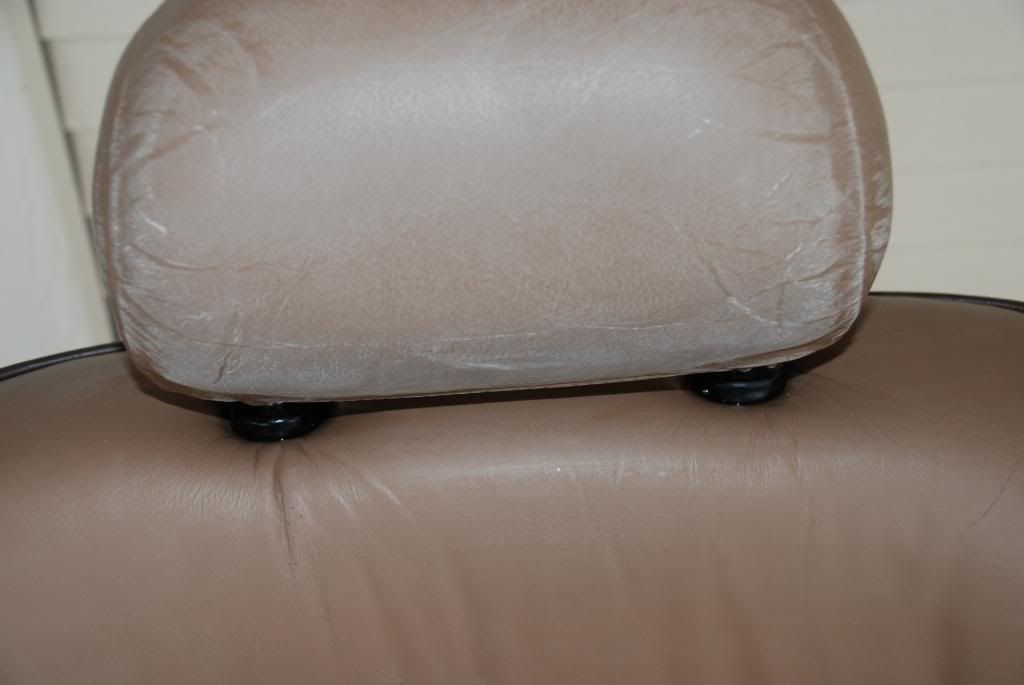
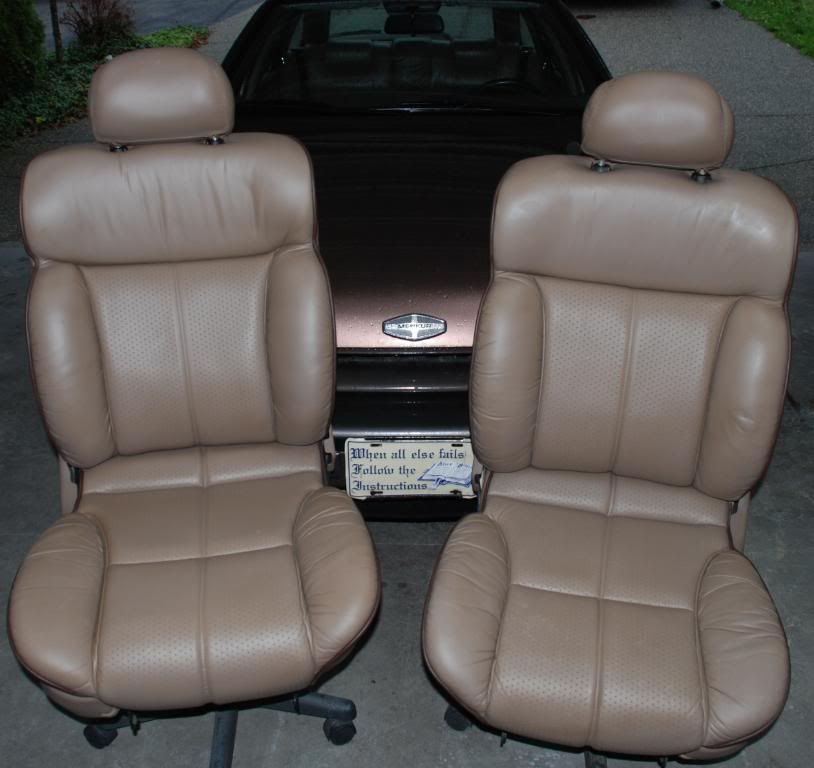
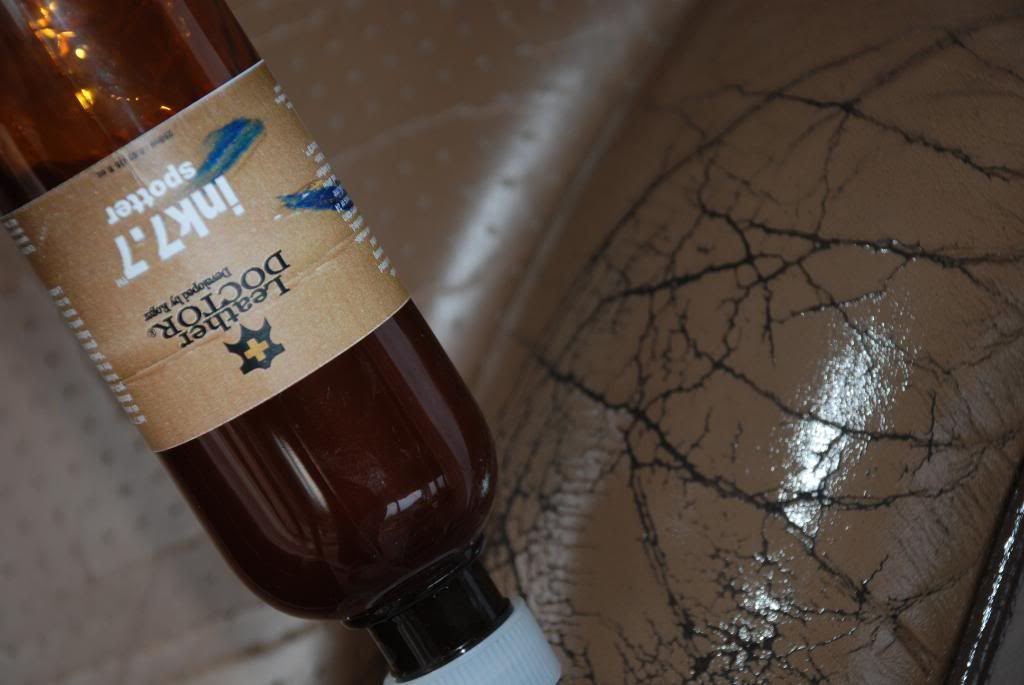
    #1: This 19 year’s old front seats need restoration to cracks and rip.


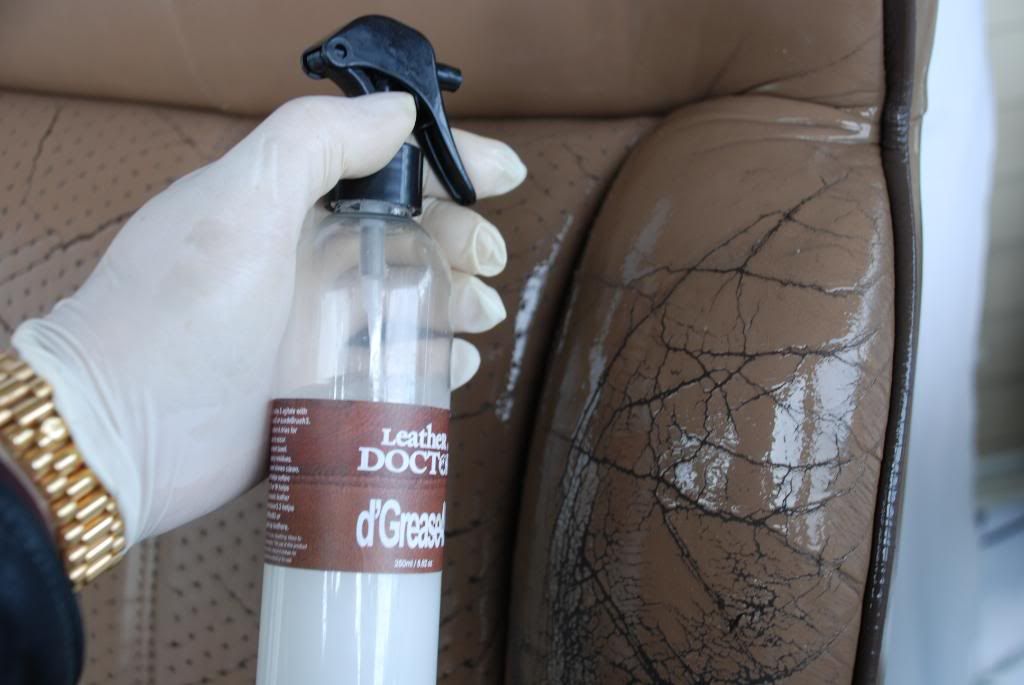
    #2: The entire seat was prep clean using prepClean7.7 with a soft horsehair brush and leave to dwell overnight.
    No solvent or alcohol was used as to prevent deteriorating the existing finish further and also not to diminish existing fatliquor causing the leather to dry stiffer and weaker.


    #3: A light mist with superCleaner4.9 were applied and agitate with leatherBrush1, nubuckBrush2, and anilineEraser4 thereafter extract with dry absorbent towel.


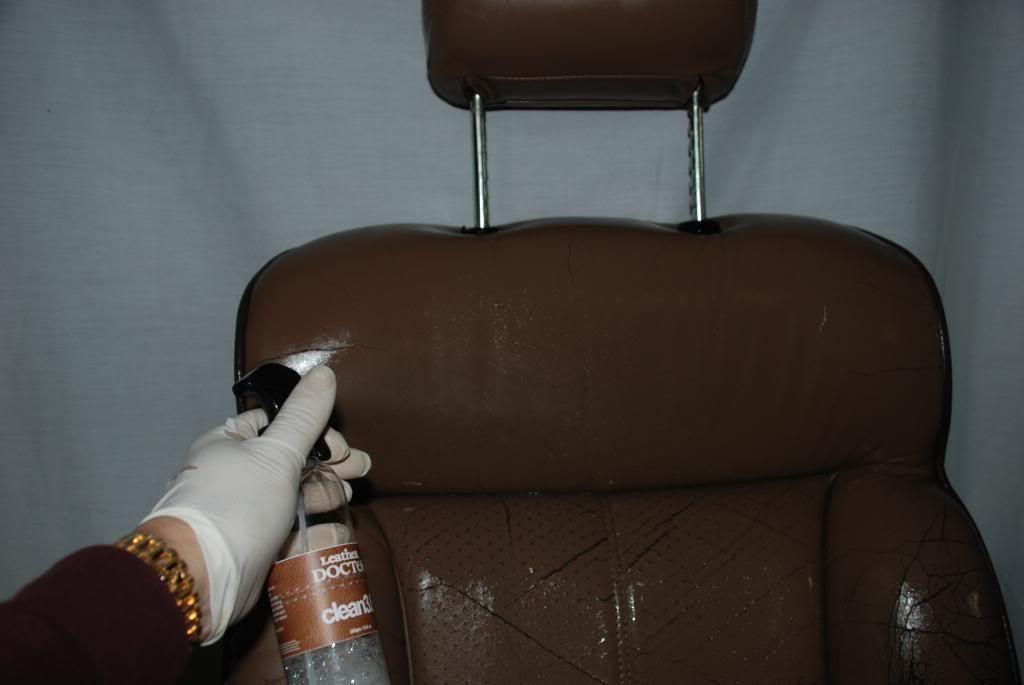
    #4: The sticky residue were clean off with cleaner3.8 with appropriate tools and dry towel extracted until towel shows clean.


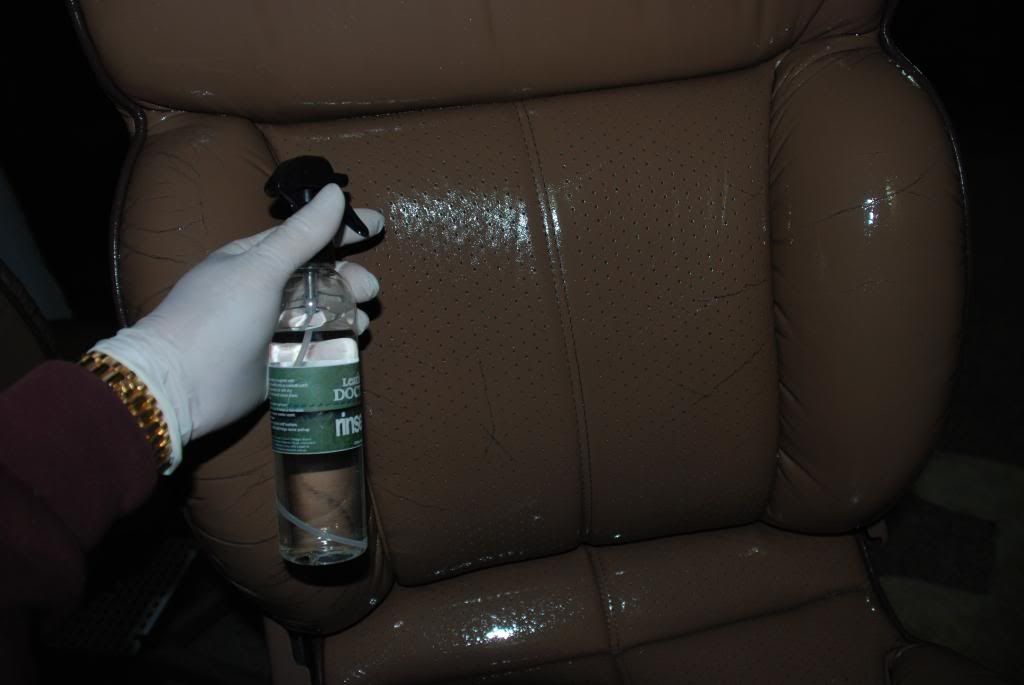
    #5: Thereafter were acidifier rinse with rinse3.0 and dry towel extract until towel shows clean.


    B: Hydrating & Fatliquoring


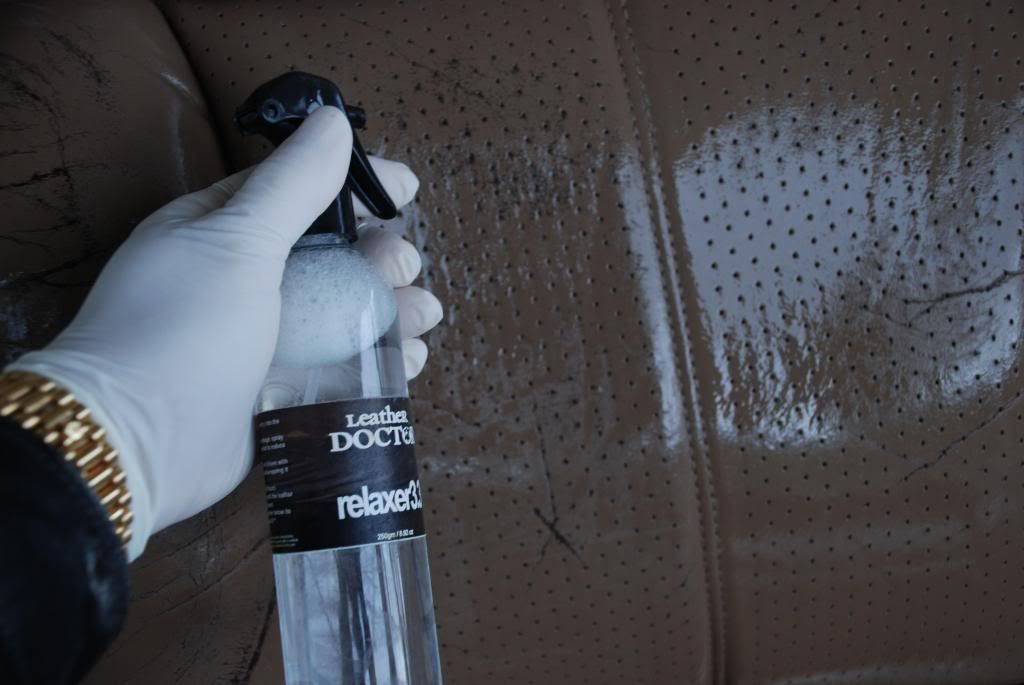
    #6: The leather internal structure was further hydrated with hydrator3.3 to relax the leather so as to reduce the stresses.
    The cause of the crack is the diminishing of the original fatliquor.
    As the leather fatliquor continues to dries through the years it widens the cracks in the process.


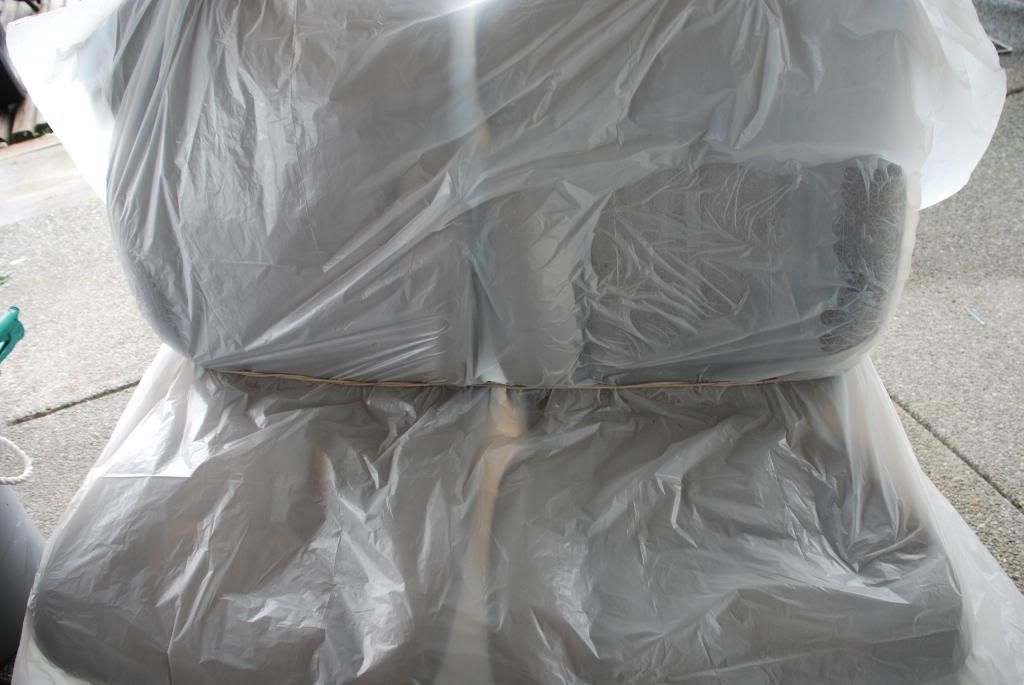
    #7: The entire seat was wrapped with plastic sheet to control evaporation and leave to dwell overnight.


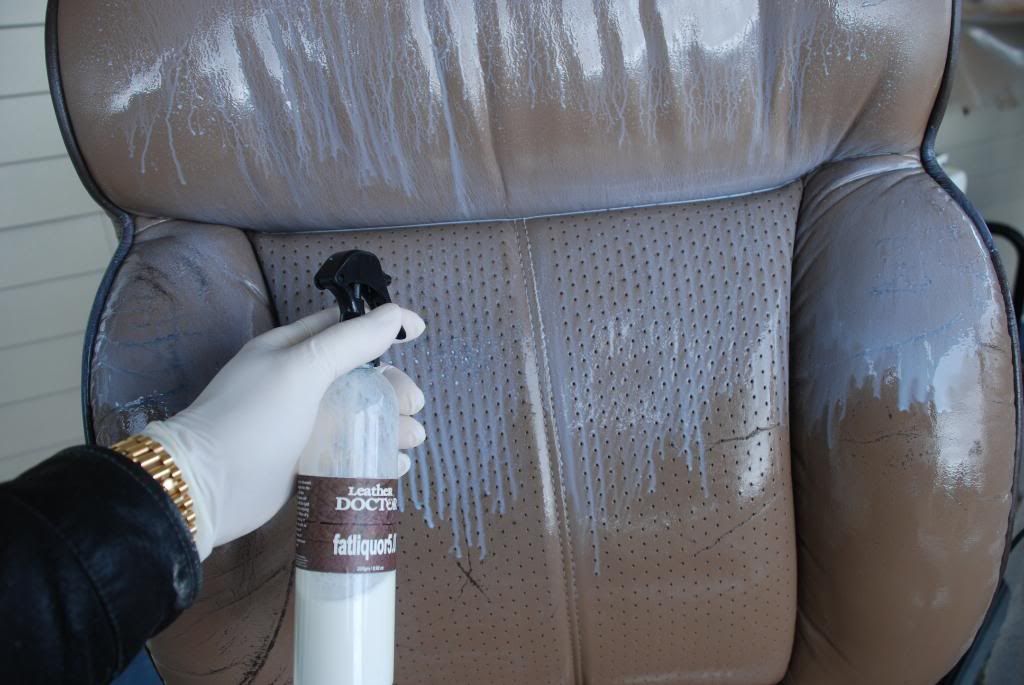
    #8: fatliquor5.0 was thereafter introduced into the leather structure, wrapped up again and was left to dwell overnight too.


    C: Dry Prep


    #9: Excess surface non-penetrated fatliquor was clean off with rinse3.0 > clean3.8 > rinse3.0.
    Thereafter when dry the surface went through a 1000 to 1200 grit sanding process to remove deteriorated finishes.
    All dust was removed with compressed-air-gun.


    D: Repair


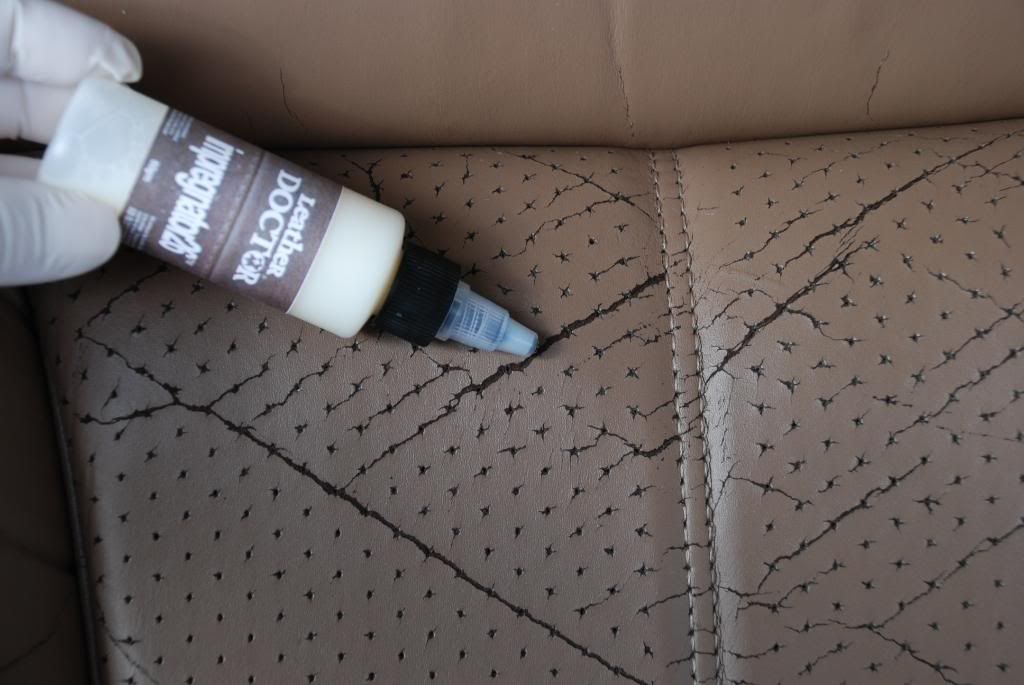
    #10: All cracks were strengthen with impregnator26 a protein resin that becomes part of leather when it cures.


    #11: A leatherBond3D is further applied to fill the deep gap to add strength.


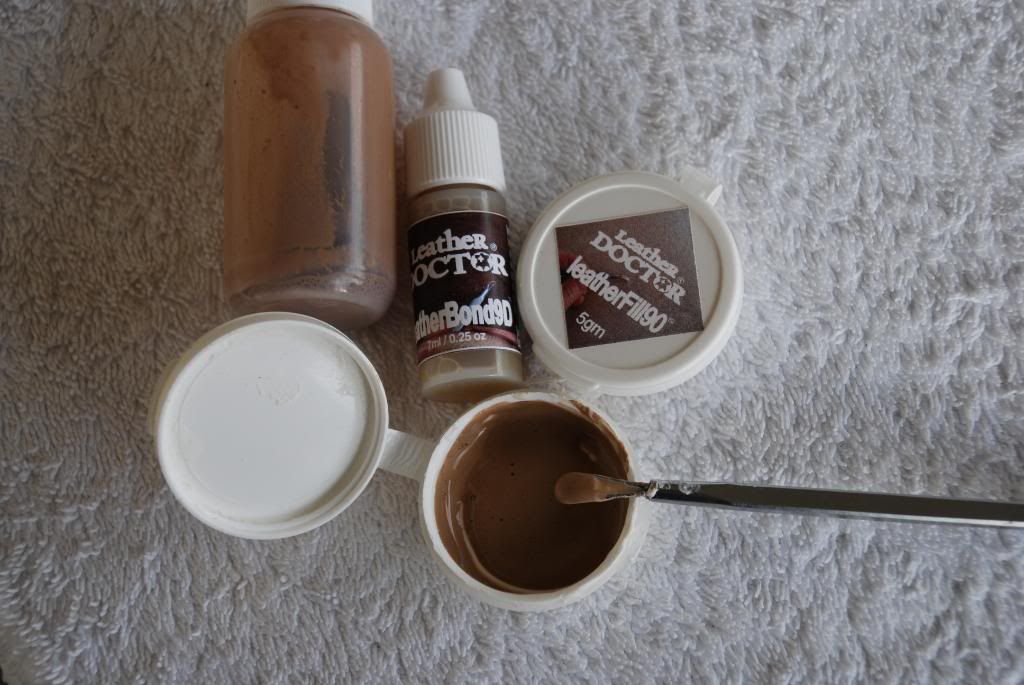
    #12: For cosmetics leatherFill90, leatherBond3D™ and color were mixed to further fill the cracks.


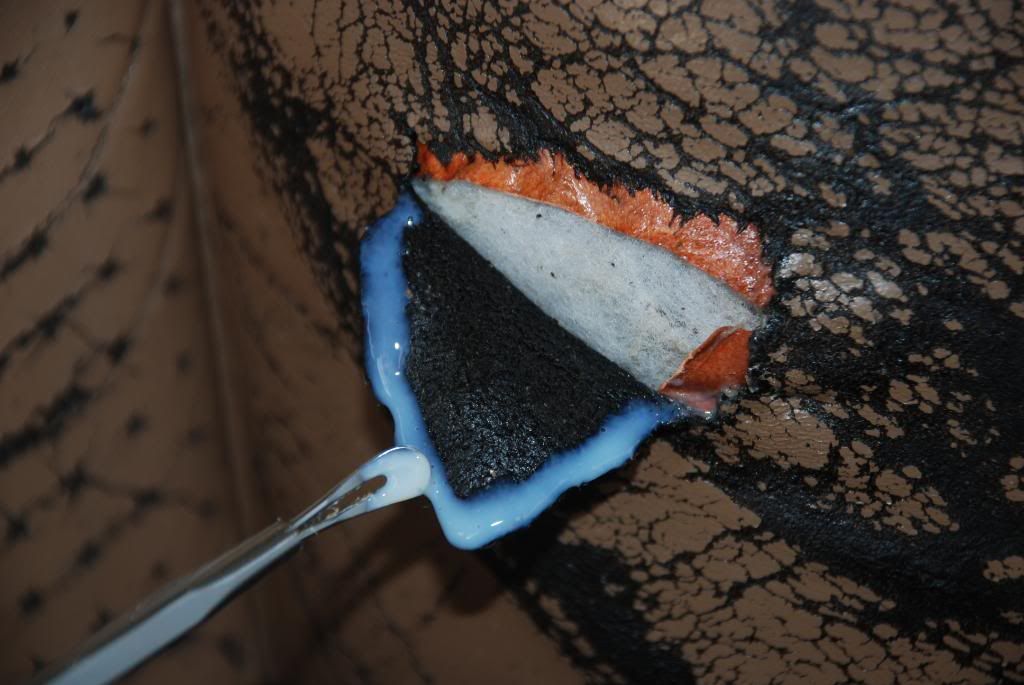
    #13: As for the rip, a thin 0.04mm vachetta leather was used as a sub-patch for added strength, and bonded with leatherBond3D.
    This is a cold cure bond just like silicone without using heat (iron heat will further shrink the leather that makes repairs stiff and subject to cracks when flexed).


    #14: leatherBond7A helps cleanup excess and smoothen the bonding seam too.


    E: Refinishing


    #15: When all were sand and clean up, the first finishing coating was the adhesion coat with adhesor73 with padding.
    Then pigment64 custom color with thickener48 were spray, followed with Topcoat'Pig56M matte. Thereafter a non-stick protector leatherScent'B
    was finished off with a classic leather scent to charm.


    The end result besides the aesthetic, the leather was soft and supple.

    If the leather was not soften and strengthen again, all the aesthetic effort will go to waste as the leather will continue to crack!

    You question are welcome.


    Roger Koh
    Institute of Inspection, Cleaning and Restoration Certification #942
    Leather Care Technician
    Master Textile Cleaner
    Master Fire & Smoke Restorer
    Journeyman Water Restorer
    Since 1973
    Last edited by Roger Koh; 02-04-2009 at 12:06 AM.

  2. #2
    Join Date
    Jul 2008
    Location
    crawfordville fl. USA
    Posts
    3

    Default

    how many products and what is the cost of a kit to redo auto seats???

    i have a 2001 Surburban who's seats need refinished.

  3. #3
    Join Date
    Feb 2007
    Location
    Greater Vancouver, Canada.
    Posts
    5,131

    Default

    Let’s see some pictures and I shall go through the details with you!


    Roger Koh


    A: Prep Cleaner, Hydrator and Rejuvenator

    Prep-7.7
    Clean-3.8
    Rinse-3.0
    Hydrator-3.3
    Fatliquor-5.0

    C: Repairs

    Impregnator-26
    Bond-3D
    Bond-7A
    Stucco-90

    D: Color Refinish & Non-Stick Buttery-Feel Protector

    Adhesor-73
    Pigment-64
    Thickener-48
    PigTop-64M
    Protector-B+

    E: Tools

    leather Brush-1
    Eraser-4
    Tool-6
    Last edited by Roger Koh; 03-06-2014 at 10:57 AM.

  4. #4
    Join Date
    Jul 2008
    Location
    crawfordville fl. USA
    Posts
    3

    Default

    is that to repair and refinish 4 seats??? or will it cover more seats???

    i'd like a kit i could do this work.

  5. #5
    Join Date
    Feb 2007
    Location
    Greater Vancouver, Canada.
    Posts
    5,131

    Default

    Please understand that products come in standard size bottle (7ml, 15ml, 30ml, 60ml 120ml, 250ml, quart, gal, 5gal) both ready-to-use or concentrates.

    The smaller the packing the more expensive the product is.

    Larger packing is more economical and for super savings on both shipping and value go for the concentrates.

    prepClean7.7 for the four seats you may require the 120ml bottles.

    cleaner3.8, rinse3.0, pigment64 & topcoat'Pig56 quarts is recommended.

    leatherScent’B™ 120ml will have plenty of left overs.

    Maybe, you have to try 2 seats first to determine how much you need for the other seats.

    I can’t be precise on usage, it is always prudent to have left over’s for the next job than have to pay for urgent shipping.

    Roger Koh.

  6. #6
    Join Date
    Mar 2014
    Posts
    2

    Default

    this is magic! i thought cracked leather can't be restored

Thread Information

Users Browsing this Thread

There are currently 1 users browsing this thread. (0 members and 1 guests)

Tags for this Thread

Posting Permissions

  • You may not post new threads
  • You may not post replies
  • You may not post attachments
  • You may not edit your posts
  •